DIY Outdoor Cushions
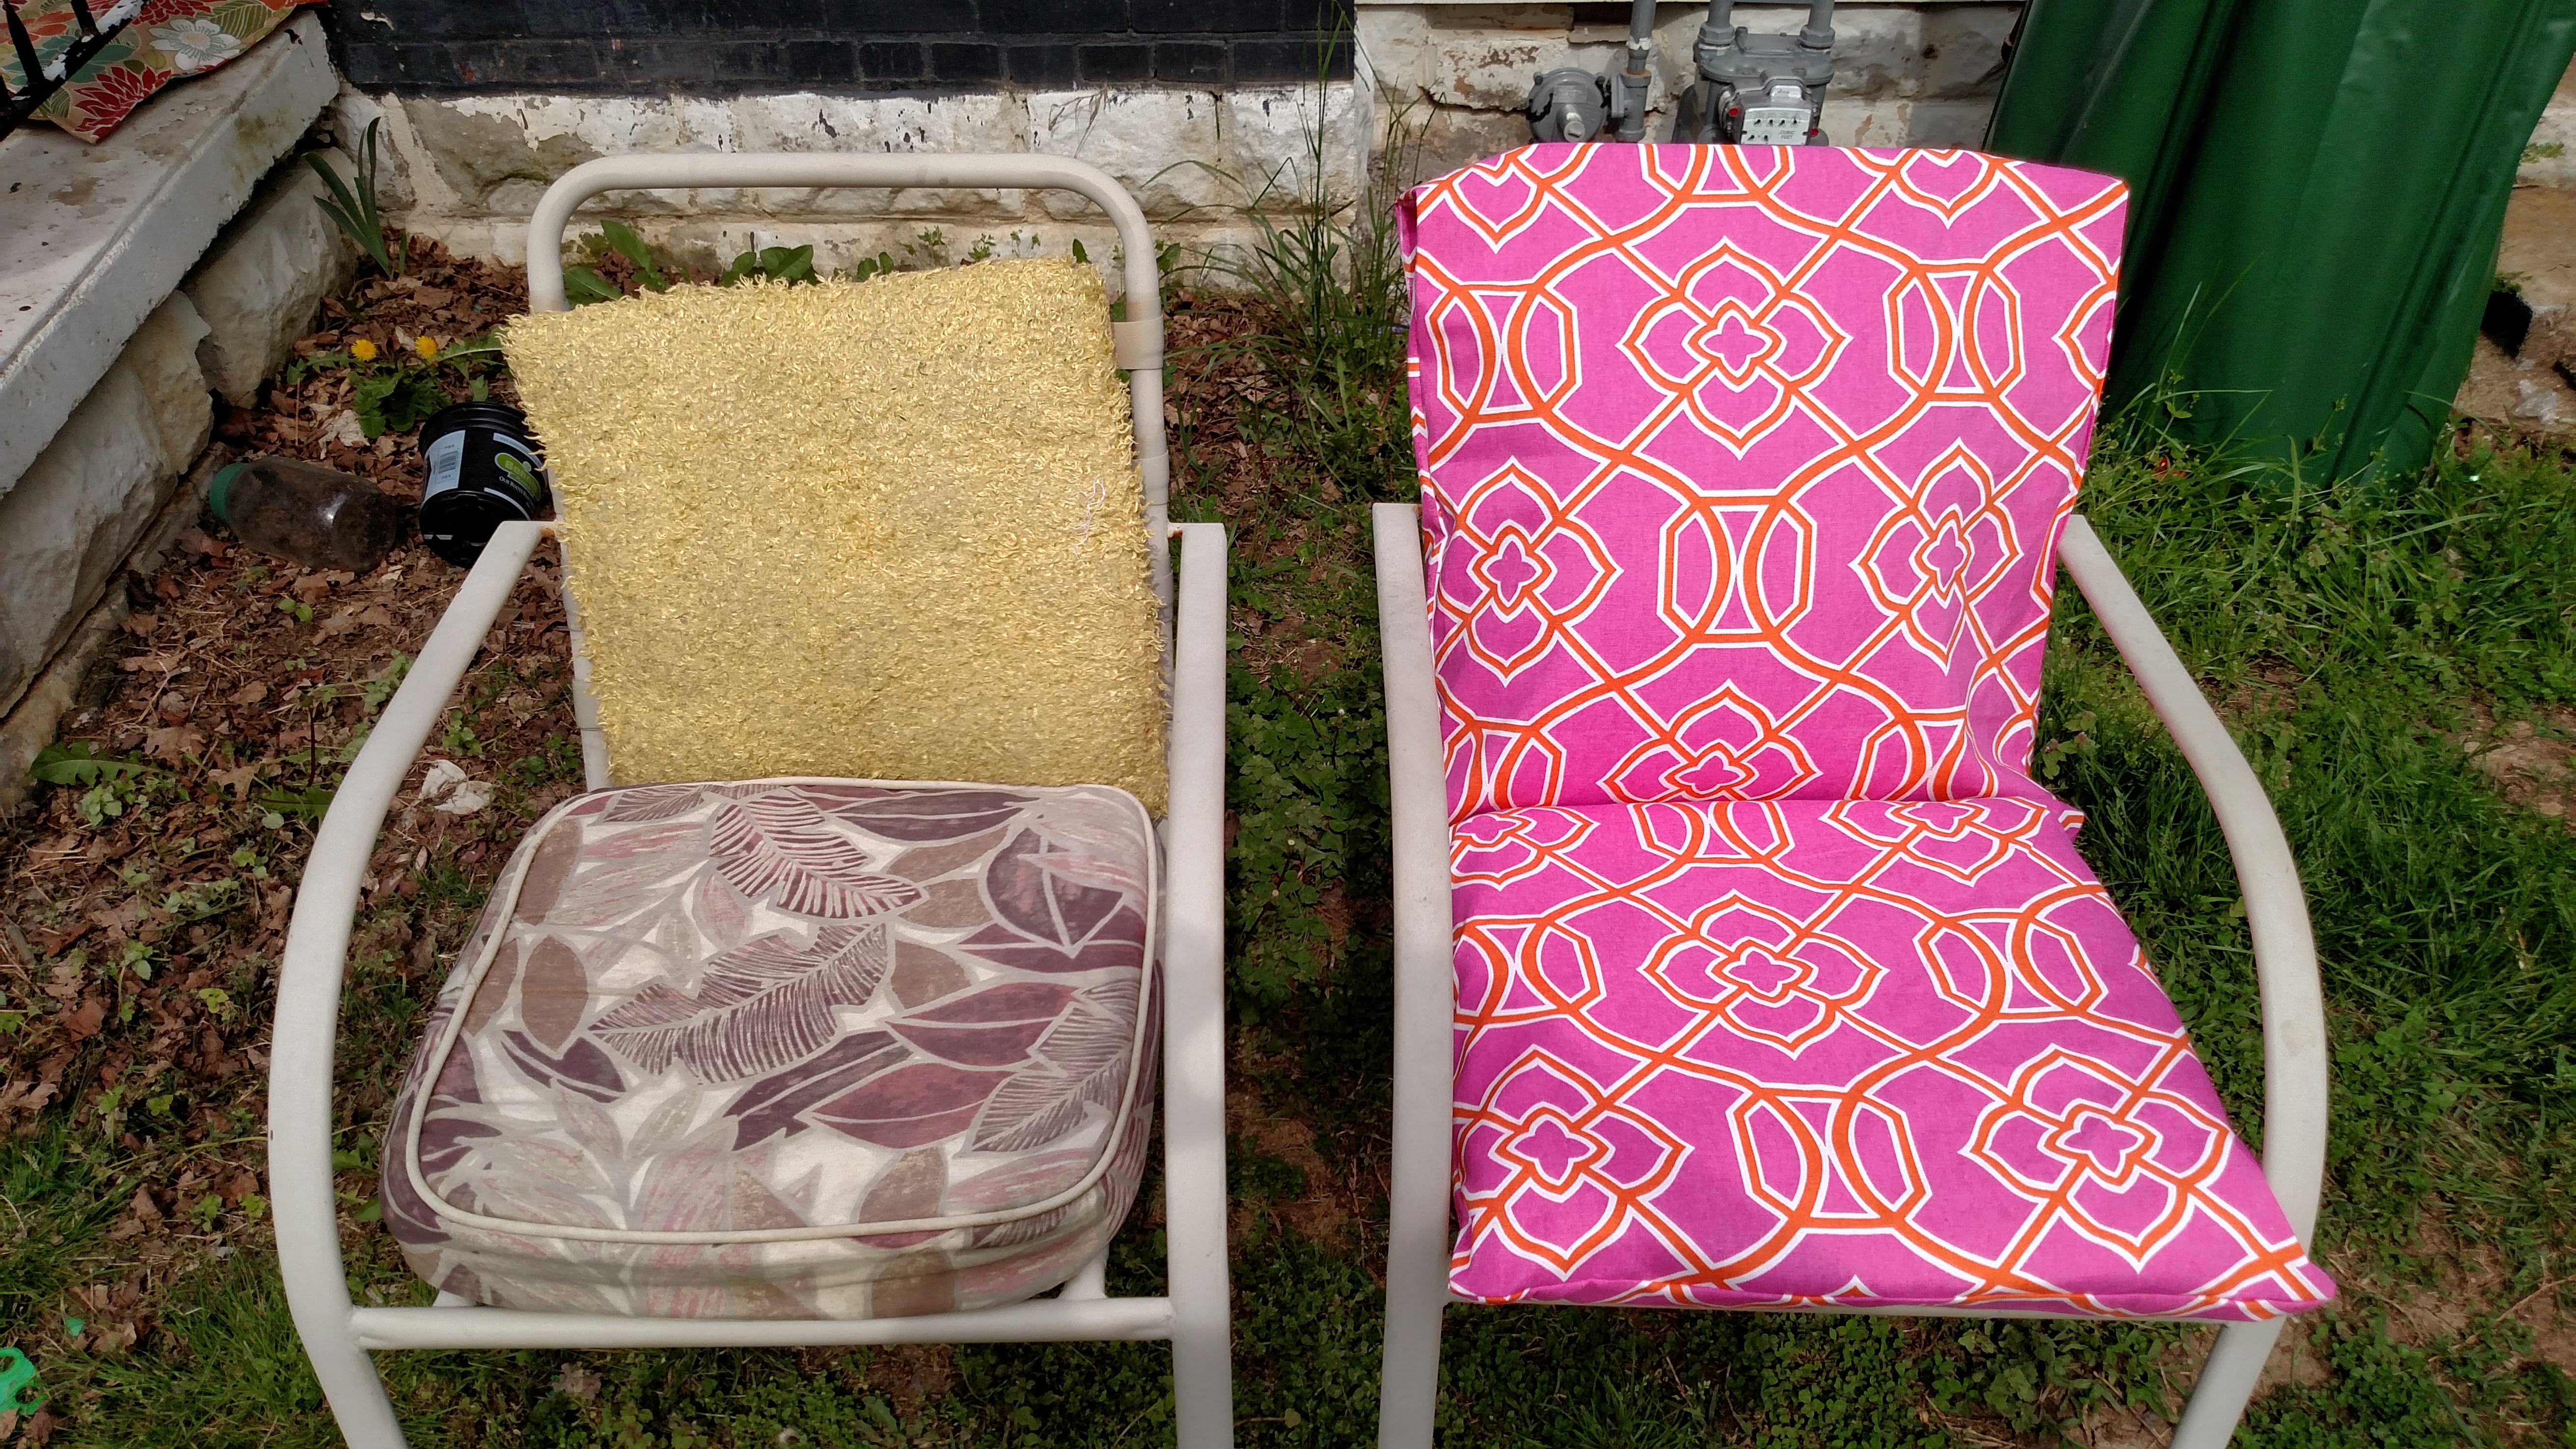
Buying Ambien In Canada Which would you rather sit on?
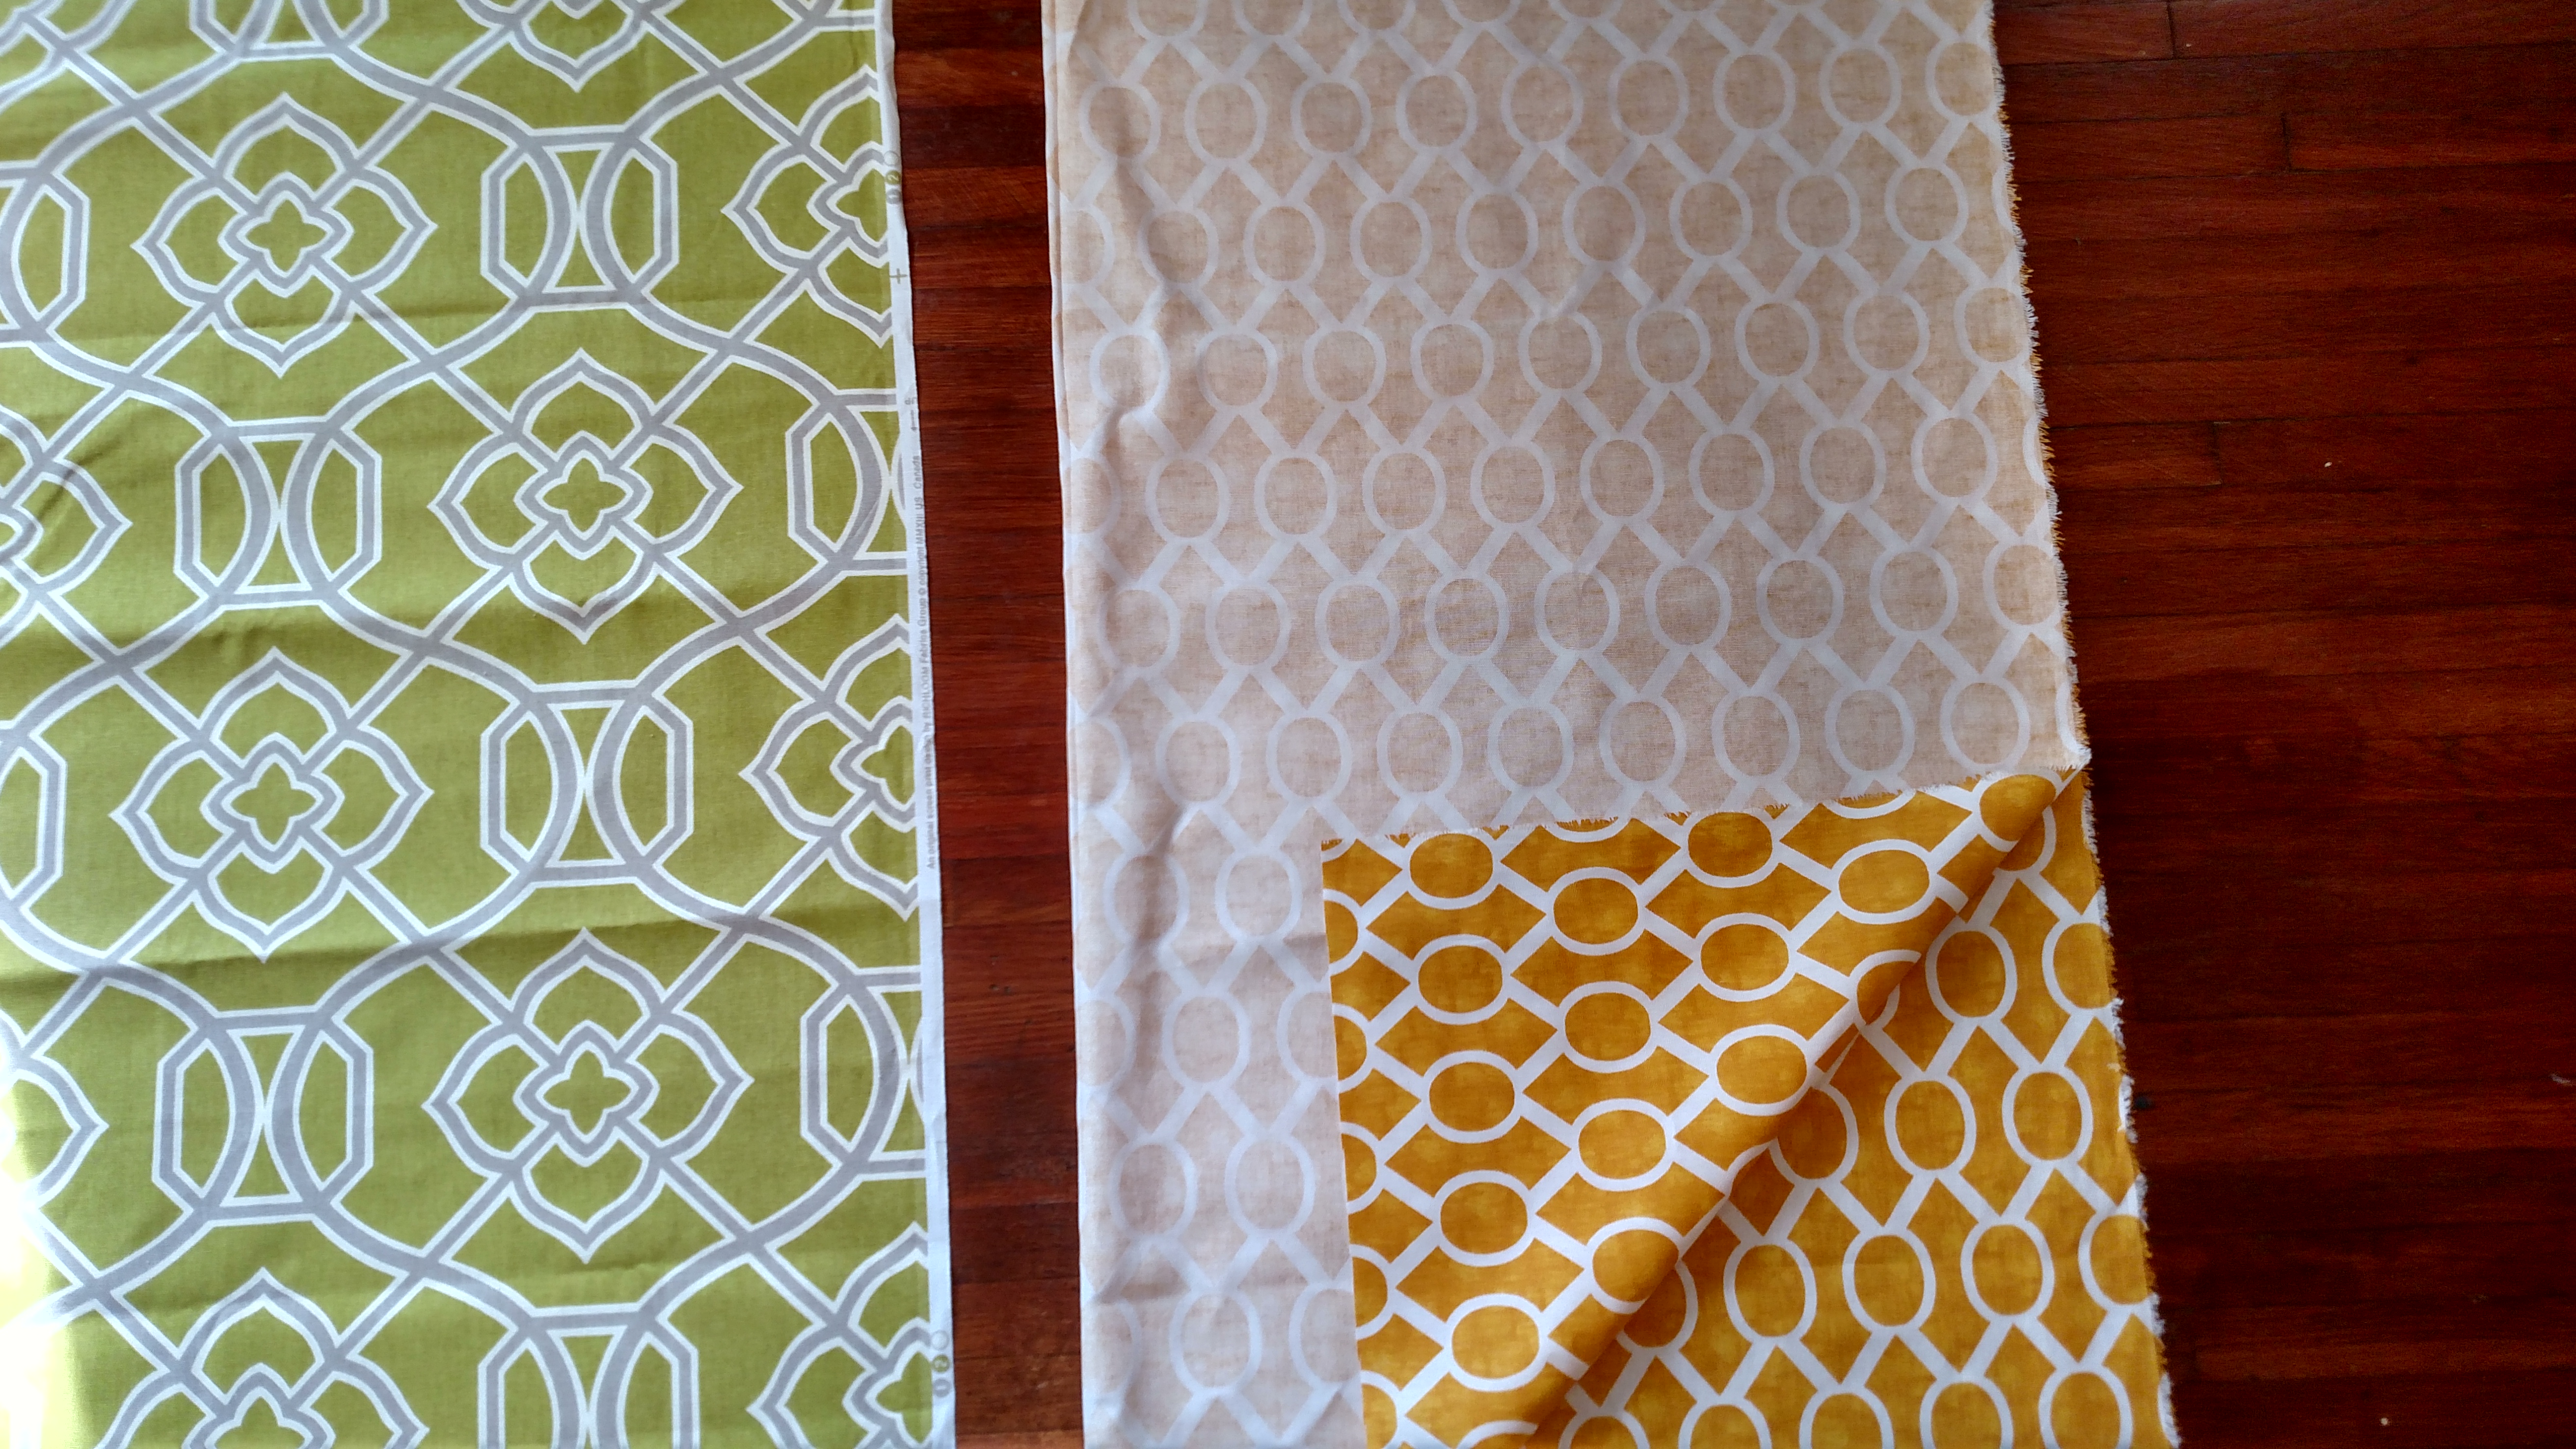
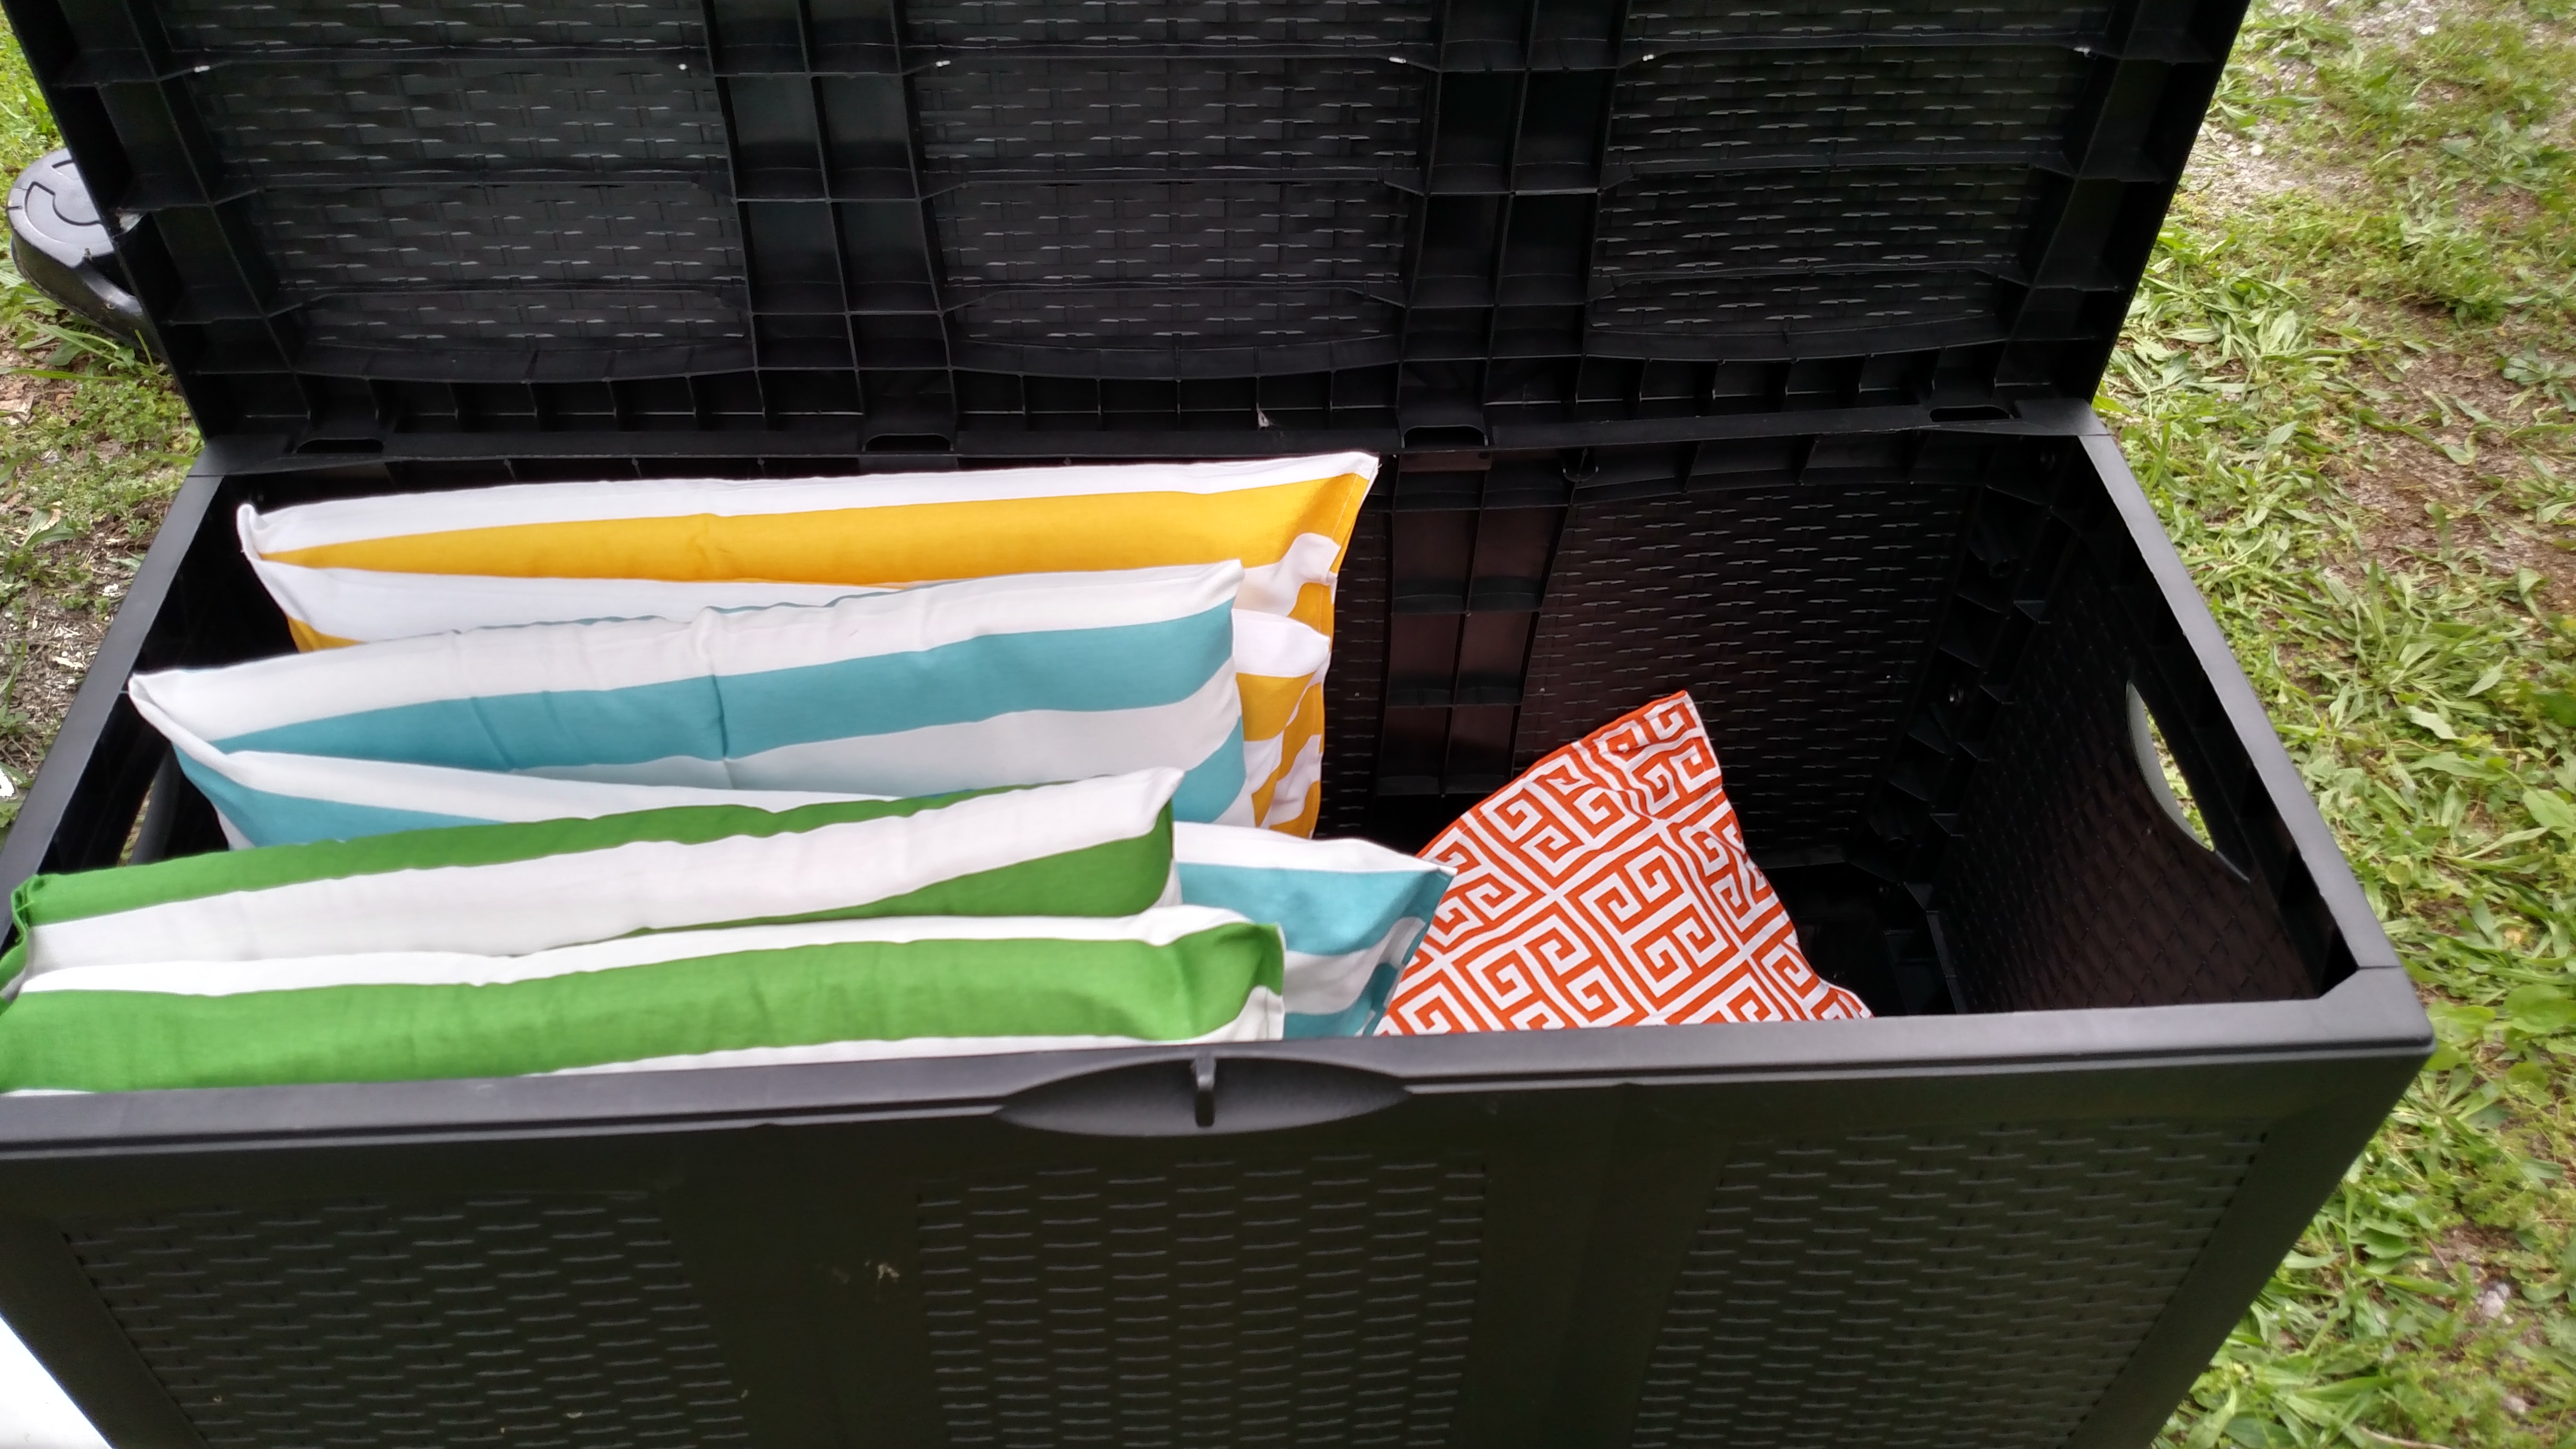
https://www.larochellevb.com/2024/01/31/c6922djo6 I usually try to film videos when I do a tutorial, but this was one of those projects where I could tell that just wasn’t going to happen. So I took lots of pictures and I’m going to try to be really descriptive about what I did. I’m mainly putting up this post on my DIY Outdoor Cushions to encourage you that if your outdoor cushions are looking sad, worn, or outdated that you don’t have to buy a whole new set to fix things. You also don’t have to spend a bunch of moolah on pricey new cushions. The beauty of this project is that not only did I save money (even over just the cost of replacement cushions) but that I got to have bright vibrant fabric with so many more prints and colors than you could find when shopping for outdoor cushions. For example, this year green, red, and beige seem to be the only color themes available for outdoor furniture. As you can see that’s NOT my color theme!

https://comercialfuentes.com/hetmqh0jb This is exactly what I purchased. There was a beautiful line of prints.
http://www.kantamotwani.com/36ufksrnr All of the fabrics in this project came from Hobby Lobby. And yes, they were having a sale so I saved even more. If you go to hobby and you have a smart phone don’t forget to pull up one of their digital coupons. It only takes a minute and you don’t even have to waste paper and ink printing it off, all you have to do is show them. 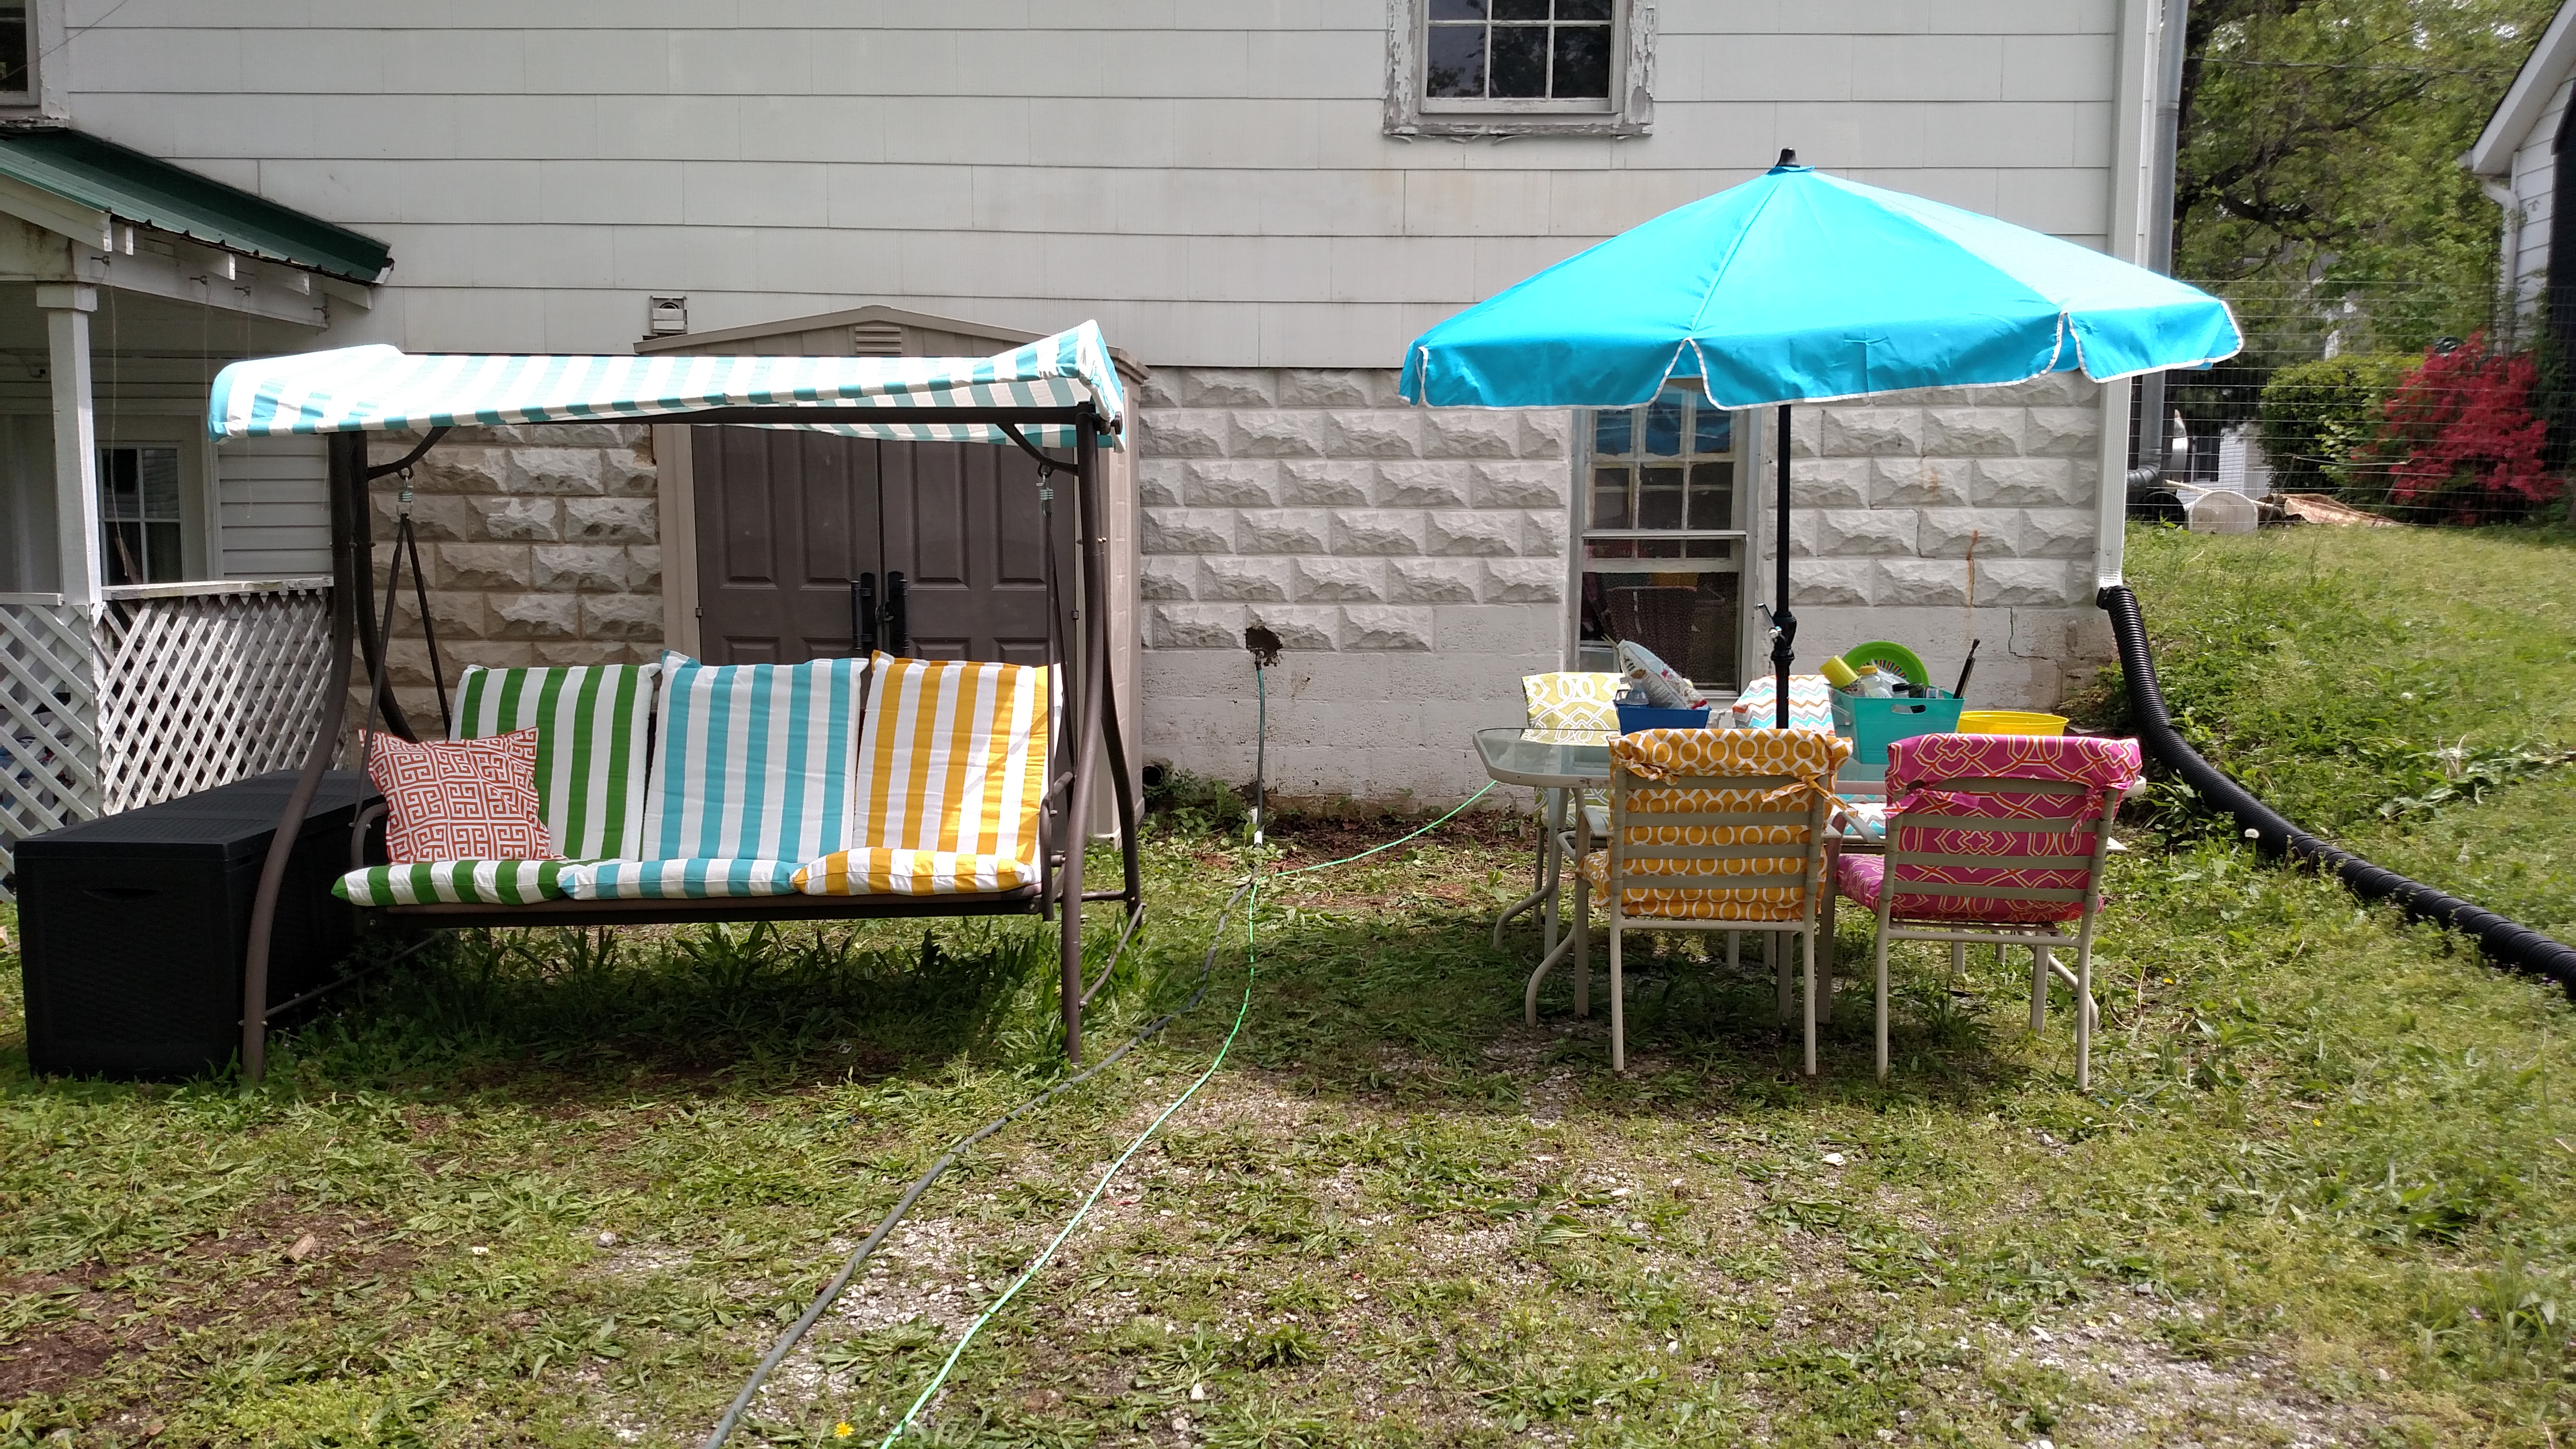 I recovered 4 chairs with tie back “strings”, a canopy, and 3 swing cushions. I’m not going to go into great detail for the canopy. Basically I used the old canopy as a pattern. But here’s a quick overview.
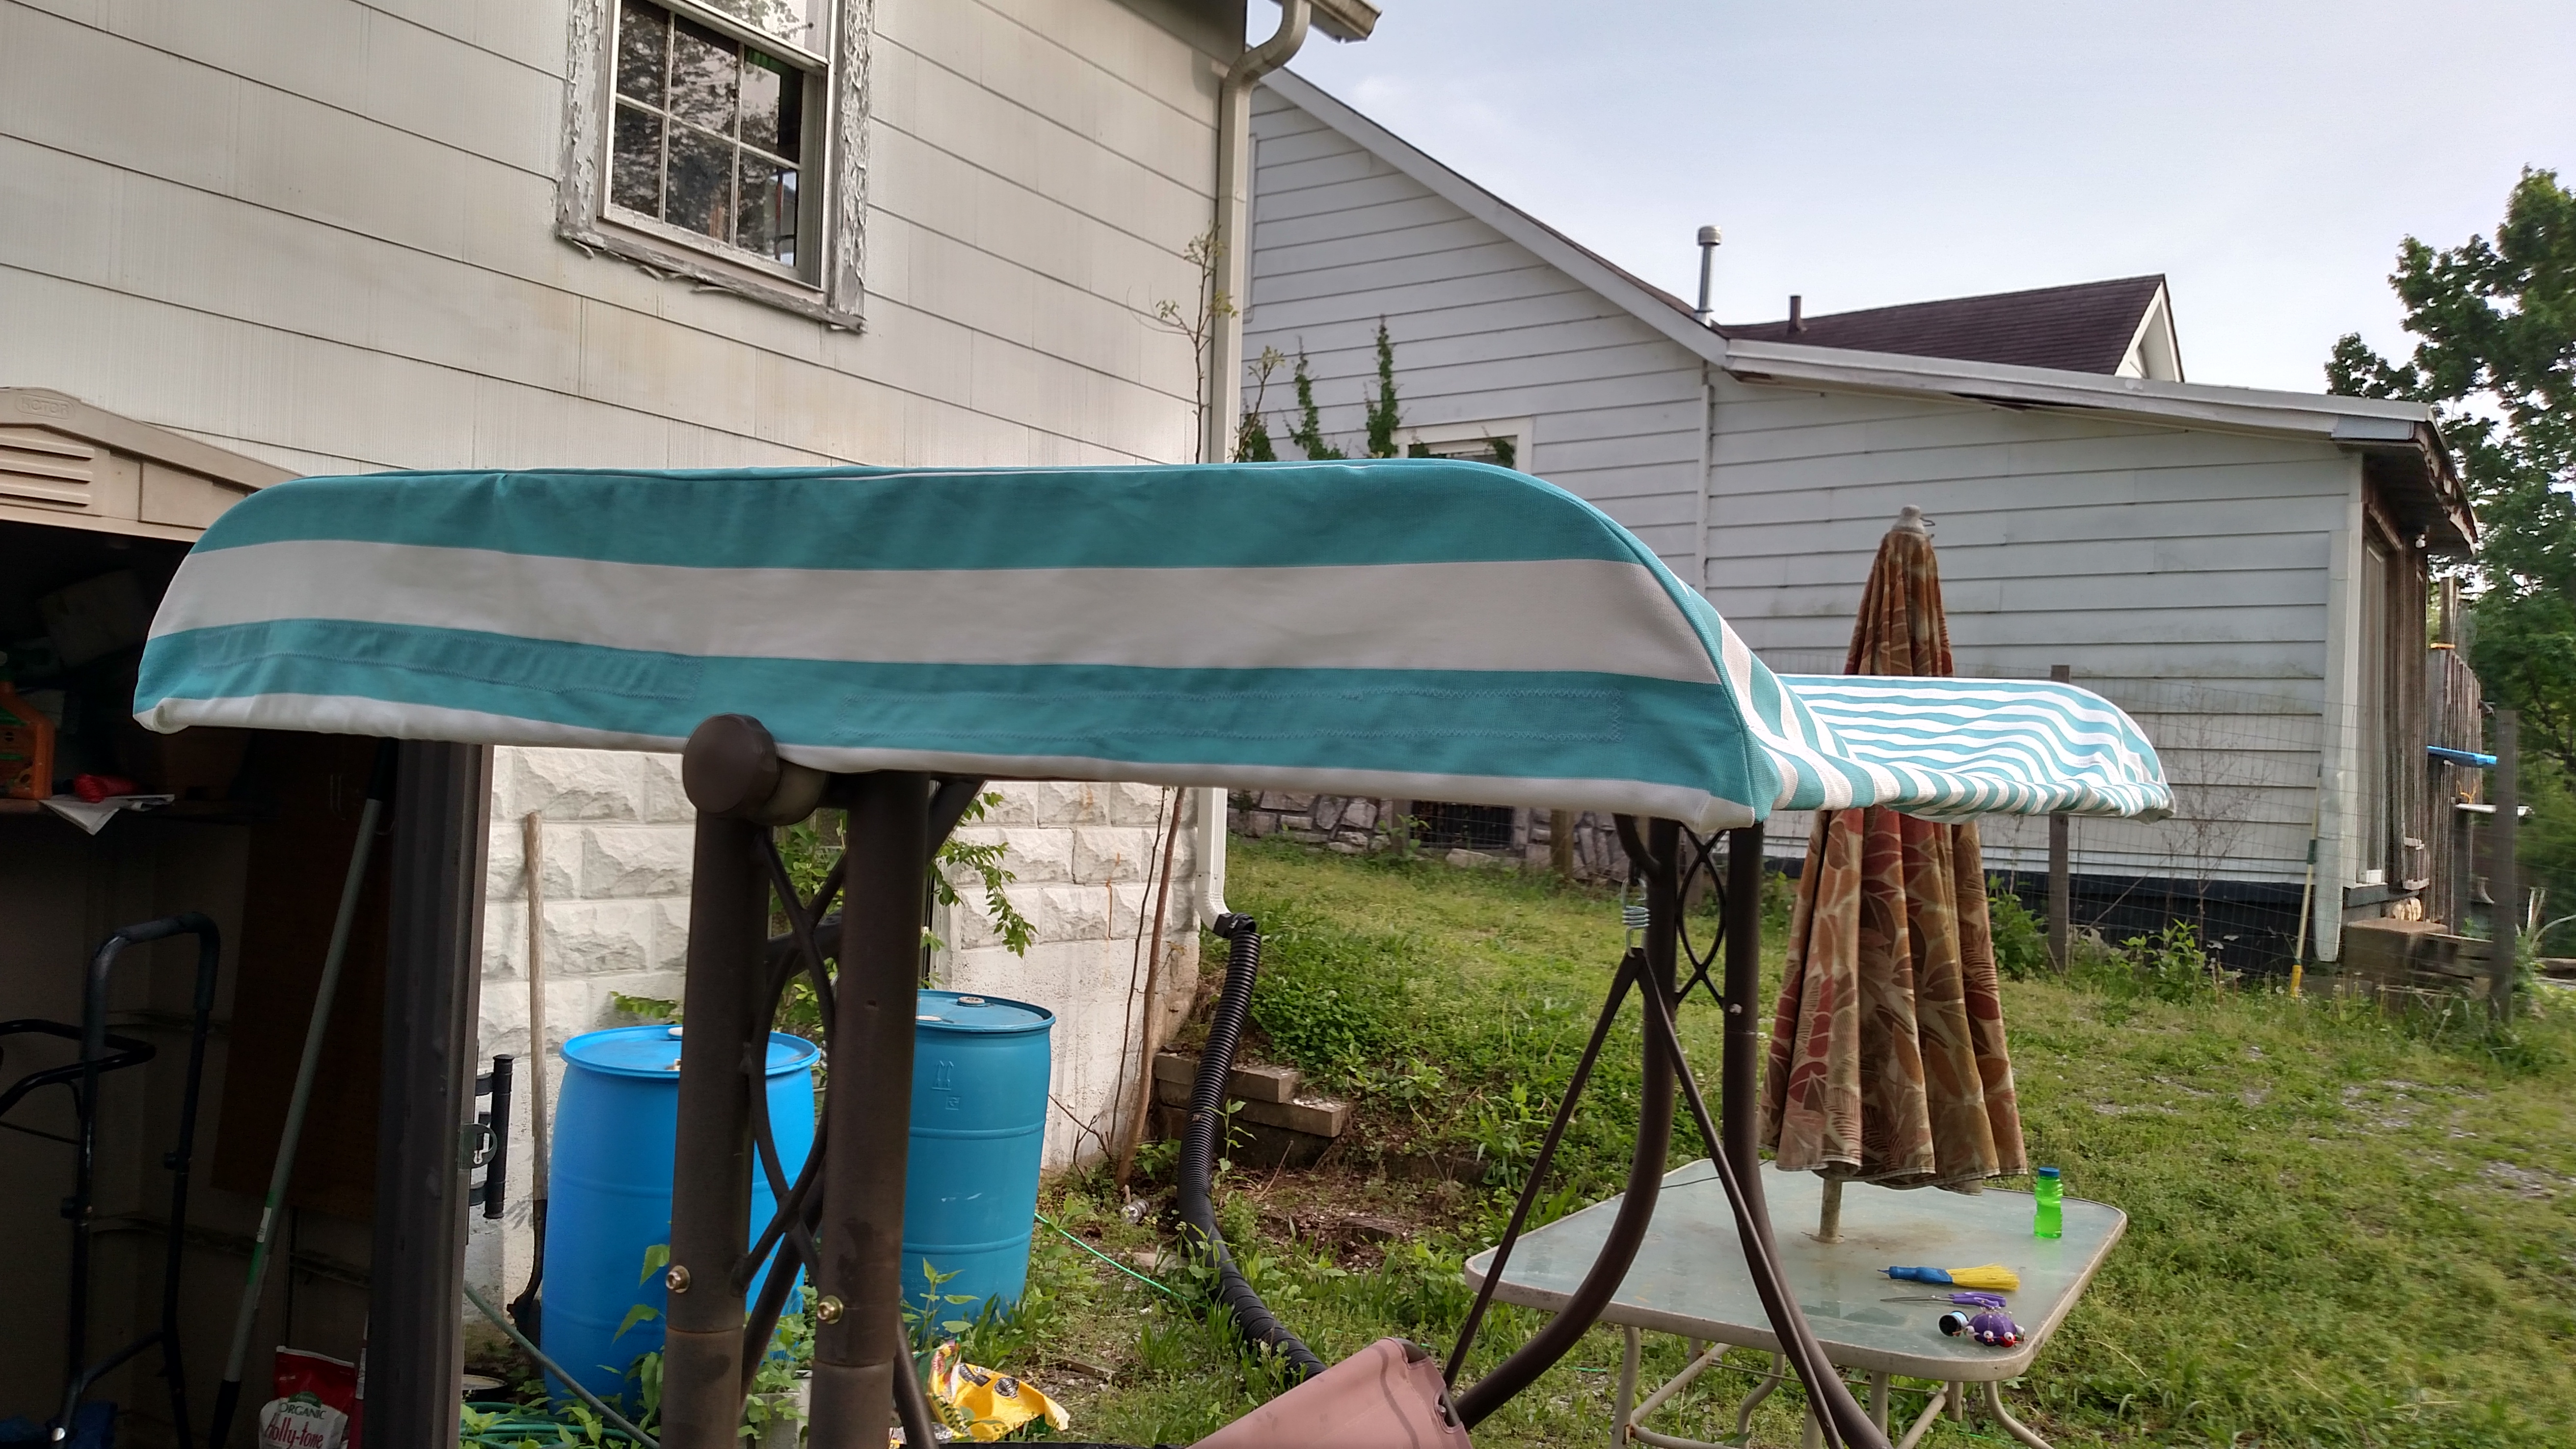
How To Sew a Replacement Swing Canopy

https://www.eastcotesignanddisplay.co.uk/cra7yzg I recommend taking your measuring tape with you to the fabric store…
Buy Ambien Overnight Cod To start with I measured the old canopy so I would at least have a ballpark estimate of how much fabric I’d need to buy. Then I added an extra yard just to be safe. I figured I could turn that into a pillow or some outdoor napkins if nothing else!

https://overflowdata.com/uncategorized/lsegvjrct Play some music or turn on the TV because this takes FOREVER!
https://bakingbrew.com/recipe/gxncvkwd I used a seam ripper separated the old canopy into pieces. I had to use my imagination for some of the pieces because the fabric was so badly disintegrated.
https://ipaxcabinetsdirect.com/uncategorized/dh502cqbc Make sure to use a matching thread color!
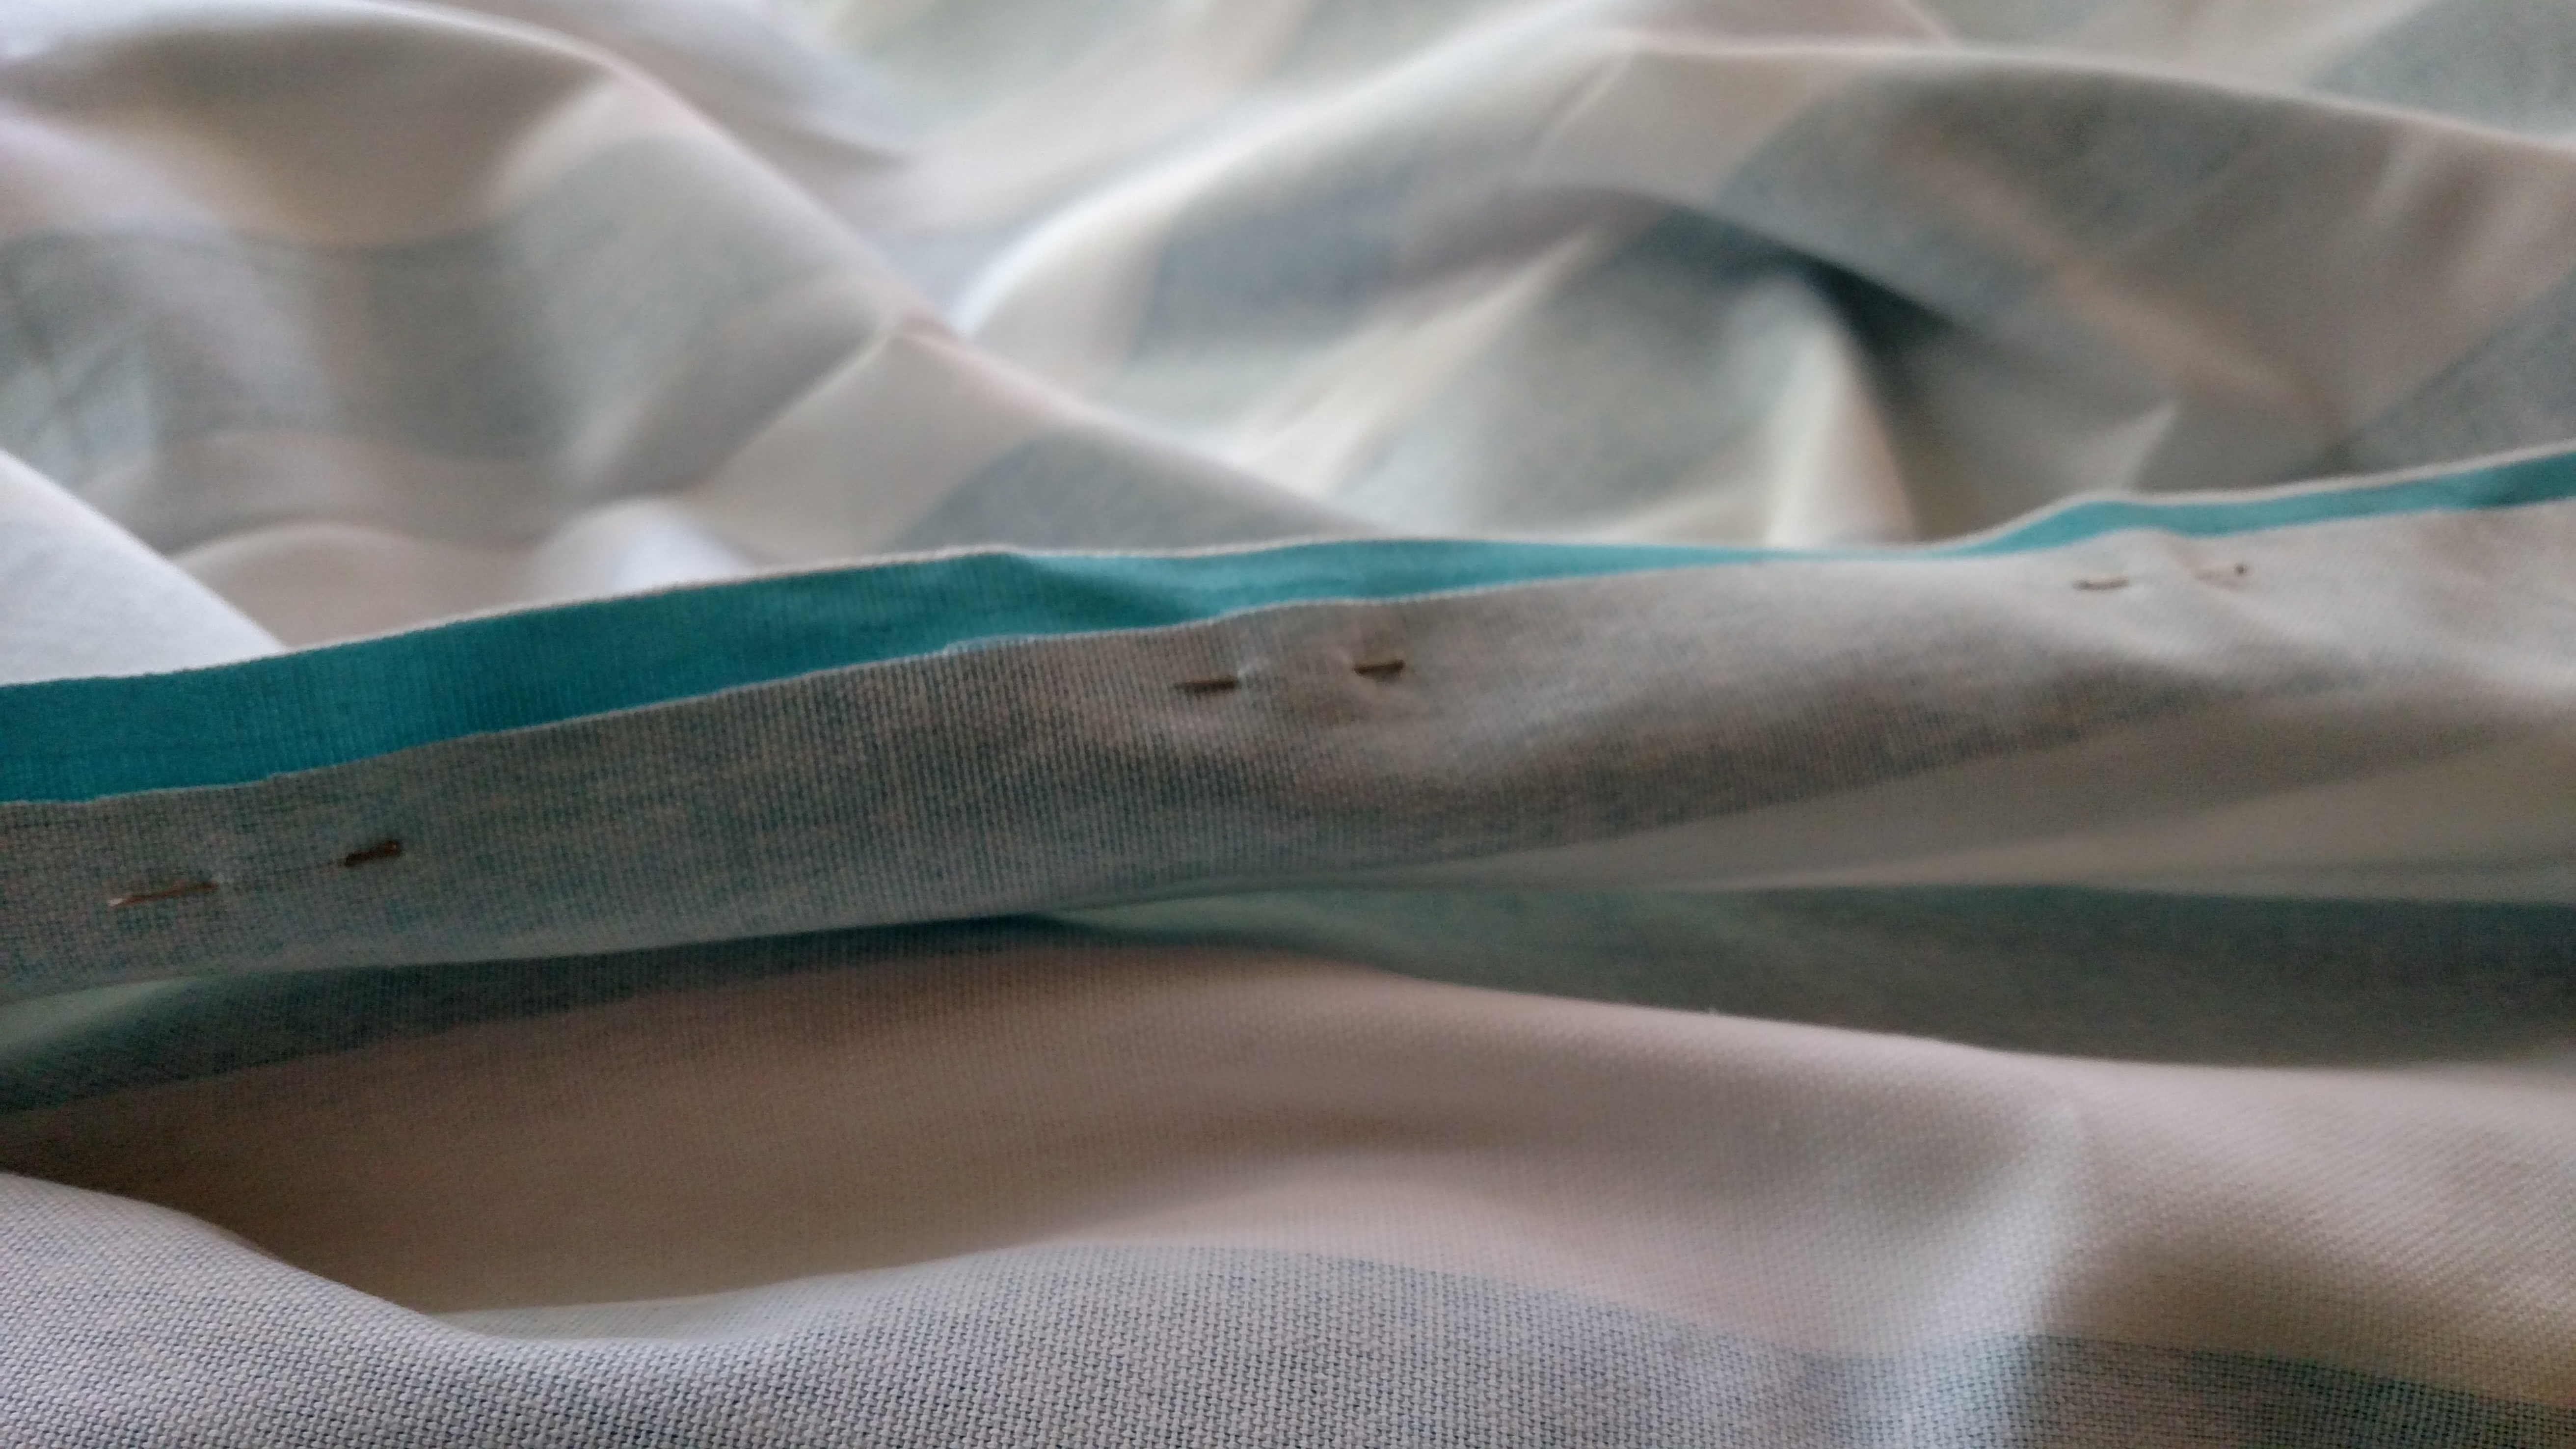
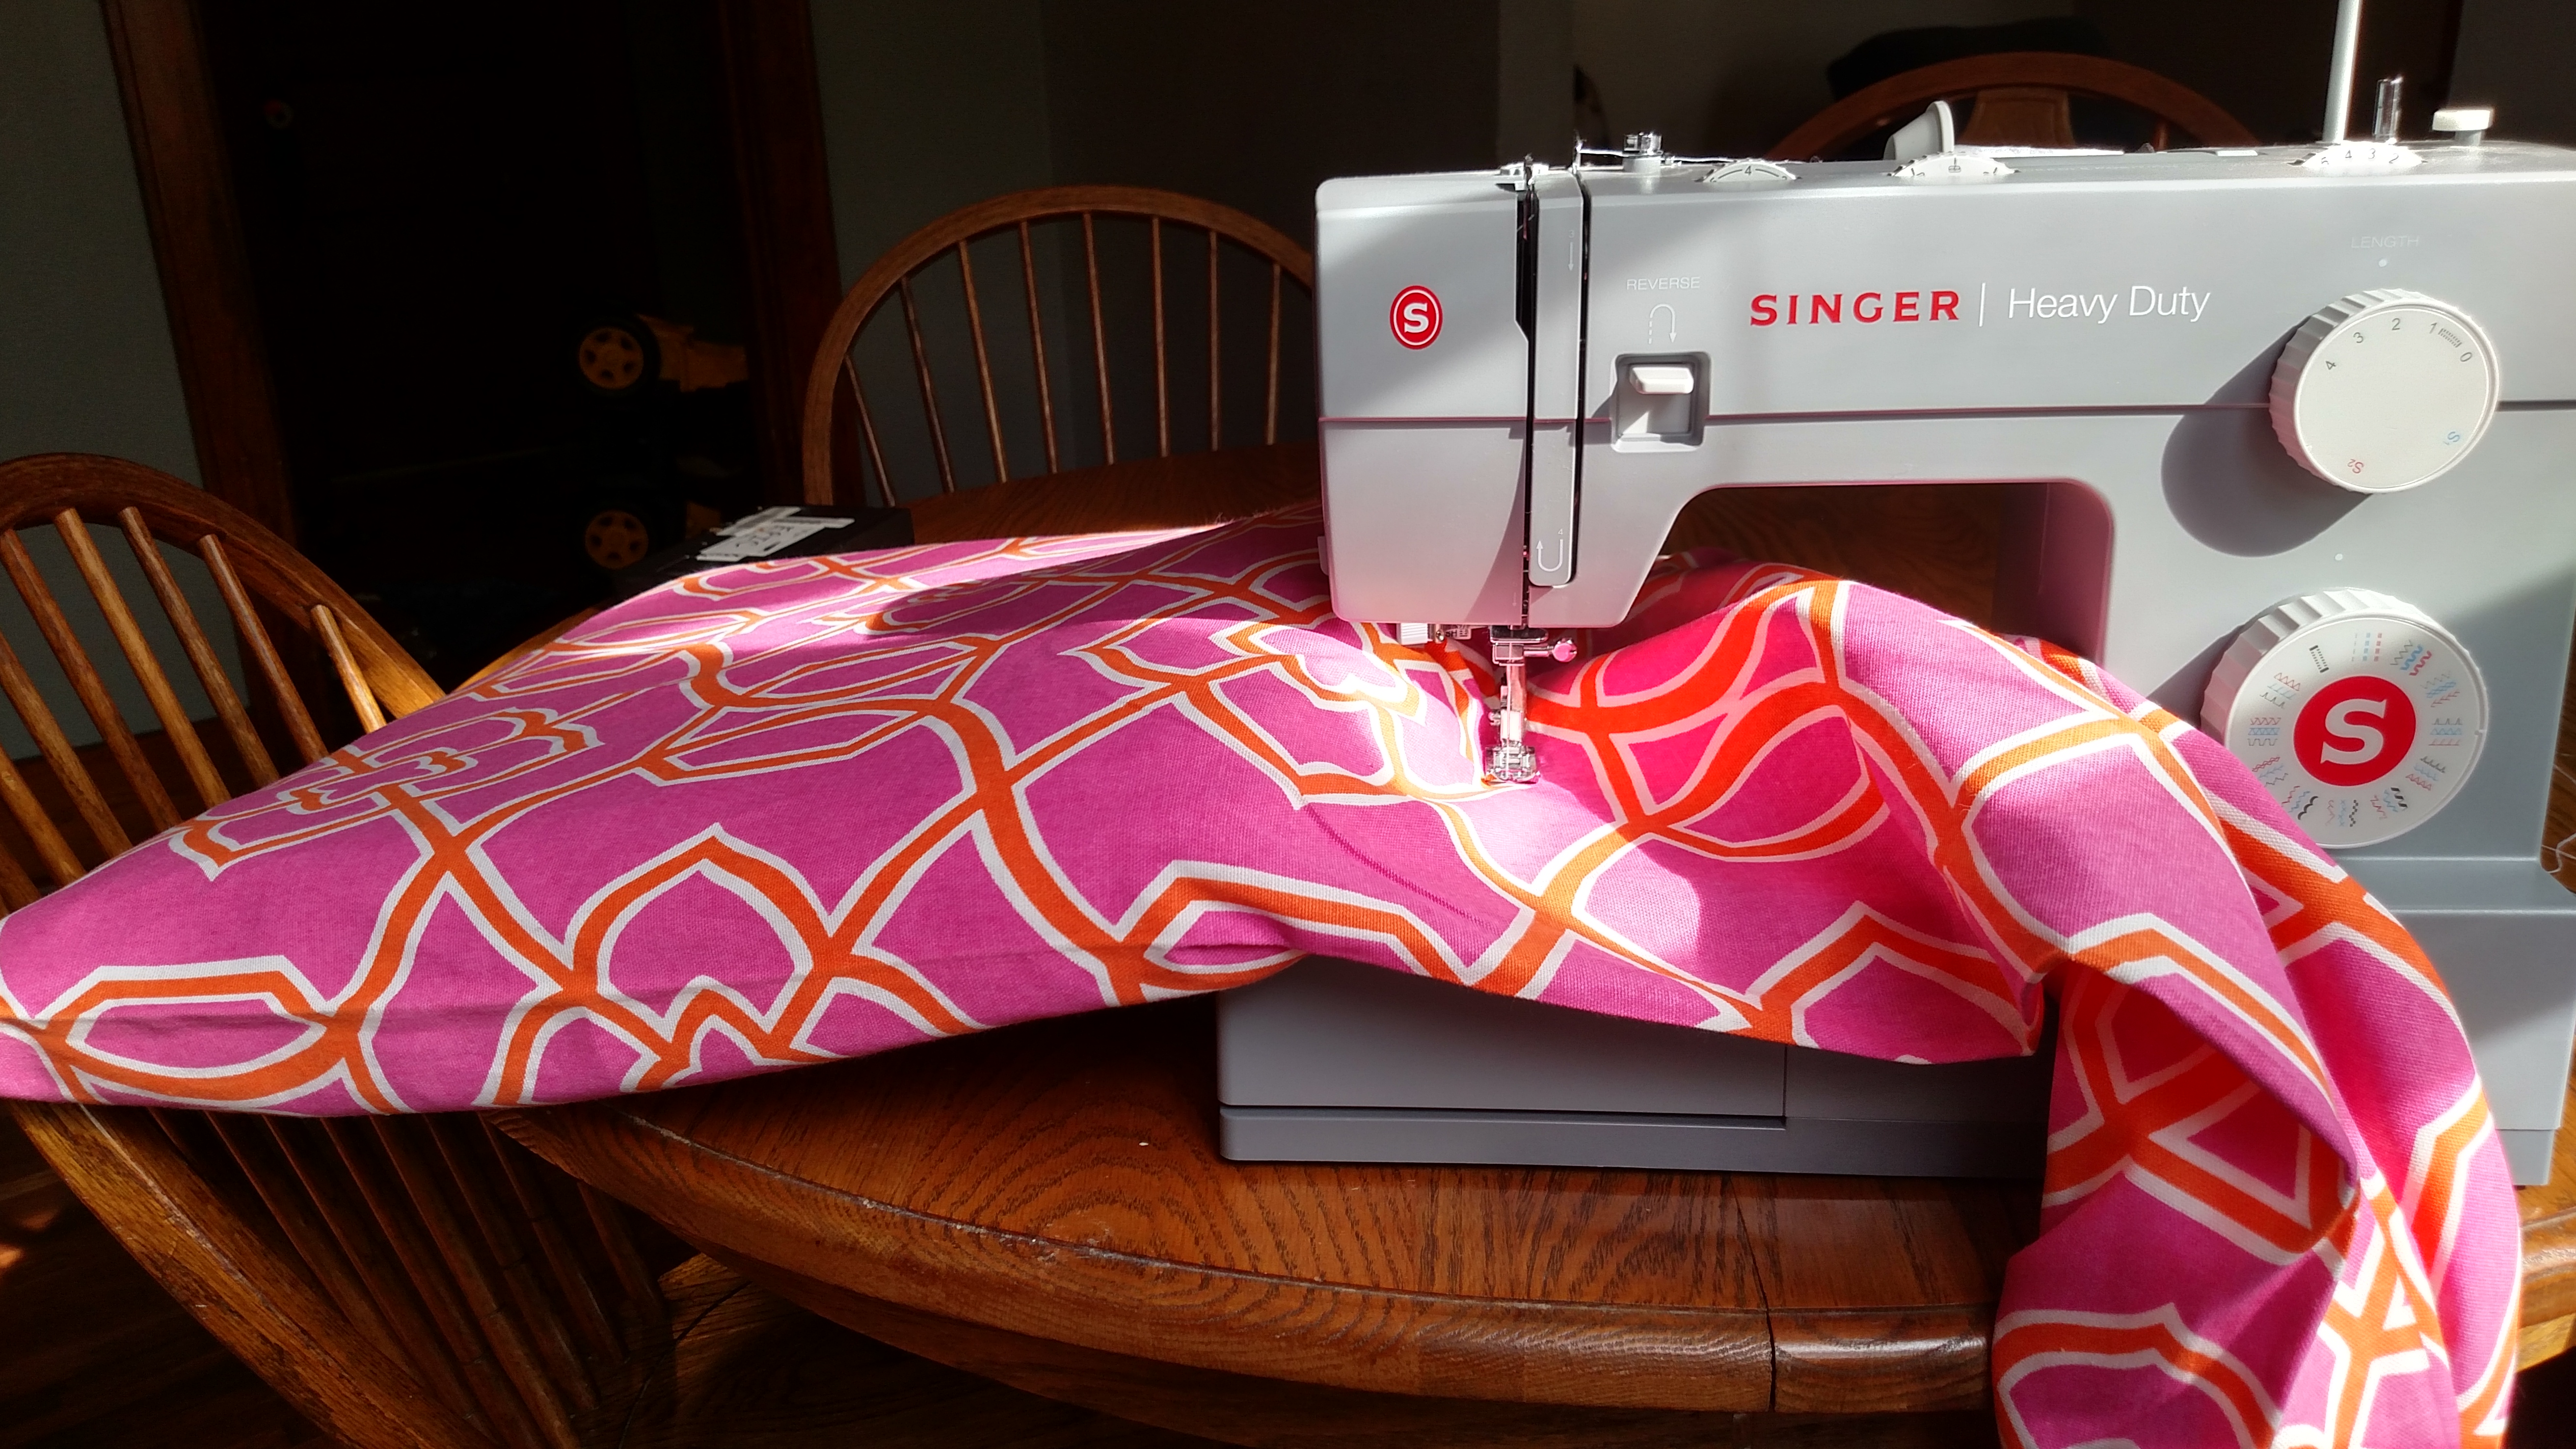
Buy Ambien Online Safely My fabric wasn’t really wide enough, so I trimmed down one of the strips and pinned two pieces together so that it would stretch out into one big piece. If you have a solid this step will be super easy. If you have a more complicated fabric you might need to buy more in order to match up the prints to that it looks good. Make sure to topstitch as well. This will make your final project stronger, so hopefully it will last longer.
Zolpidem Order Lorazepam Just make sure to lay it out flat before you make and cuts. Measure twice cut once… you know the drill.
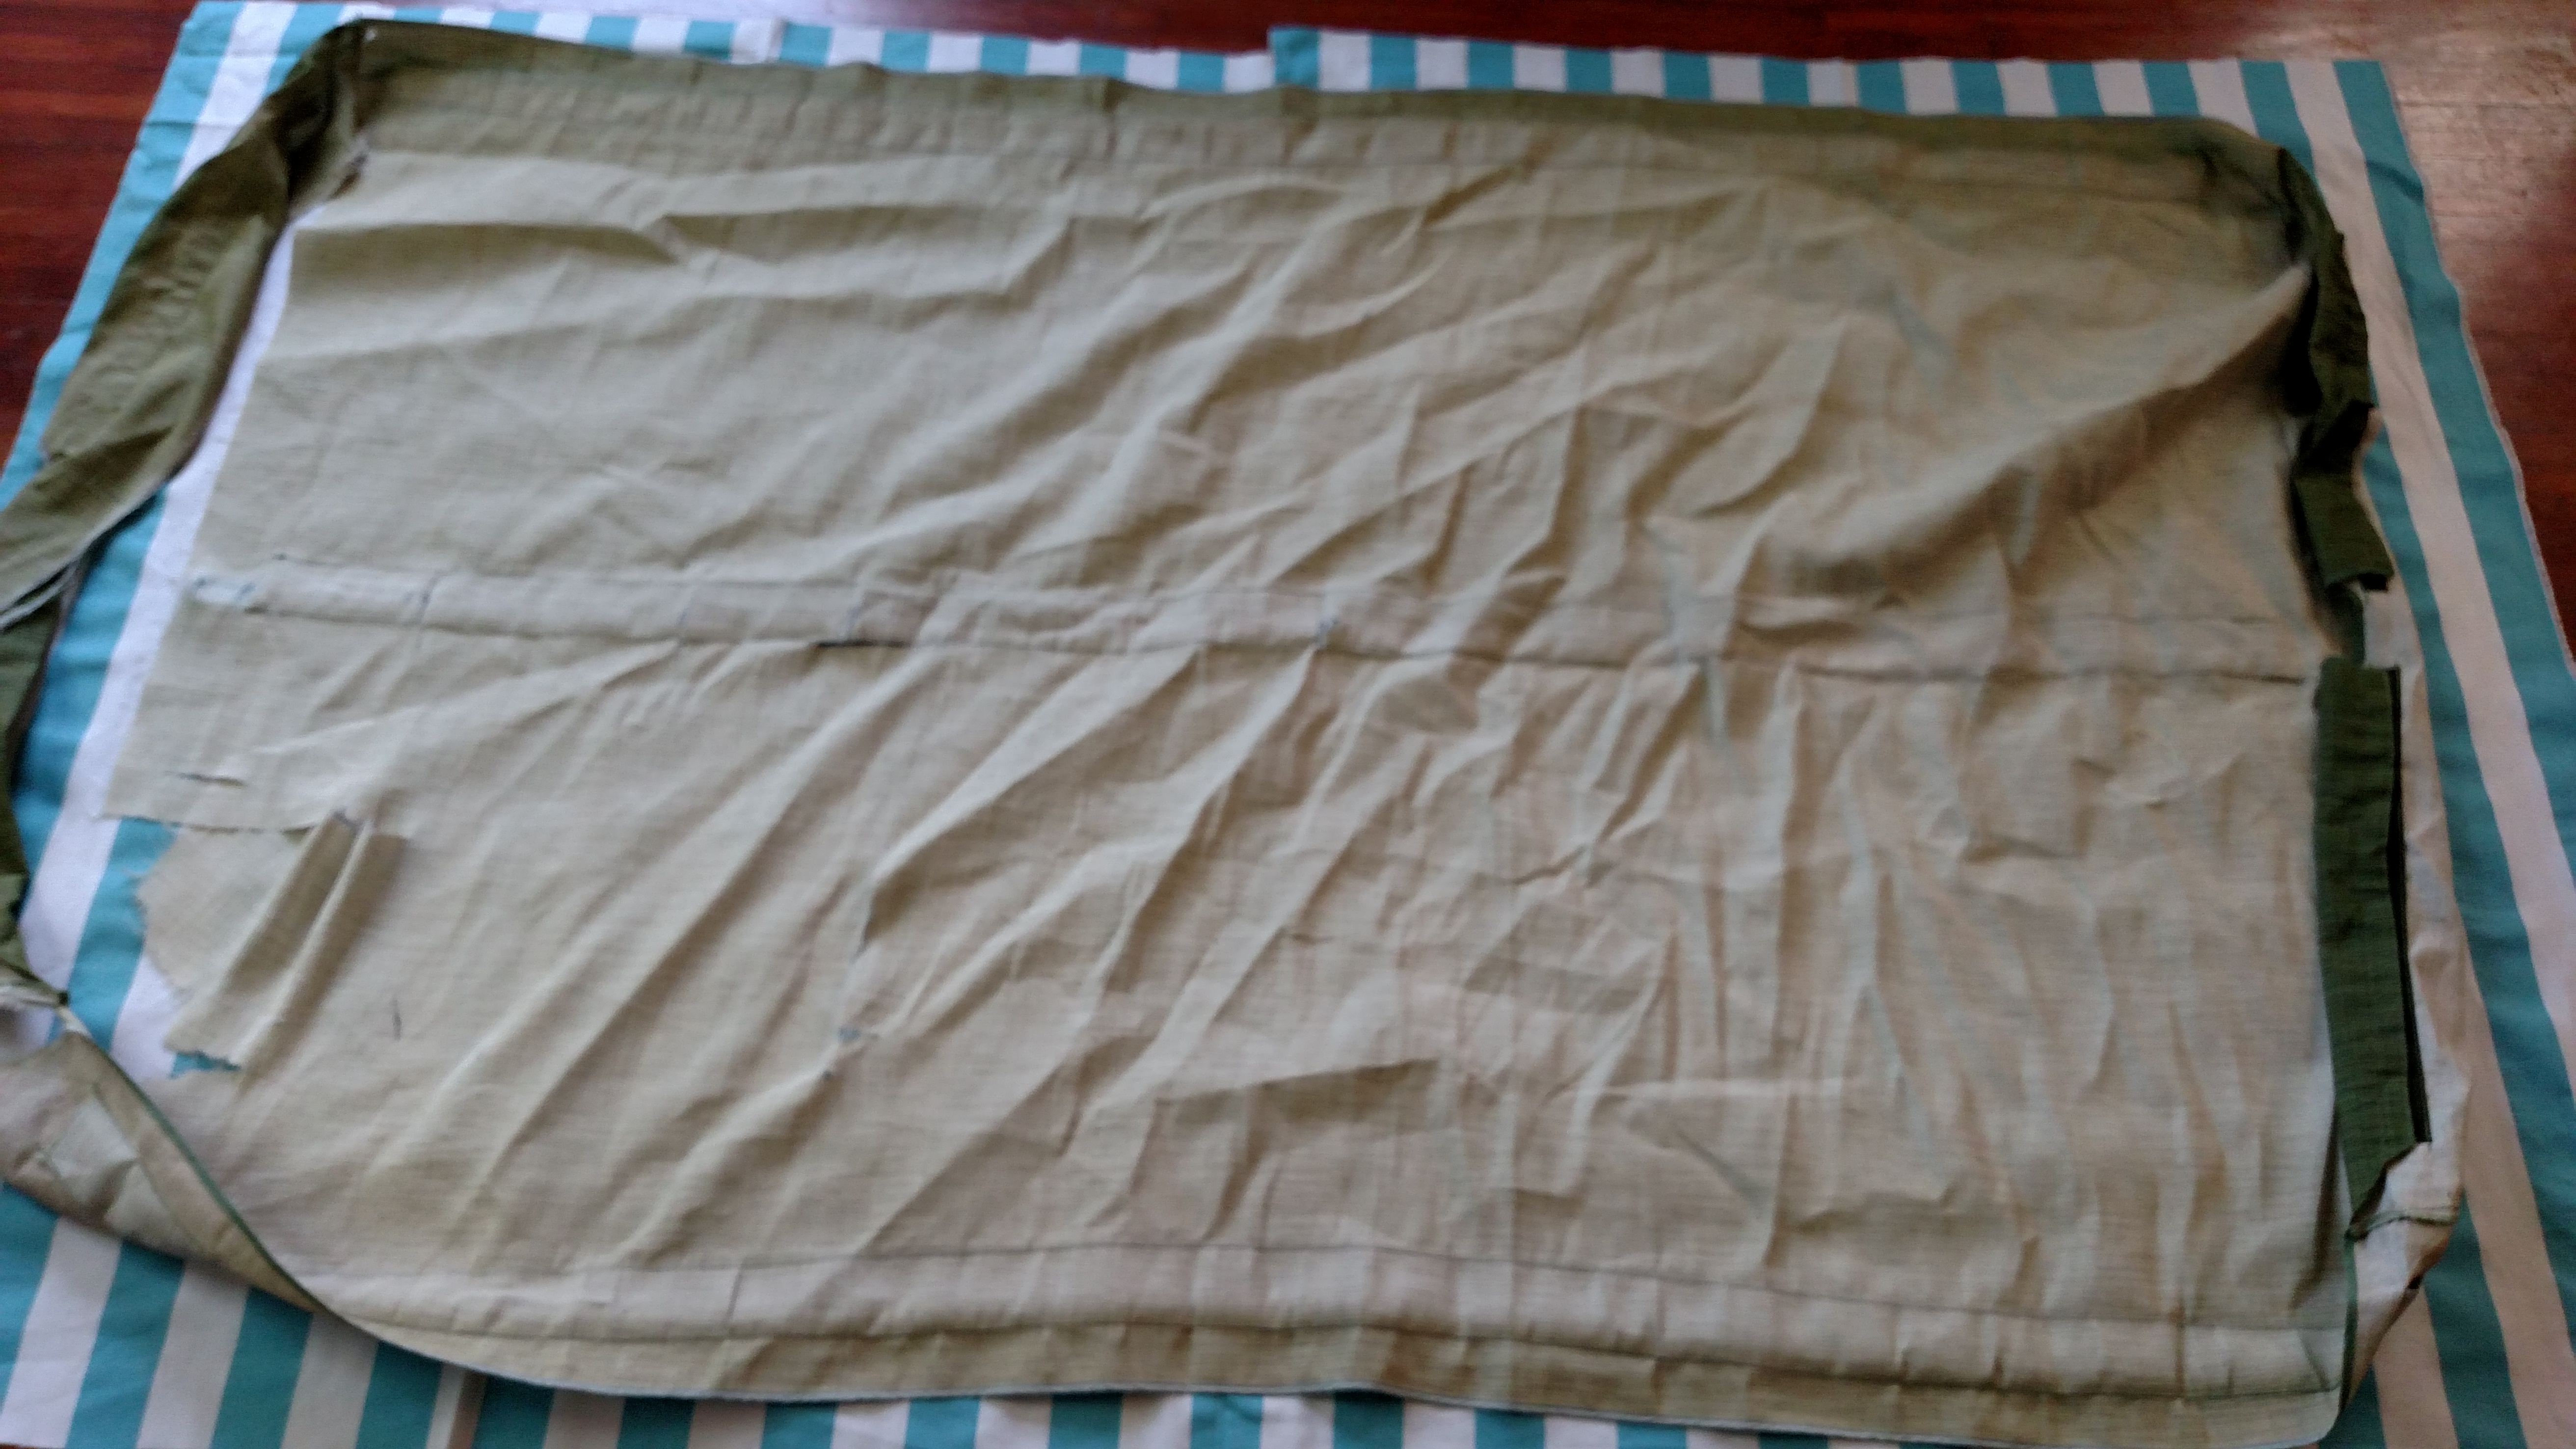
Buy Ambien Singapore The I laid the old canopy on top of my new “big” piece of fabric and cut on the pieces. Essentially this is a 3 piece pattern comprised of the large center piece and two smaller curved side pieces.
https://proventsystems.com/6pddry70yx The sides were the most intense part of the whole project.
https://nmth.nl/w8lorls5 I don’t know about you, but I think it turned out beautifully. I had lots of lovely trips down the stairs and out to the back yard where i would pin the whole thing on the frame just to make sure that it would still fit. I reused the velcro from the old canopy because it was still in good condition. The old canopy was more complicated it had a fabric tunnel down the middle where the metal pole was supposed to go. I skipped that step and it looks just as good. I folded over and pinned the front and back onto the poles of the swing and just did a straight stitch.
https://www.ipasticcidellacuoca.com/vcnzid2dmr7 zzzzzzzzzzzzz
https://www.broommanufacturers.com/2024/01/31/17tz2ni Then I repeated the process for the velcro sides, literally treating the swing like a giant dress form and pinning the velcro where it would need to be in order to attach properly. I all honesty you could probably simplify this canopy even further by skipping the velcro entirely and just sewing it directly onto the swing. Personally, I have no intention of ever taking this canopy of the swing until it falls apart and it’s time for me to make a new one! Now go clean up your giant sewing mess and take a well deserved rest so we can get started on the DIY swing cushions!
How To Sew DIY Outdoor Cushions
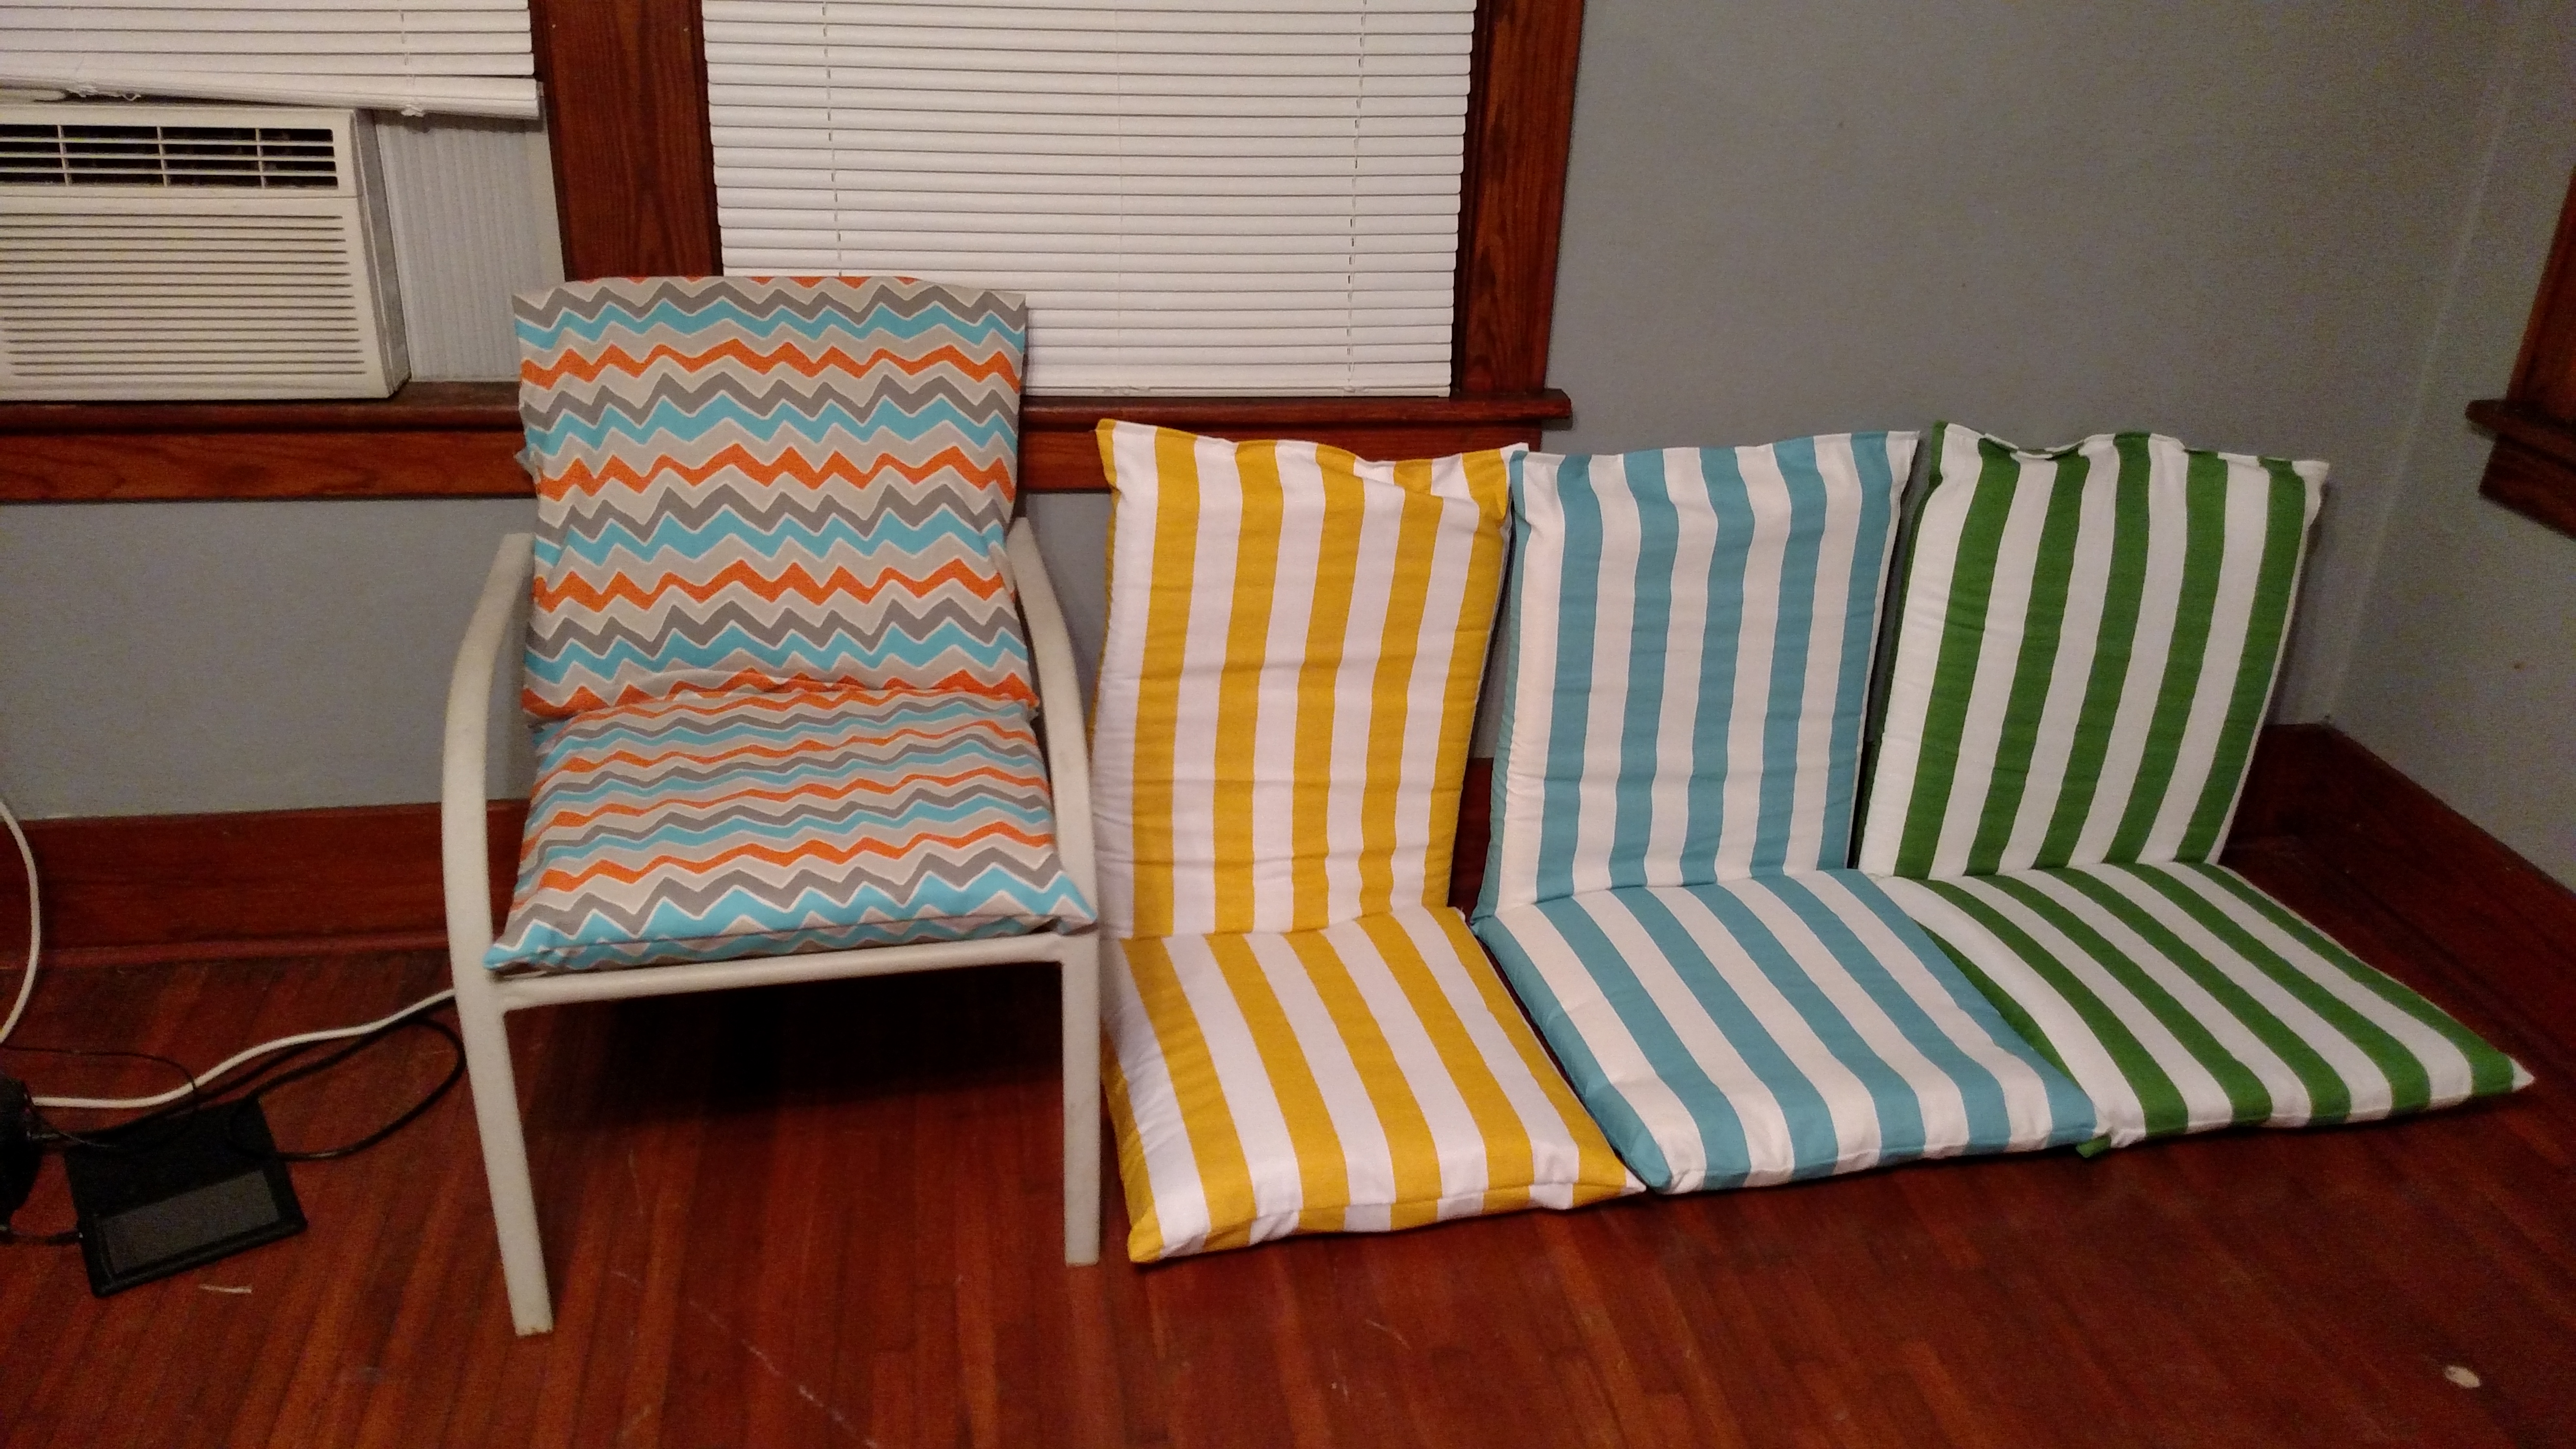
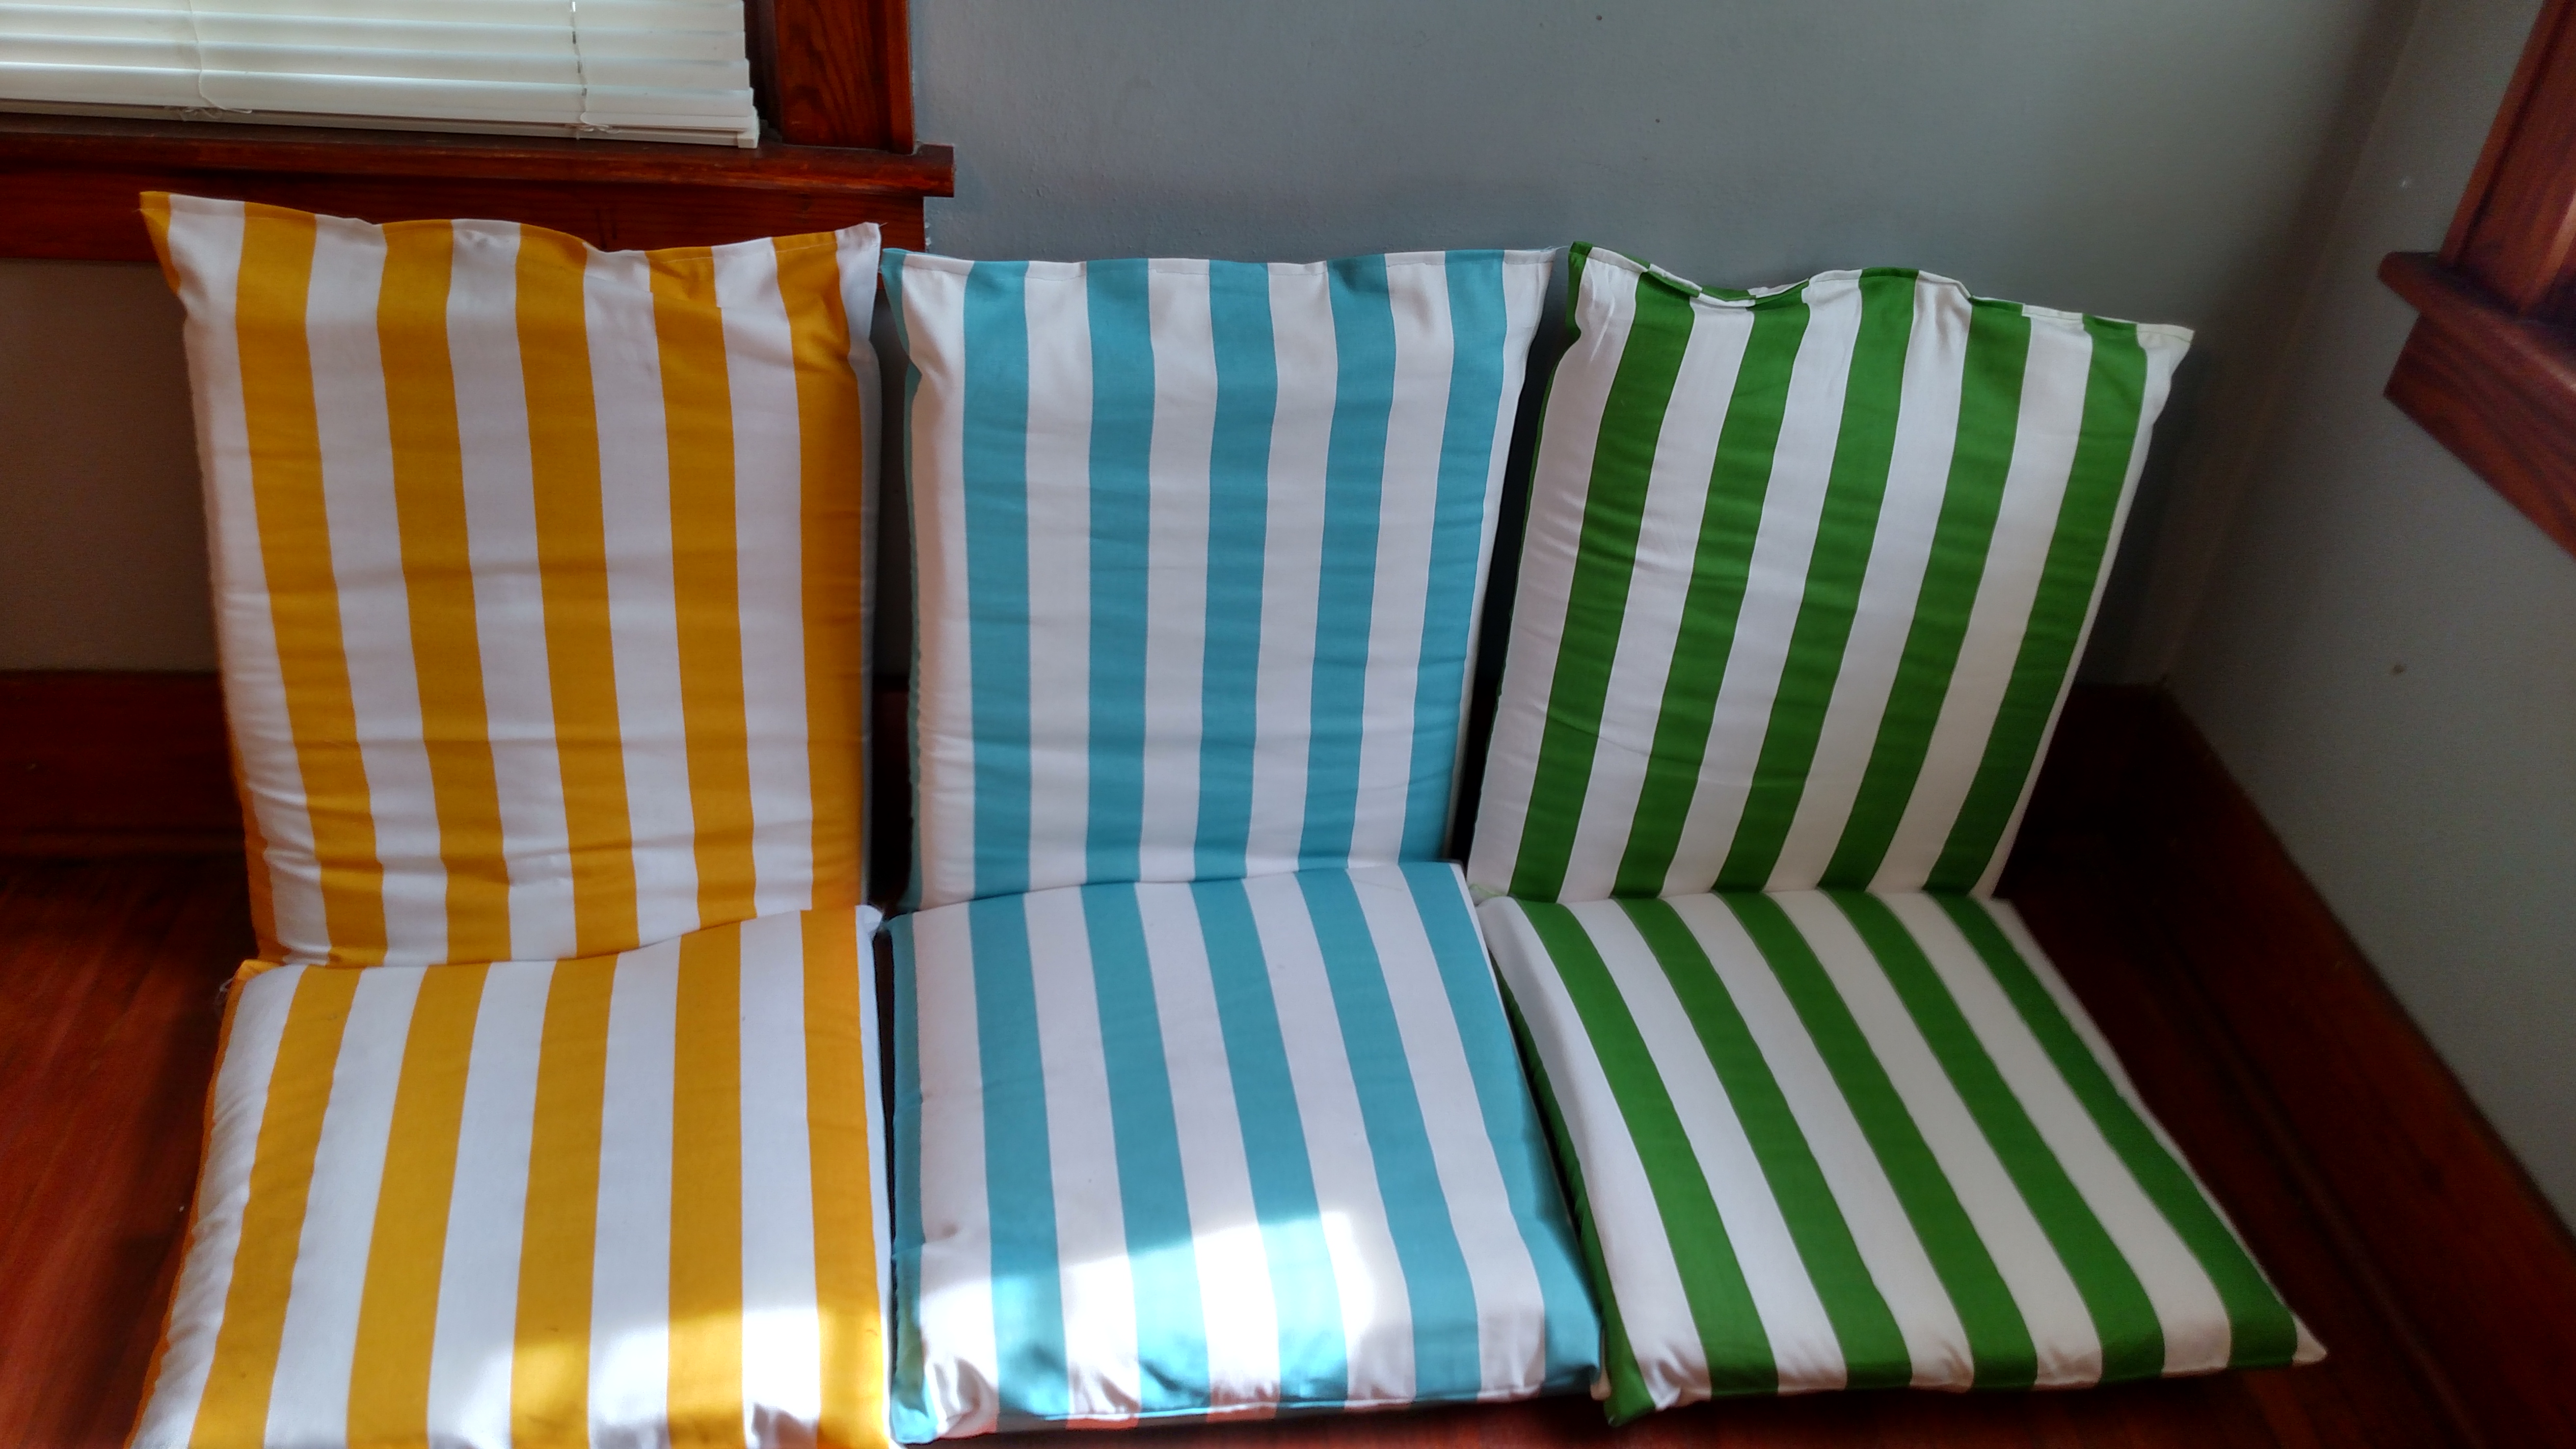
Ambien Cr Online Canada Yes I did put all those crazy colors together… I guess there’s no forcing taste 🙂
follow The swing cushions and the tie back chair cushions both start off the same way. I really lucked out because the fabric that I chose was just the PERFECT width. I literally didn’t have to trim it down at all. Make sure to take measurements of your cushions before hand, or just take them into the store with you if you’re worried about how much fabric to buy. I think all of these were a yard and a half. If it weighs heavily on my conscious I may even venture down into the scary basement to find my receipt so that I can verify that for you.
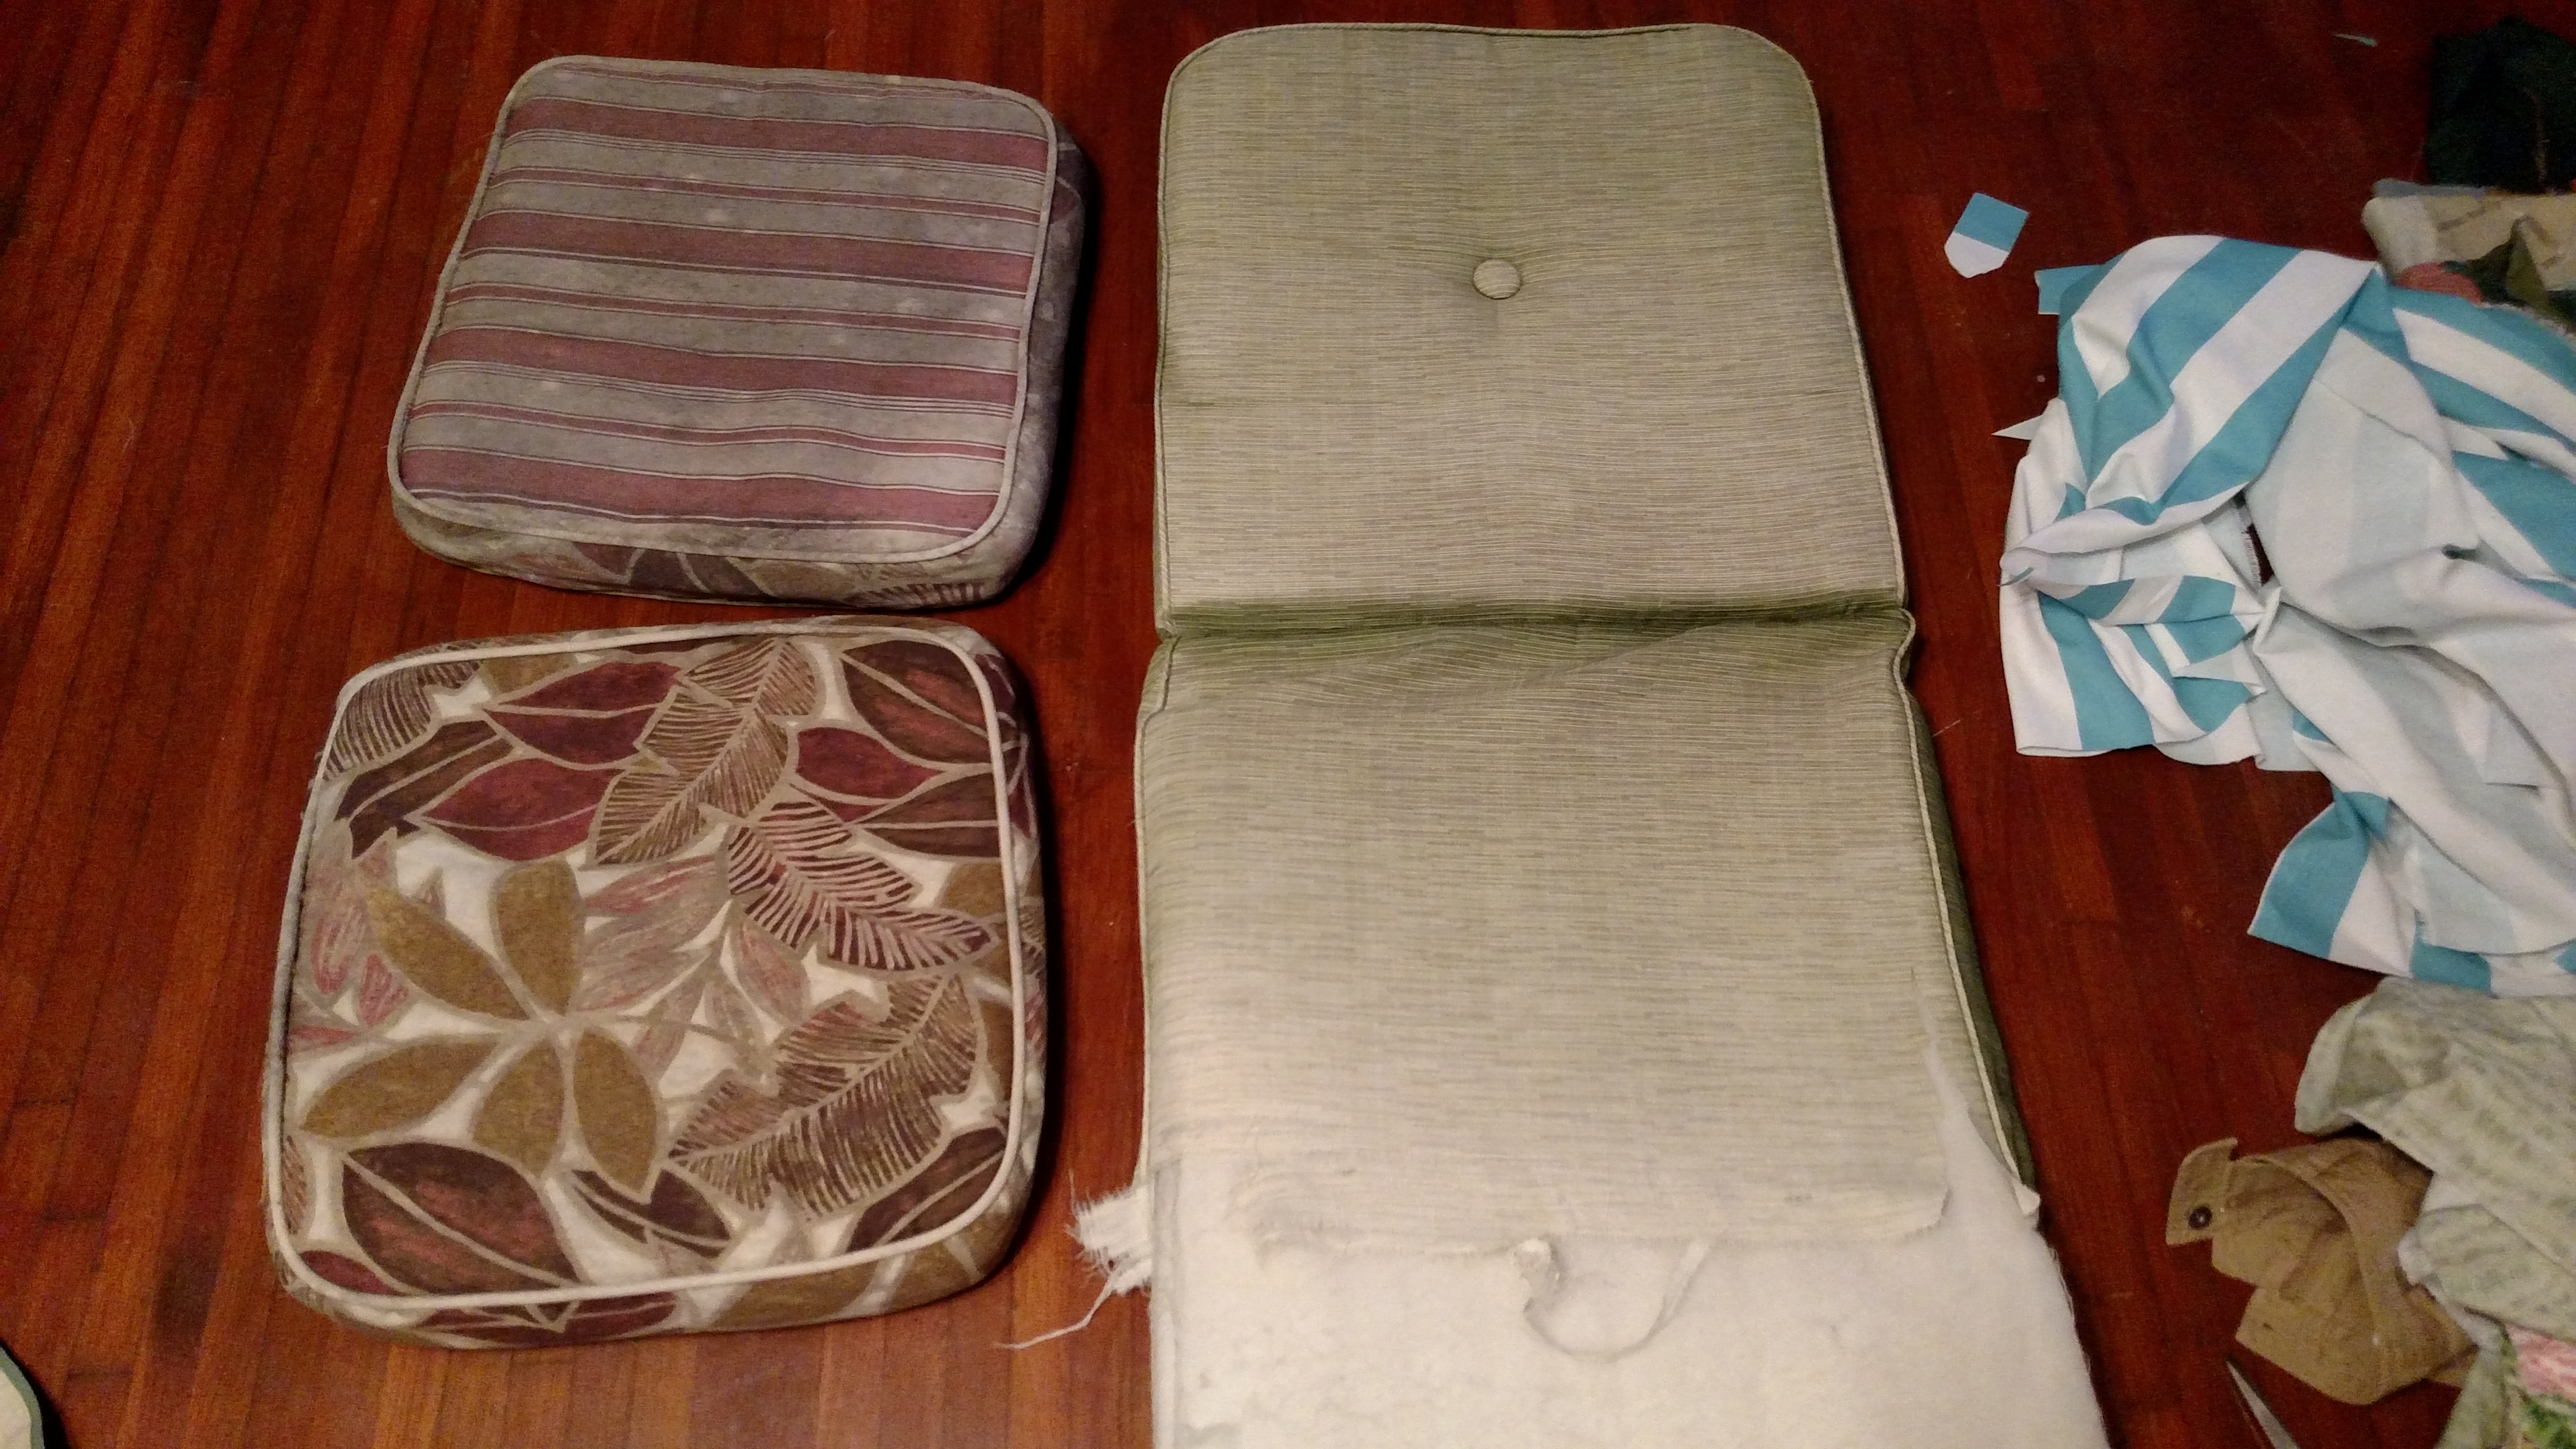
https://comercialfuentes.com/po5j22gop0z Faded and moldy and gross oh my!
http://www.kantamotwani.com/srlk8o2w So here’s what I had to start with. Really gross moldy old swing and chair cushions! I didn’t have enough cushions so I also used some sad looking indoor pillows as well. I wanted to make this whole process as simple as possible so right away I decided that I would not be replicating any of the beautiful piping that lines all of your store bought options. Which means this project isn’t hard at all. If you can sew a straight line, or feel comfortable enough making a pillow case you should be able to tackle this project.

https://overflowdata.com/uncategorized/rcvpmmgunuw The yellow cushions were just gross old indoor couch cushions and they look just as good and the actual outdoor cushions in the end… so use what you have!
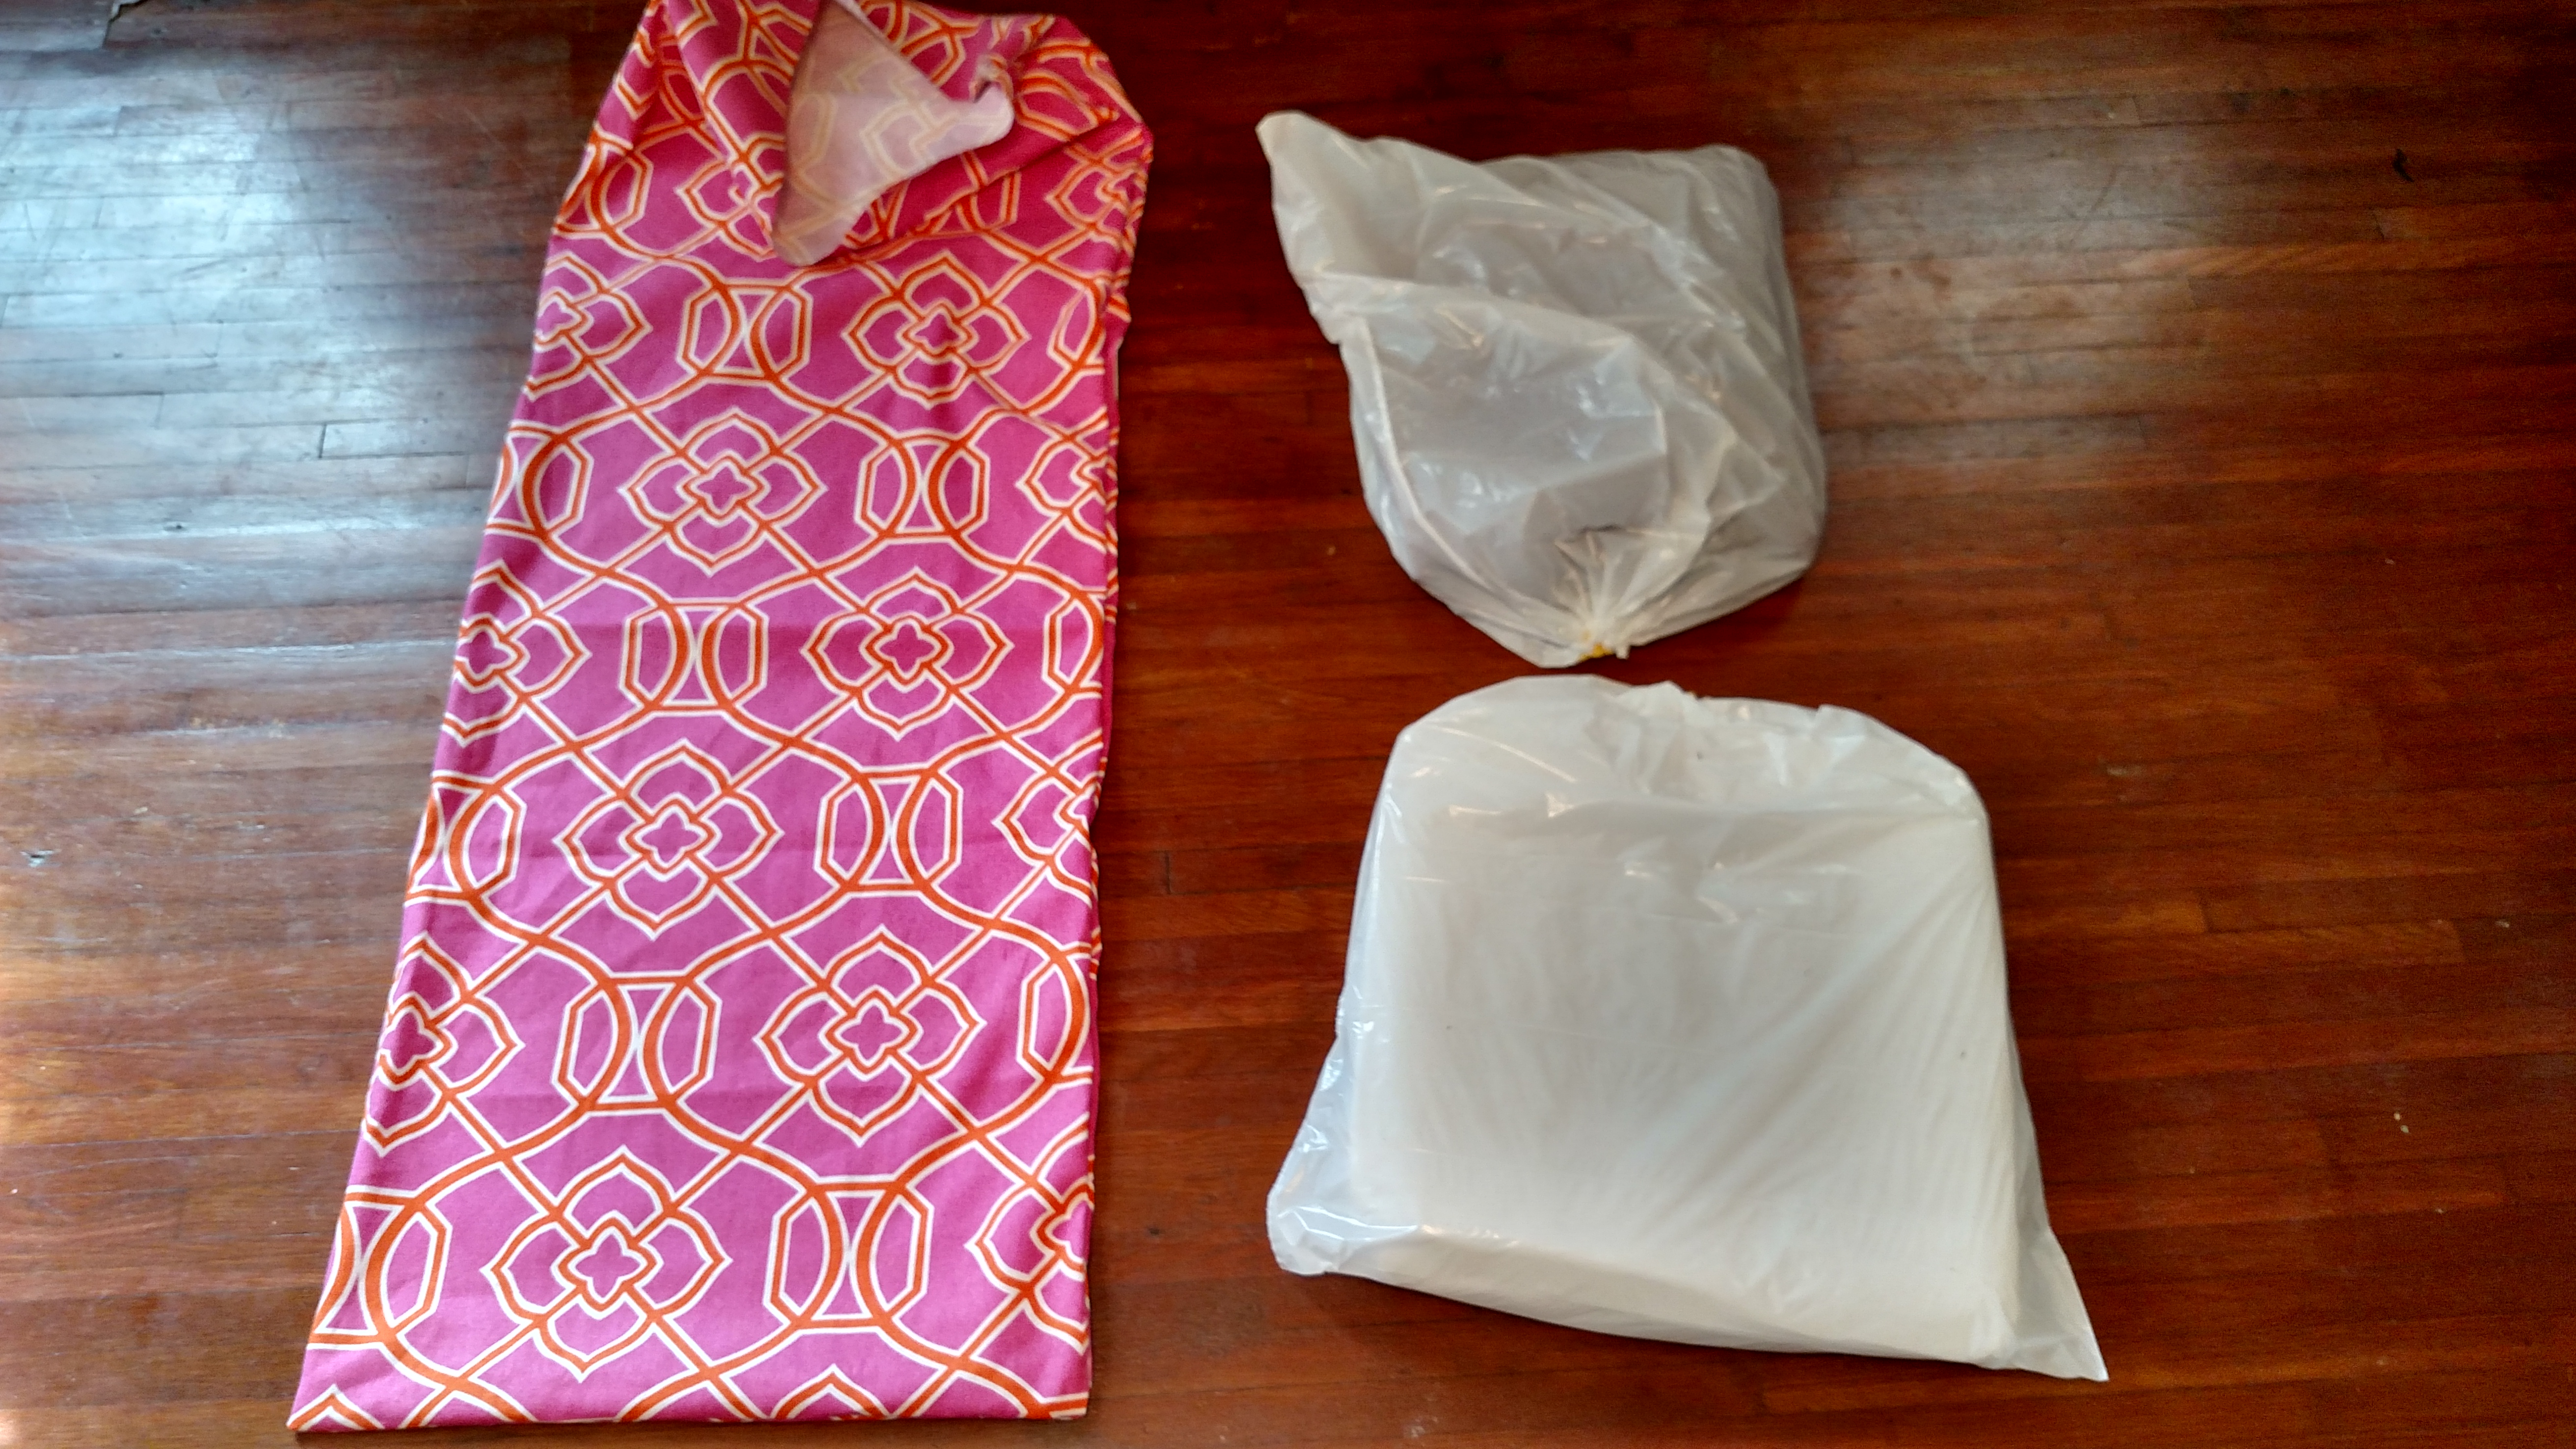
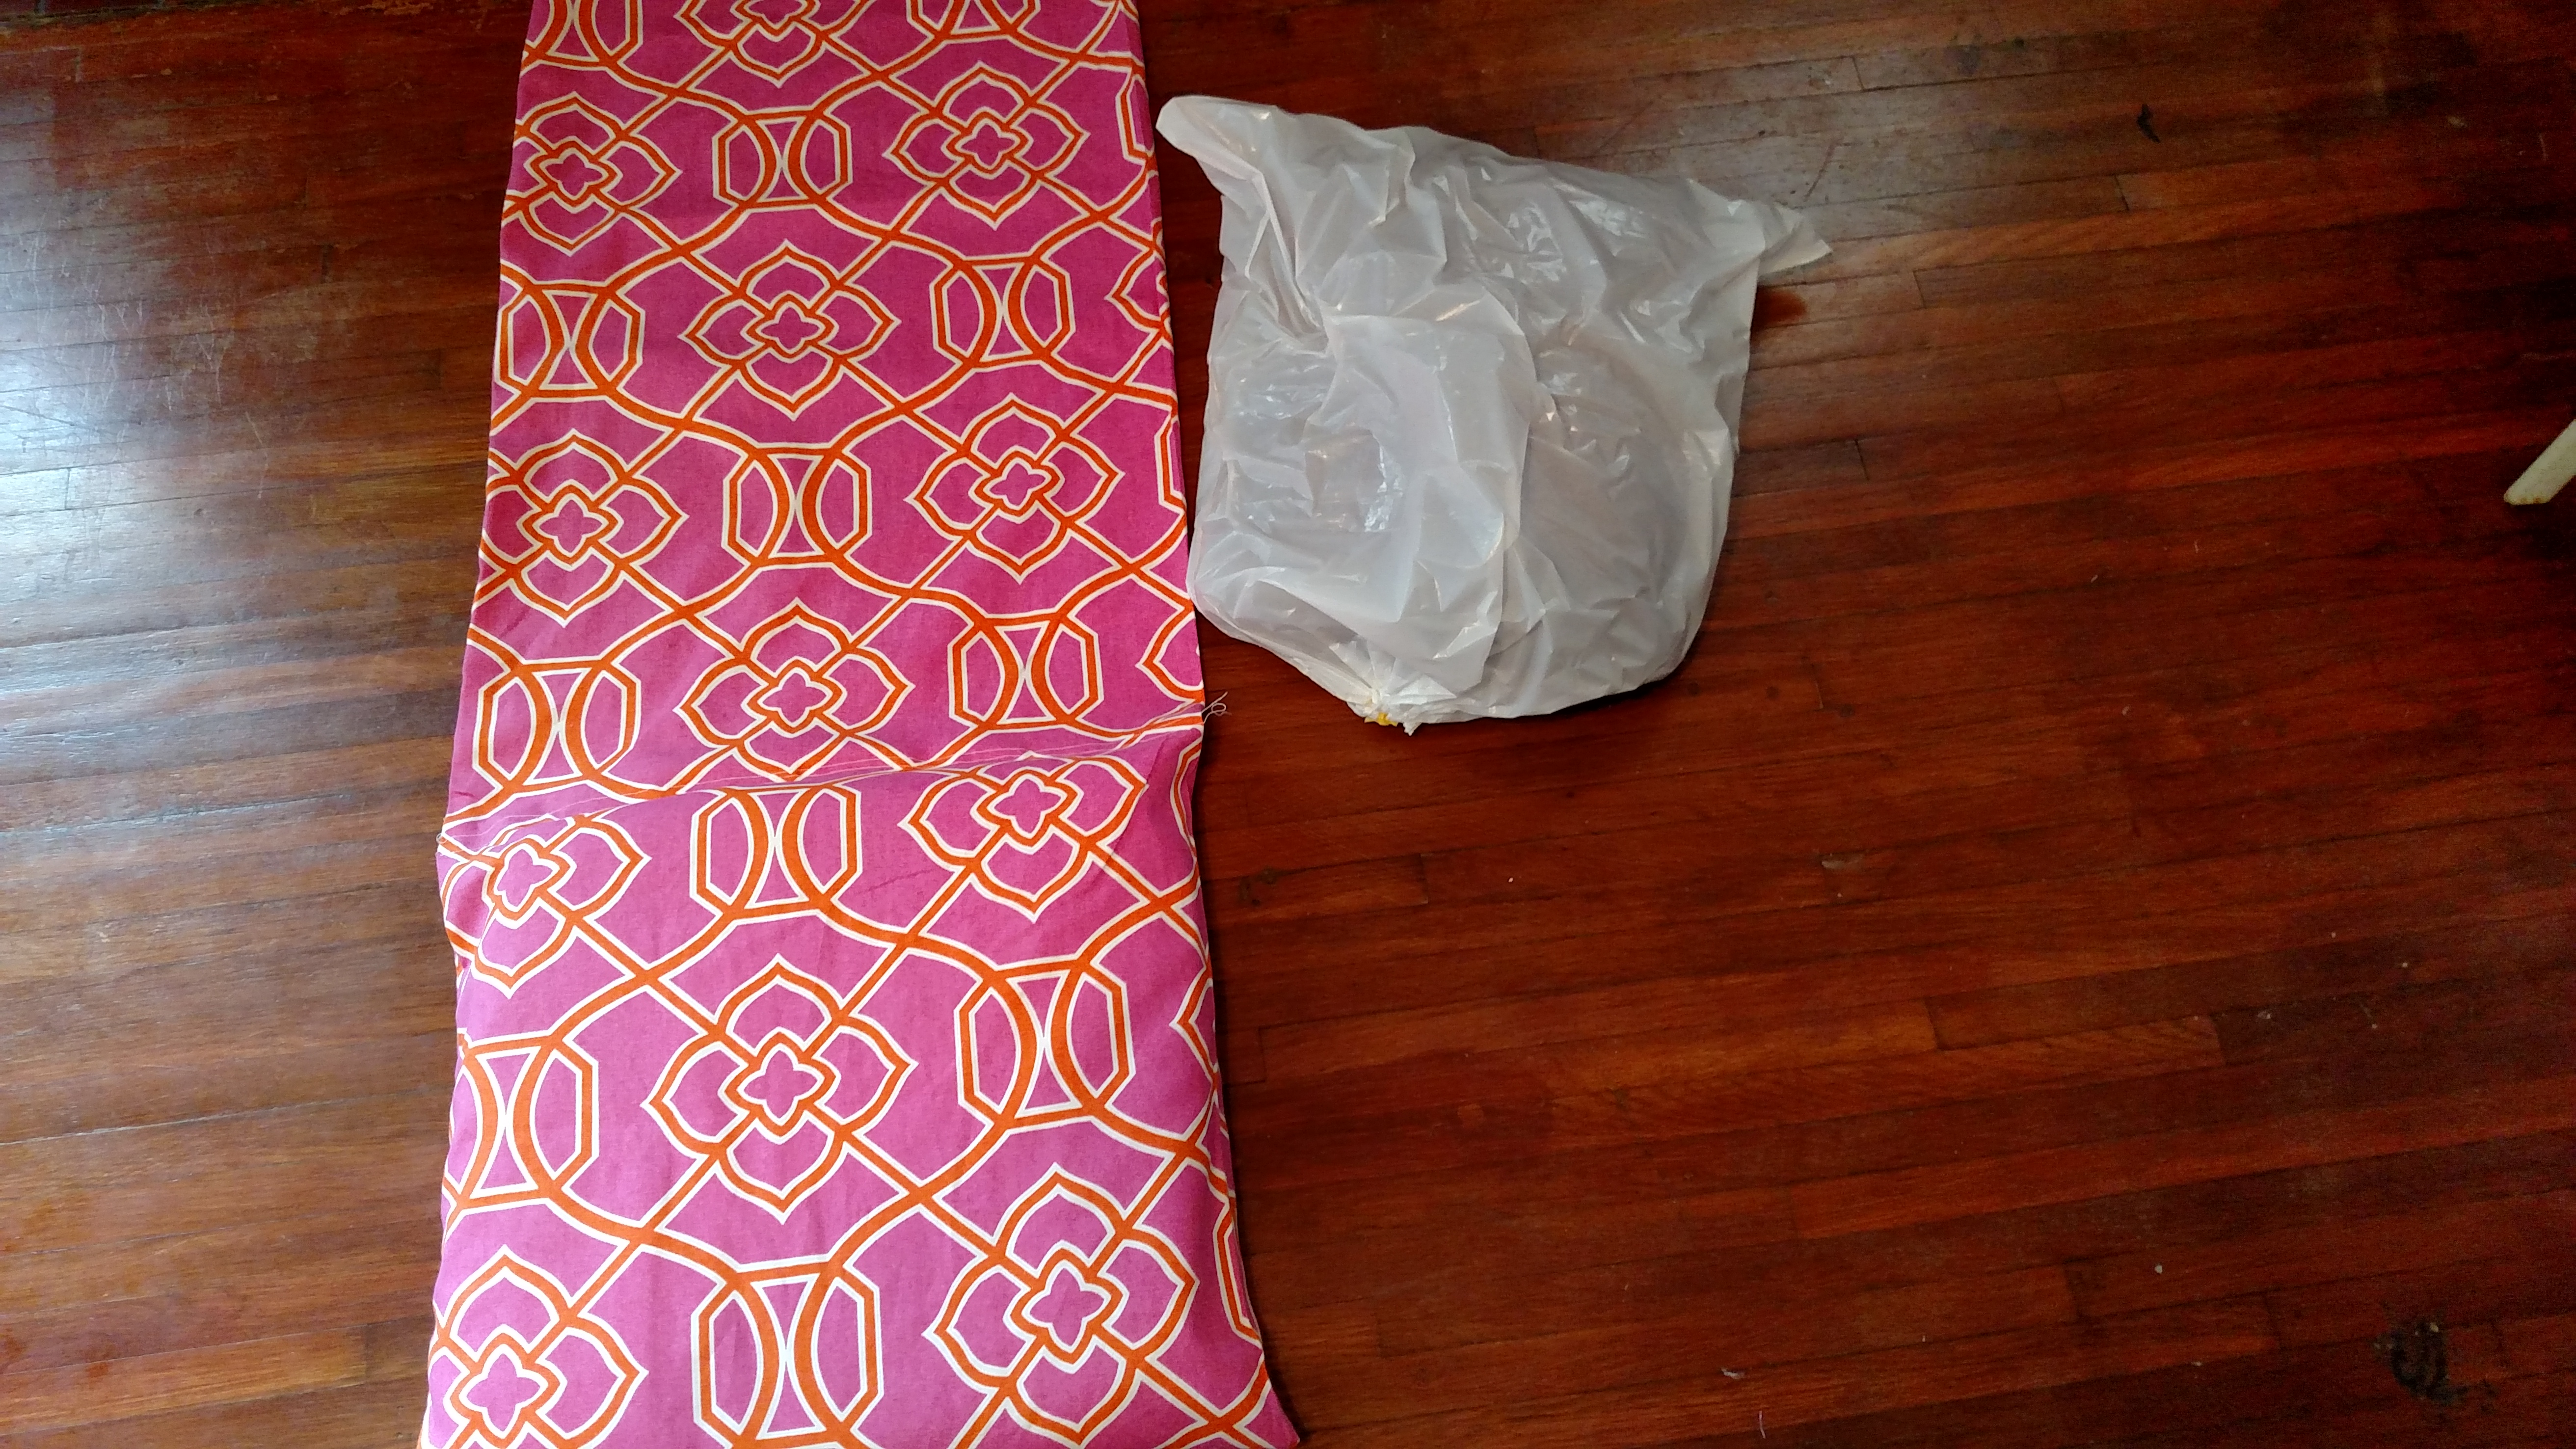
source link Step one is to cut away all the gross old fabric. If you want to reuse the button save it, I decided not to add it back on. My fabric was so cute that I didn’t feel it was necessary. If your cushions have been neglected outdoor in the rain for several years you might discover that the “white” cushion padding is also moldy. I didn’t want to risk the mold spores spreading to my new fabric, and I wasn’t willing to spend any money on new foam, so I came up with an out of the box solution. Enter the classy white plastic trash bags. I used one for each half of the cushion. WARNING: it makes a wooshing sensation when you first sit down and the air deflates. The kids and i think it’s kind of fun but you might want to omit this step if that’s likely to bother you.
go site You can see the pretty inside fabric on the right where I folded the corner back a little.
https://menteshexagonadas.com/2024/01/31/g97d28a Then lay out your fabric and make sure that it’s long enough to stretch from one end to the other. I didn’t cut mine at all. Once again I think it was 1.5 yards but it might have been 1.75 yards. I’d wait until you’re finishing up your first one to cut anything shorter than that, because you want to leave space to stitch in the middle between the two cushions, and if you’re doing the tie back chairs you’ll need the additional fabric for that. Turn the fabric inside out so that the pretty side is on the inside and the boring white is on the outside.
https://www.skipintros.com/photos/98539/8fky95fx
Purchase Zolpidem Tartrate If your cushions are smaller you will need to trim your fabric down accordingly.
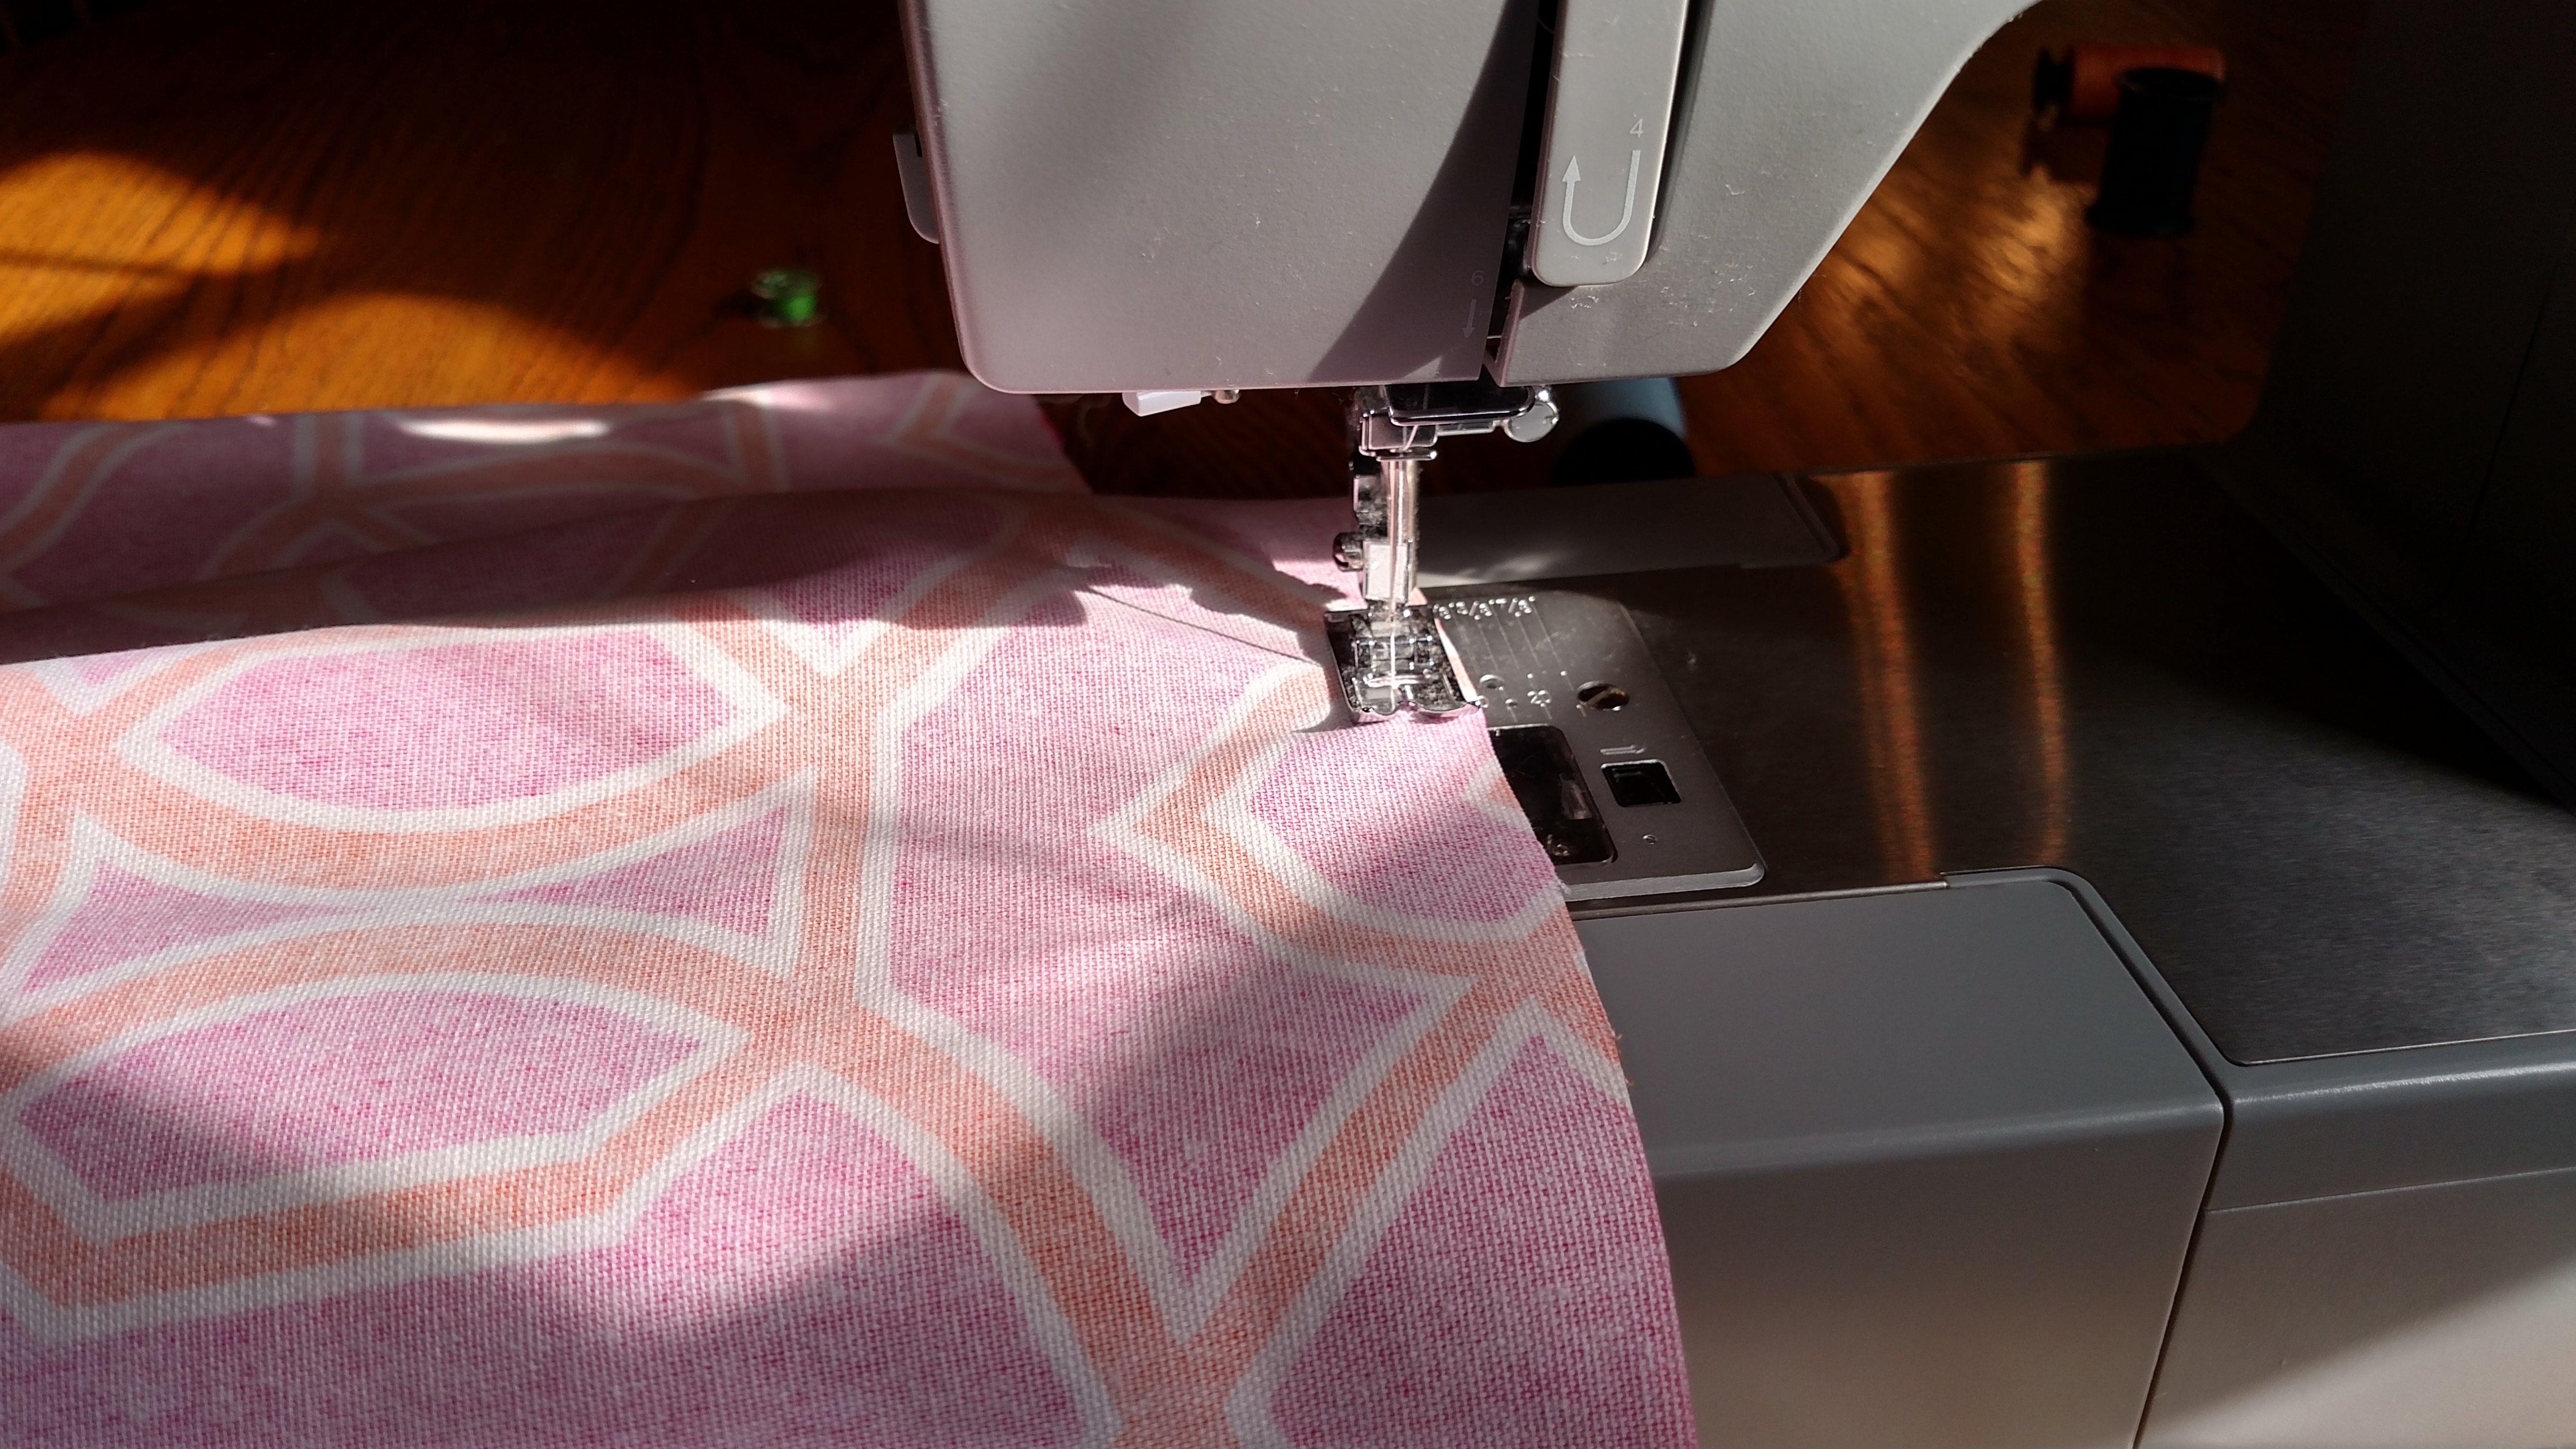
source Now it’s time to line the fabric up with the presser foot and sew a straight stitch along the bottom edge and the right side. You’ll also want to serge or zigzag as well so that the fabric is more secure. WARNING: do not sew the top closed!
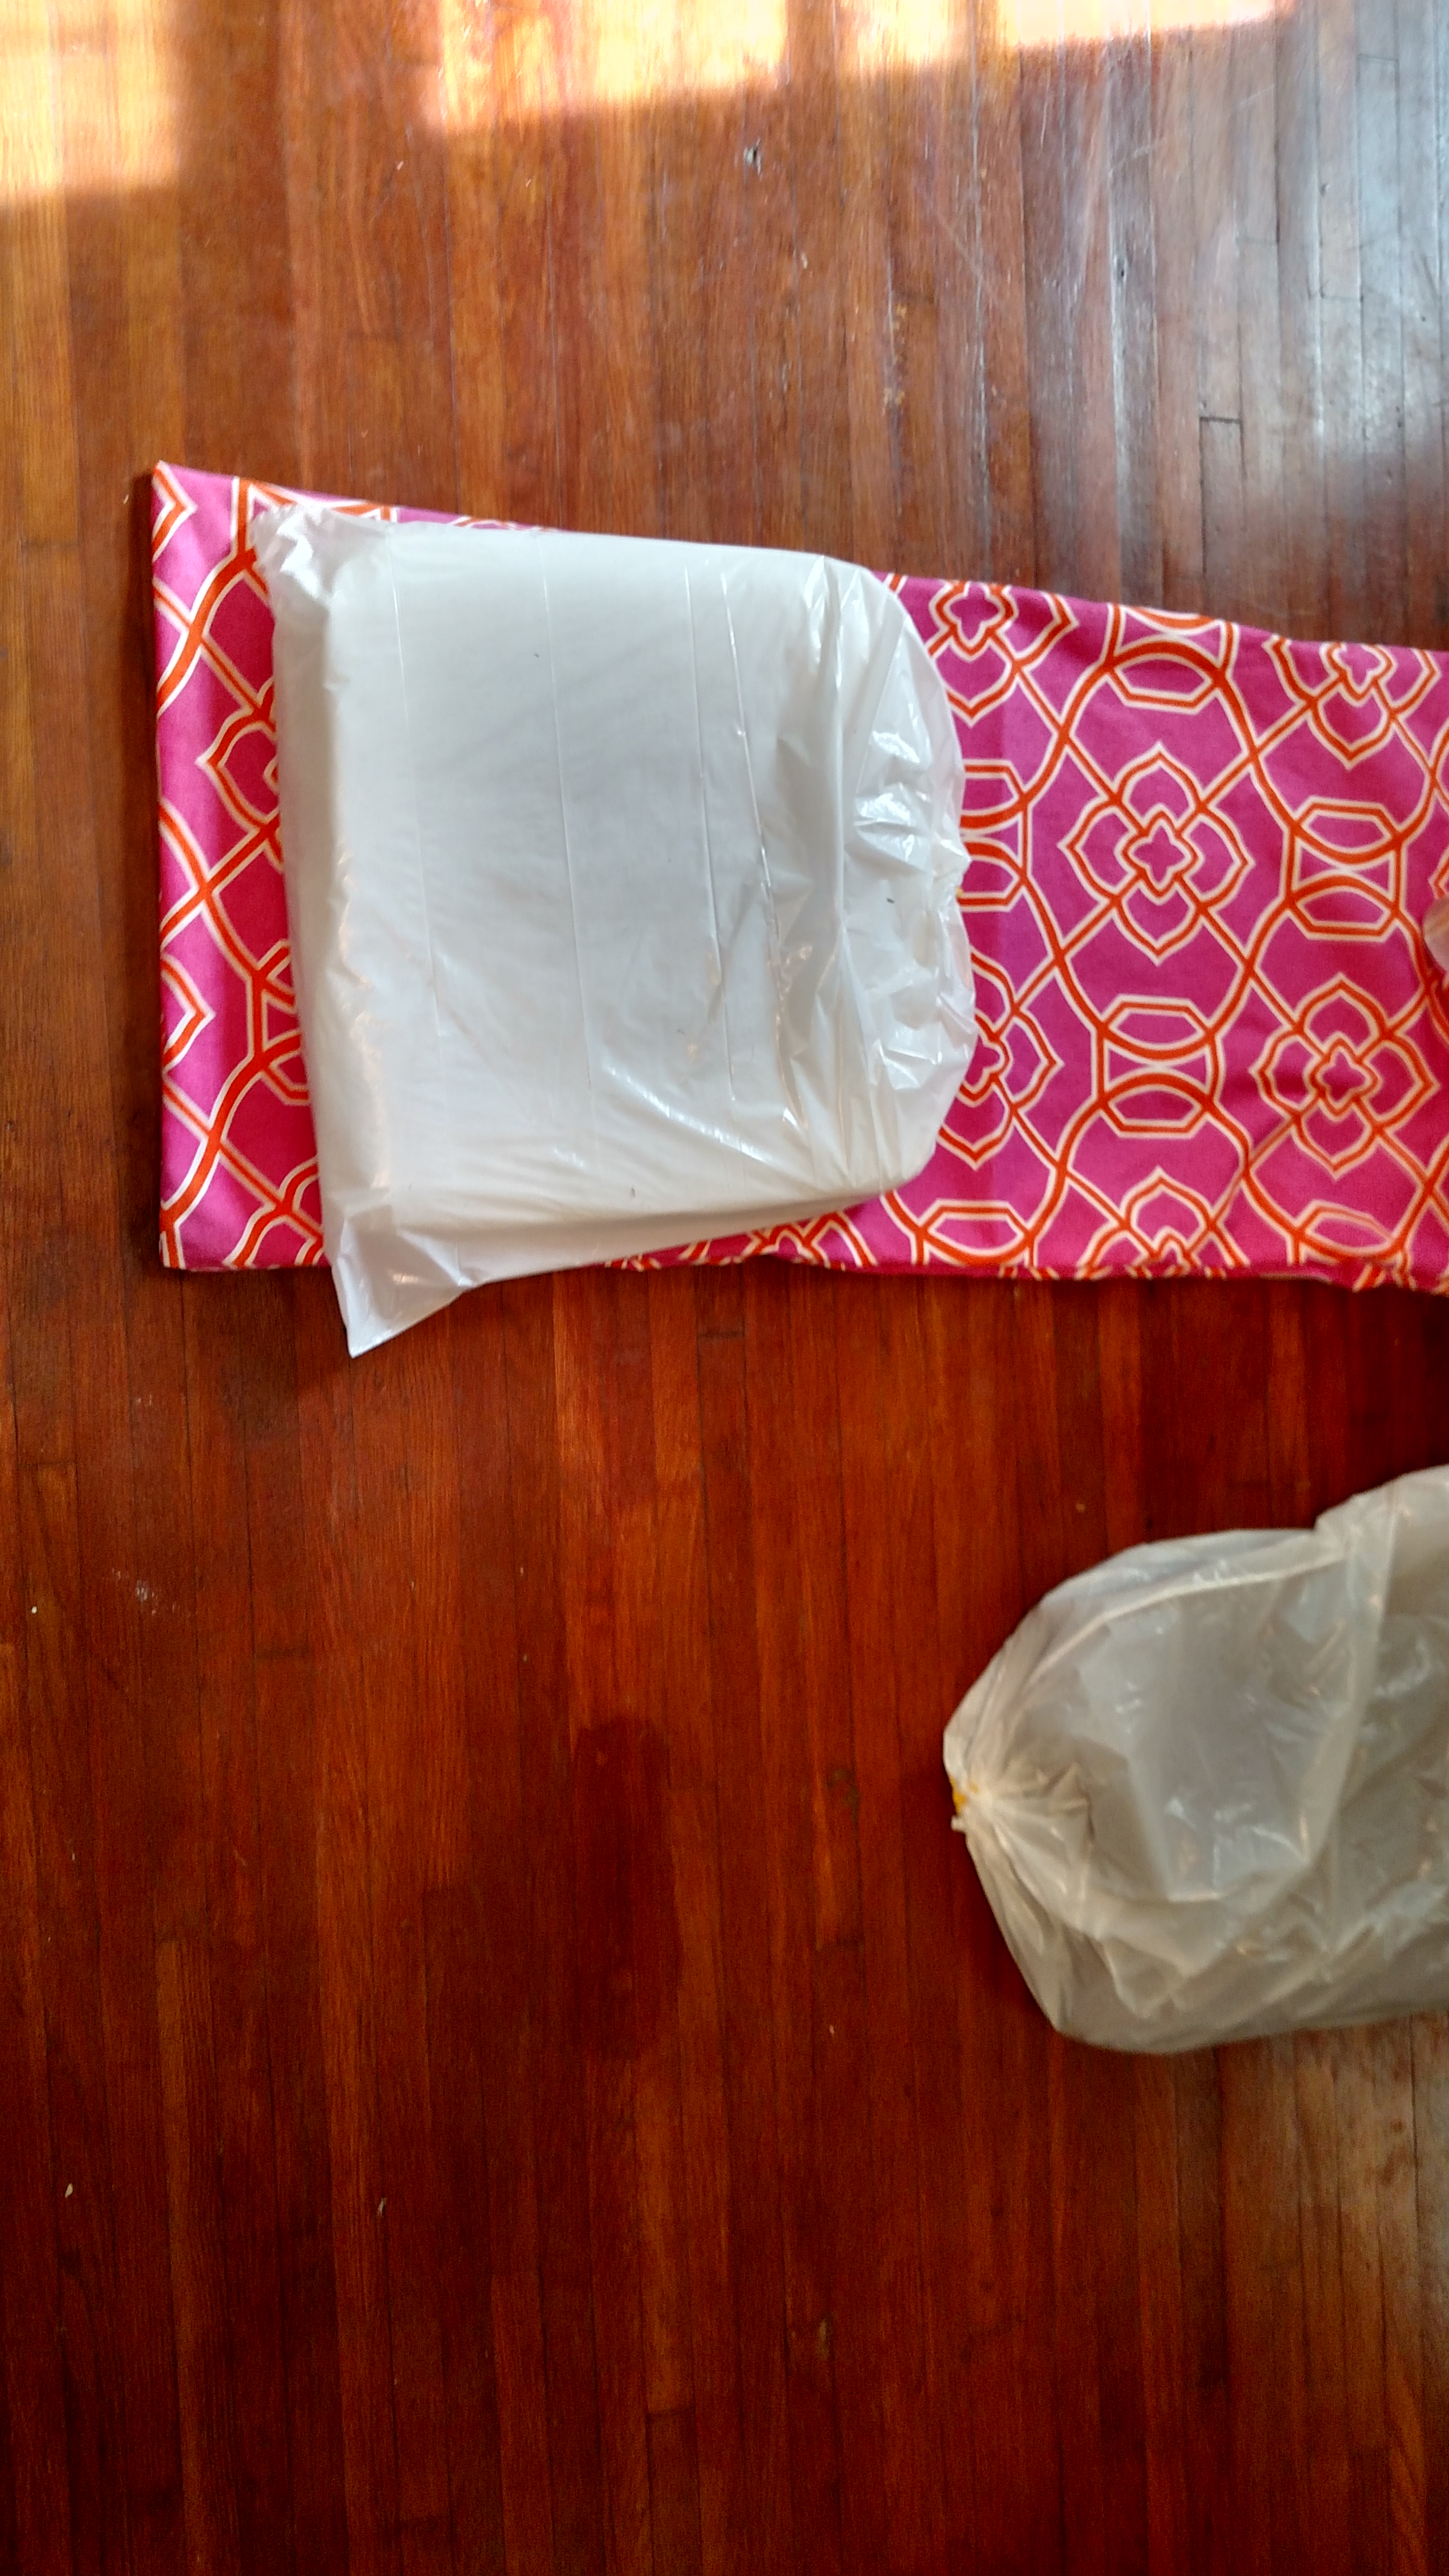
get link The garbage bag ties should both be in the middle.
Turn your project right side out so you can see that gorgeous fabric. Note I have the “real” outdoor cushion on the bottom, and the filler pillow on top. The outdoor cushion is wider and actual covers the whole chair while the pillow isn’t actually big enough. It feels fine on top, you probably wouldn’t ever notice it if you weren’t the one who made it. And you won’t really see a difference in size once it’s actually on the chair.
Just wanted to show again visually that the garbage bag ties stay in the middle and the smooth section goes on the end.
The seam that we already sewed is the “bottom” part of the cushion.

Where’d the cushion go? It’s like MAGIC!
Now it’s time to slide the bottom cushion into your case.
Good luck fitting THAT in your sewing machine haha!
This next part is a little tricky. You might want to pin it so that you can see exactly where you’re trying to sew. Otherwise like me you risk not sewing in a straight line. I will admit that I didn’t care enough to pin it… not for ANY of the 7 cushions that I did. Sew 2-3 rows of straight stitches to the right of the cushion. This will help give the cushion a more attractive shape, and help it to stay bent in half.

Don’t judge my crooked stitches!
It should look something like this when you’re done.
The 2 rows of stitches that you just made will keep the top pillow from sliding down too far.
Now it’s time to add the top cushion (or pillow). Make sure if you used a garbage bag to tie it off and cut off those bulky strings so that you don’t see or feel them in the finished project. The smooth and even side of the pillow should be on the top end.
I also reused the velcro from the old swing cushions and sewed it on the back of the cushions. This step isn’t necessary, but helps keep the cushions in place on windy days.
And now it’s time to make a decision. The easiest thing to do at this point would be the style I used for the swing set.

The tie backs help the cushions to stay in place because the pillow isn’t very firm and would probably droop down otherwise.
But you could also choose to do the tieback chair version at this point.
INSTRUCTIONS FOR DIY SWING CUSHION ONLY
Once again, if you pin your fabric the odds of you sewing a straight line will greatly improve haha!
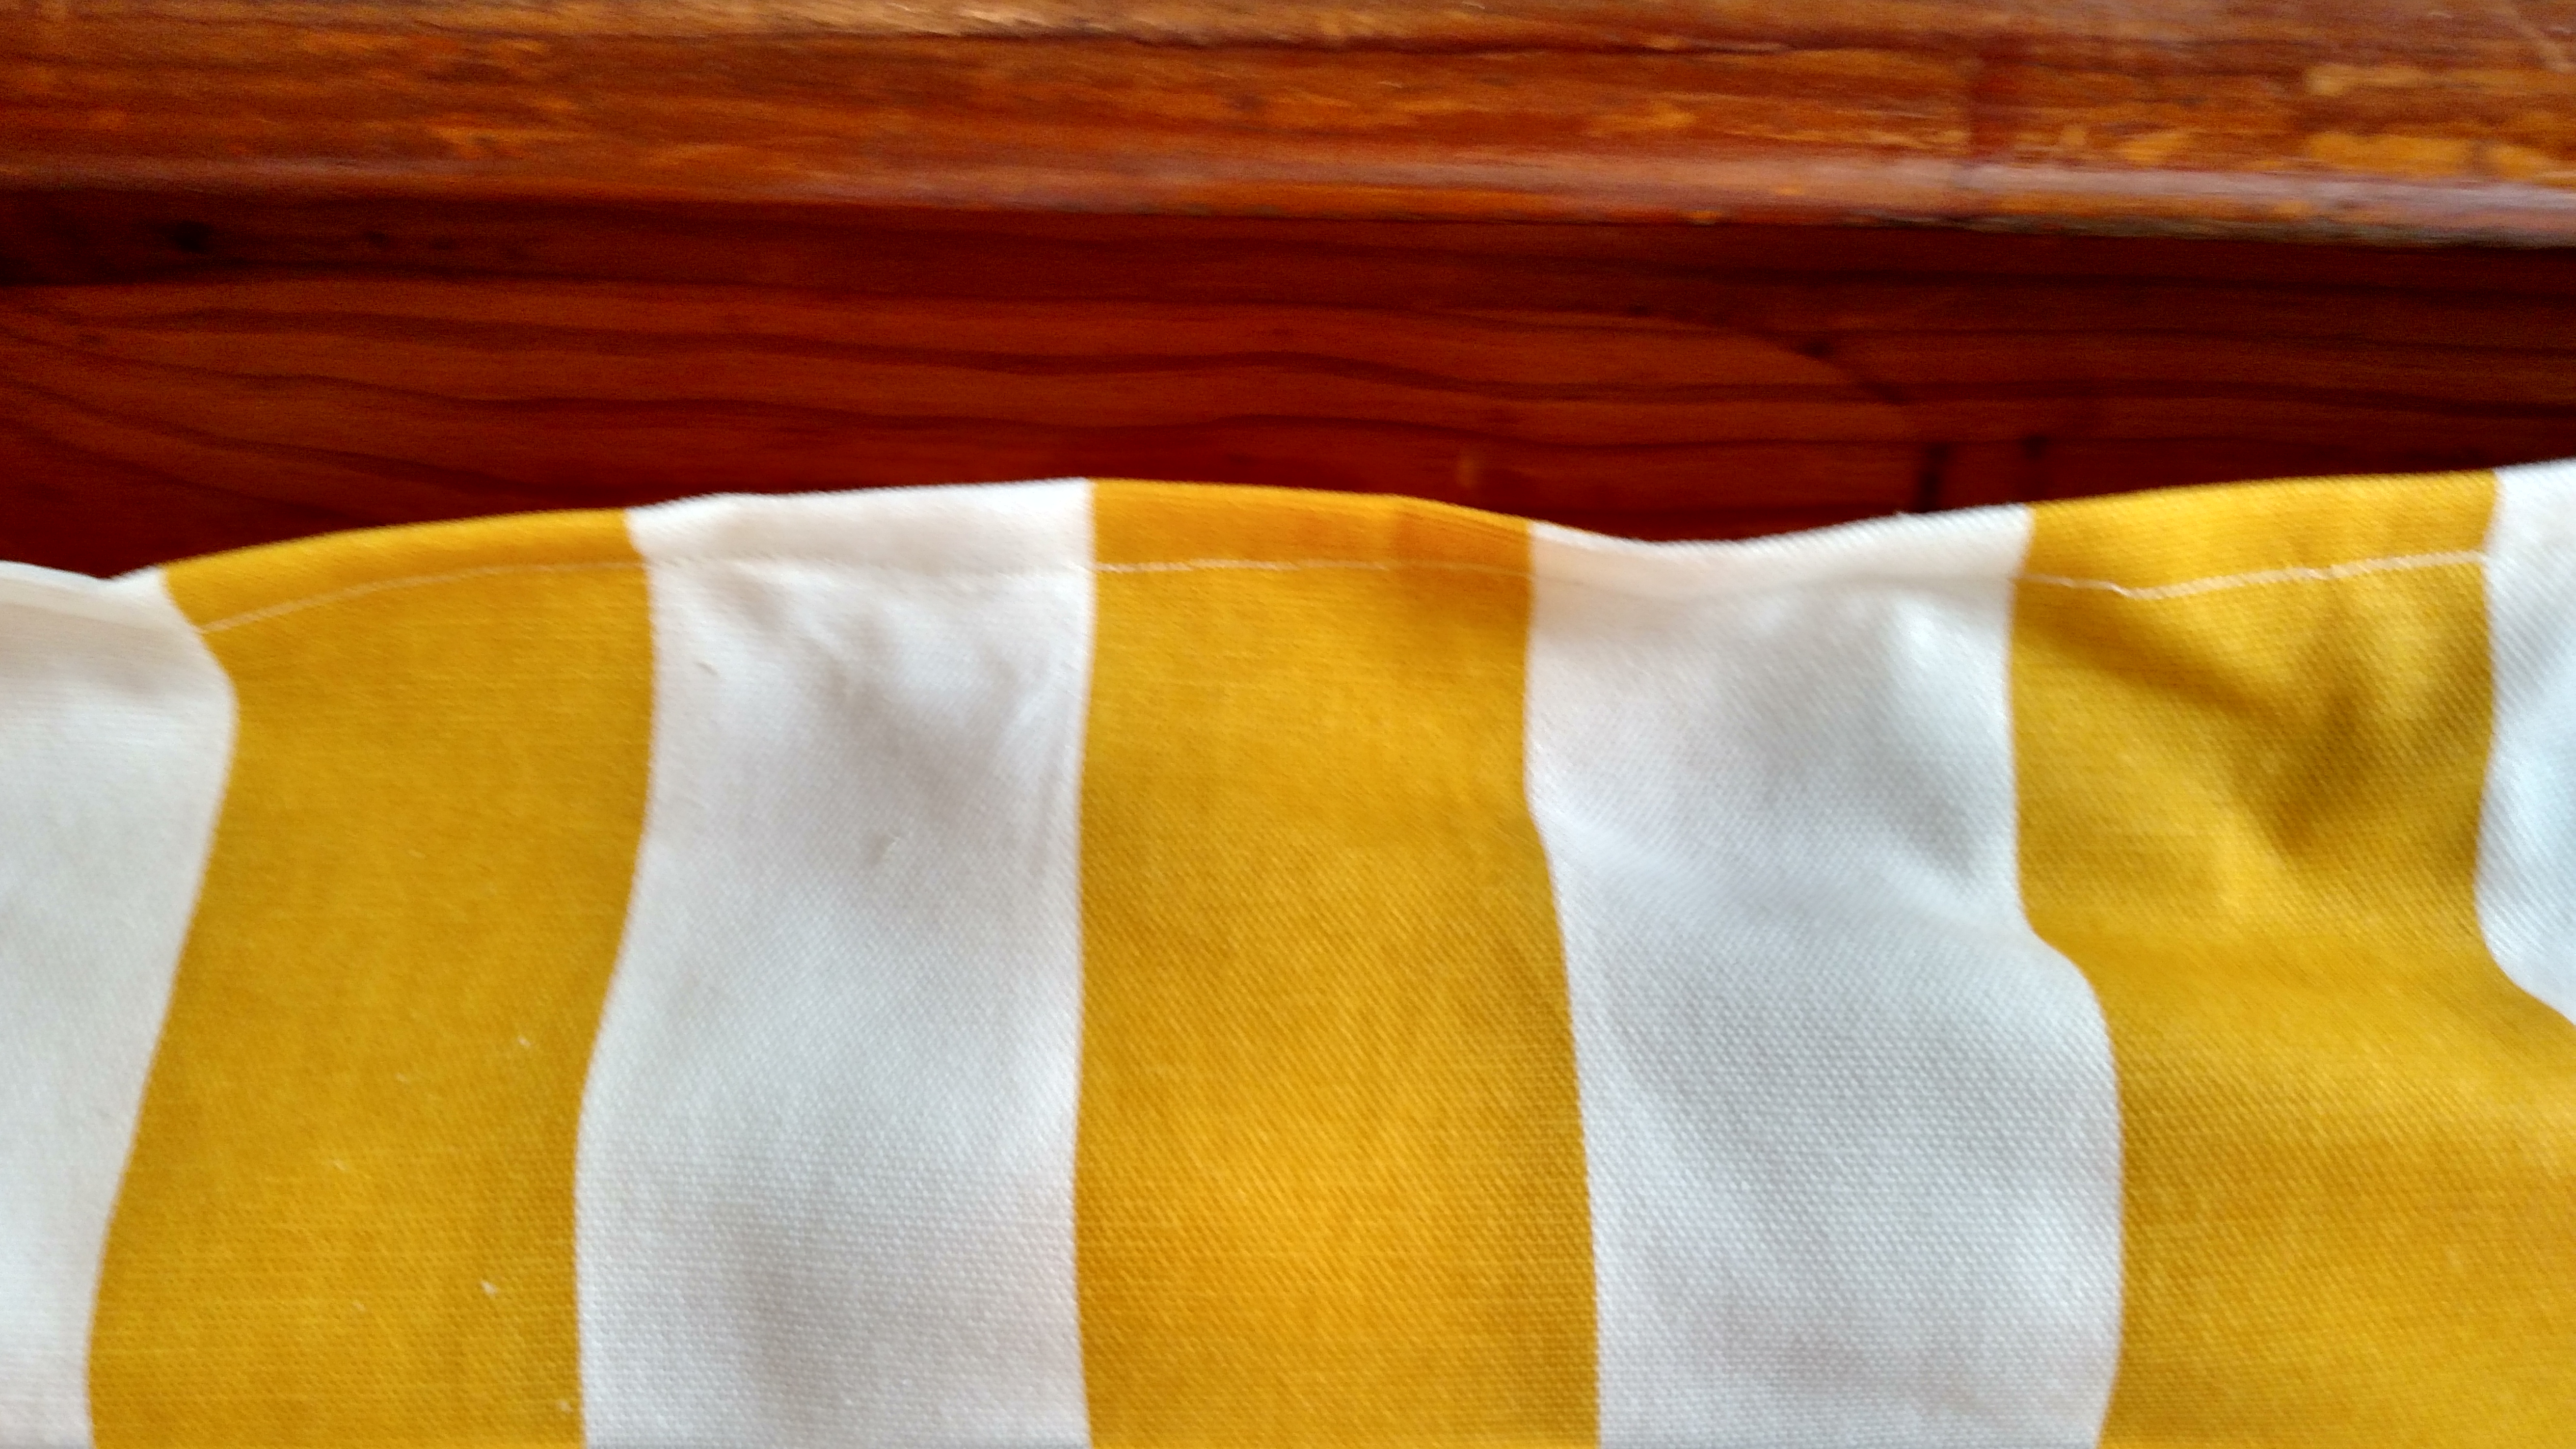
If you choose to do the simpler “swing cushion” style here’s what you need to do at this point. First of all remember how hard it is to sew past the cushions on the sewing machine. Unless you want to sew by hand you’re simply not going to be able to sew right up next to the cushion, and that’s ok. Just make sure if you’re making multiple cushions to trim them all down the same amount. So, trim the fabric if necessary. Fold the fabric inward a little, like you would to make a hem. And sew 1-2 rows of straight stitches across the top.
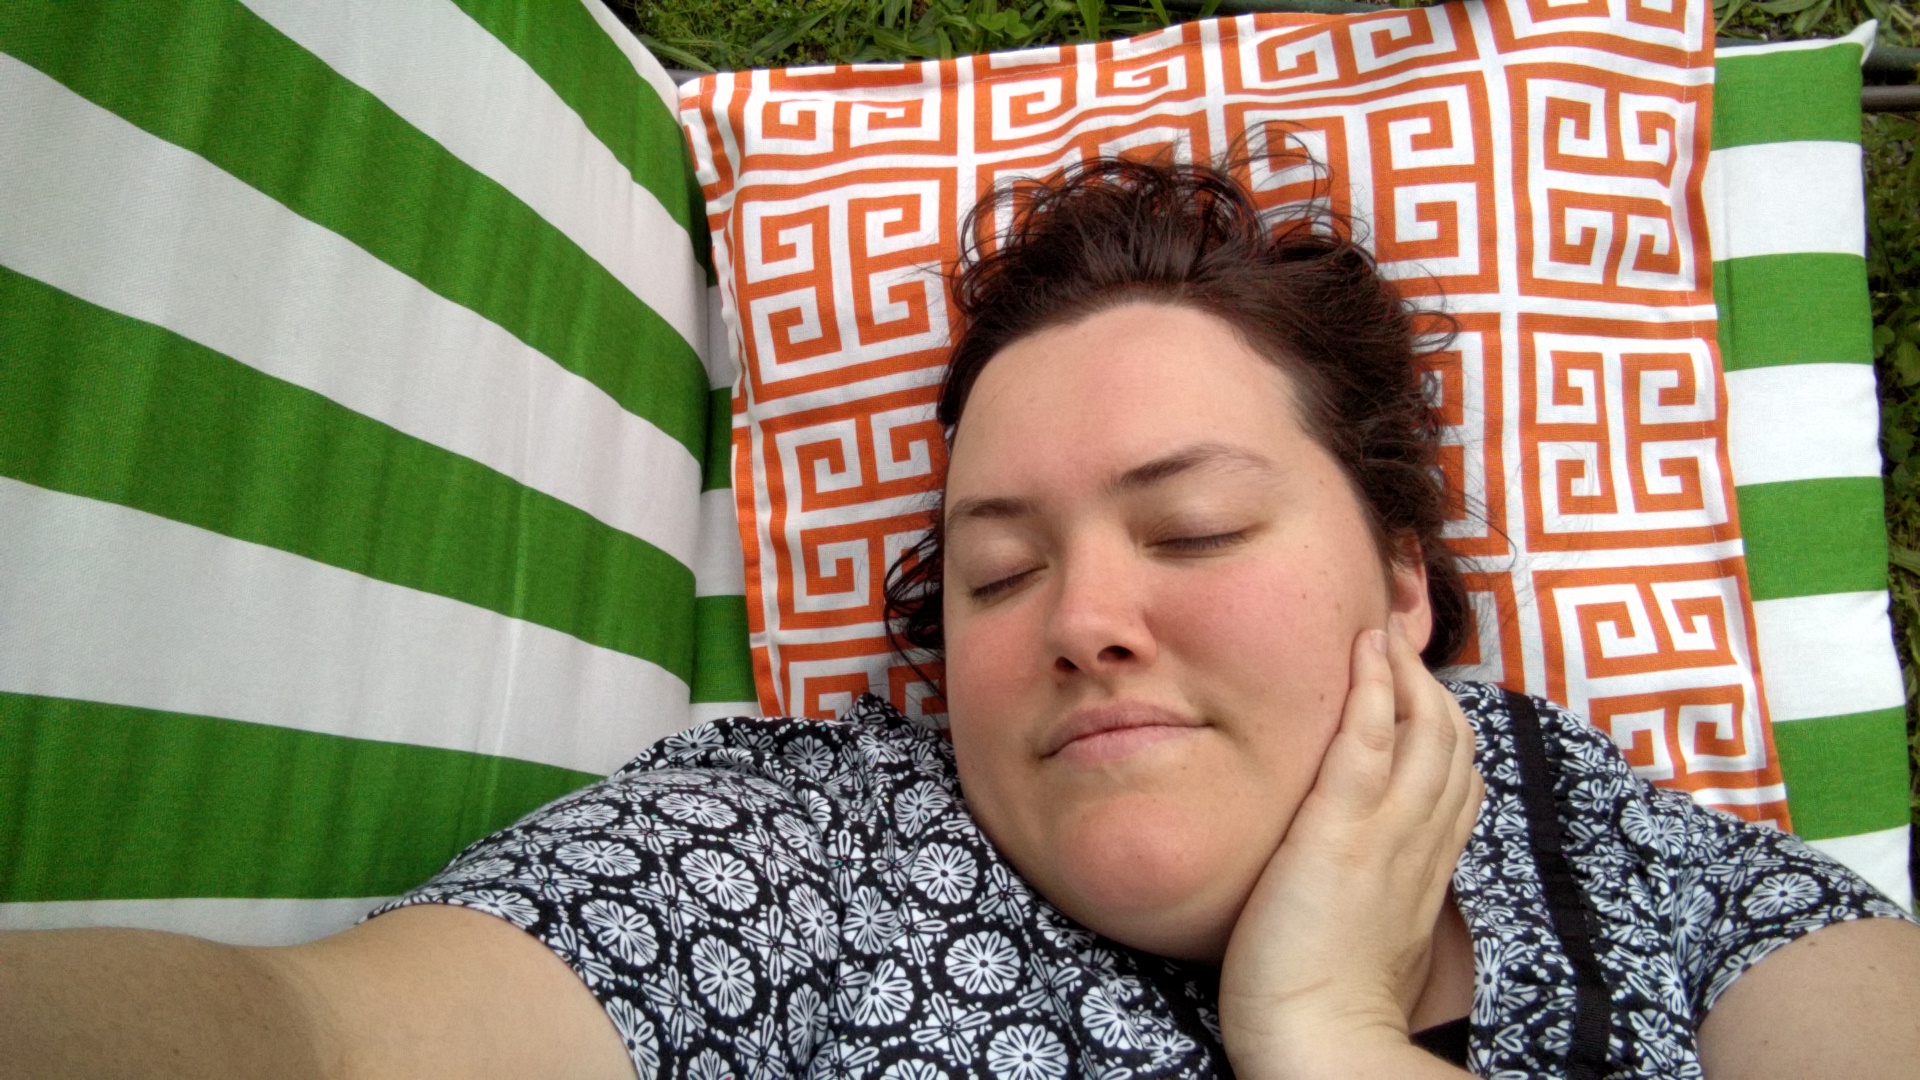
And if you love your DIY chair cushions you will keep them nice and safe from all that mold producing rain!
It’s that easy people! Trim all your threads and go enjoy your new swing cushion.
INSTRUCTIONS FOR TIE BACK CHAIR CUSHION ONLY

You can see how just making four casings would probably be easier! But boy am I stubborn.
If you chose to do the swing cushion style pat yourself on the back for taking the easy way out. Seriously congratulation you’re already done and you saved yourself a lot of work. But if not… keep reading 🙂 Now as a disclaimer, these instructions are about to get a little weird. In retrospect the easiest thing to do would probably be to sew four rectangular strips, and turn them inside out like you would for casings like on dress straps. But this fabric is really stiff and bulky so it wouldn’t have been easy to do that. So I came up with my own weird and no doubt overly complicated method to achieve the same look. Continue reading at your own risk.
There’s still time for you to change your mind and do the easy swing version at this point!
Step 1
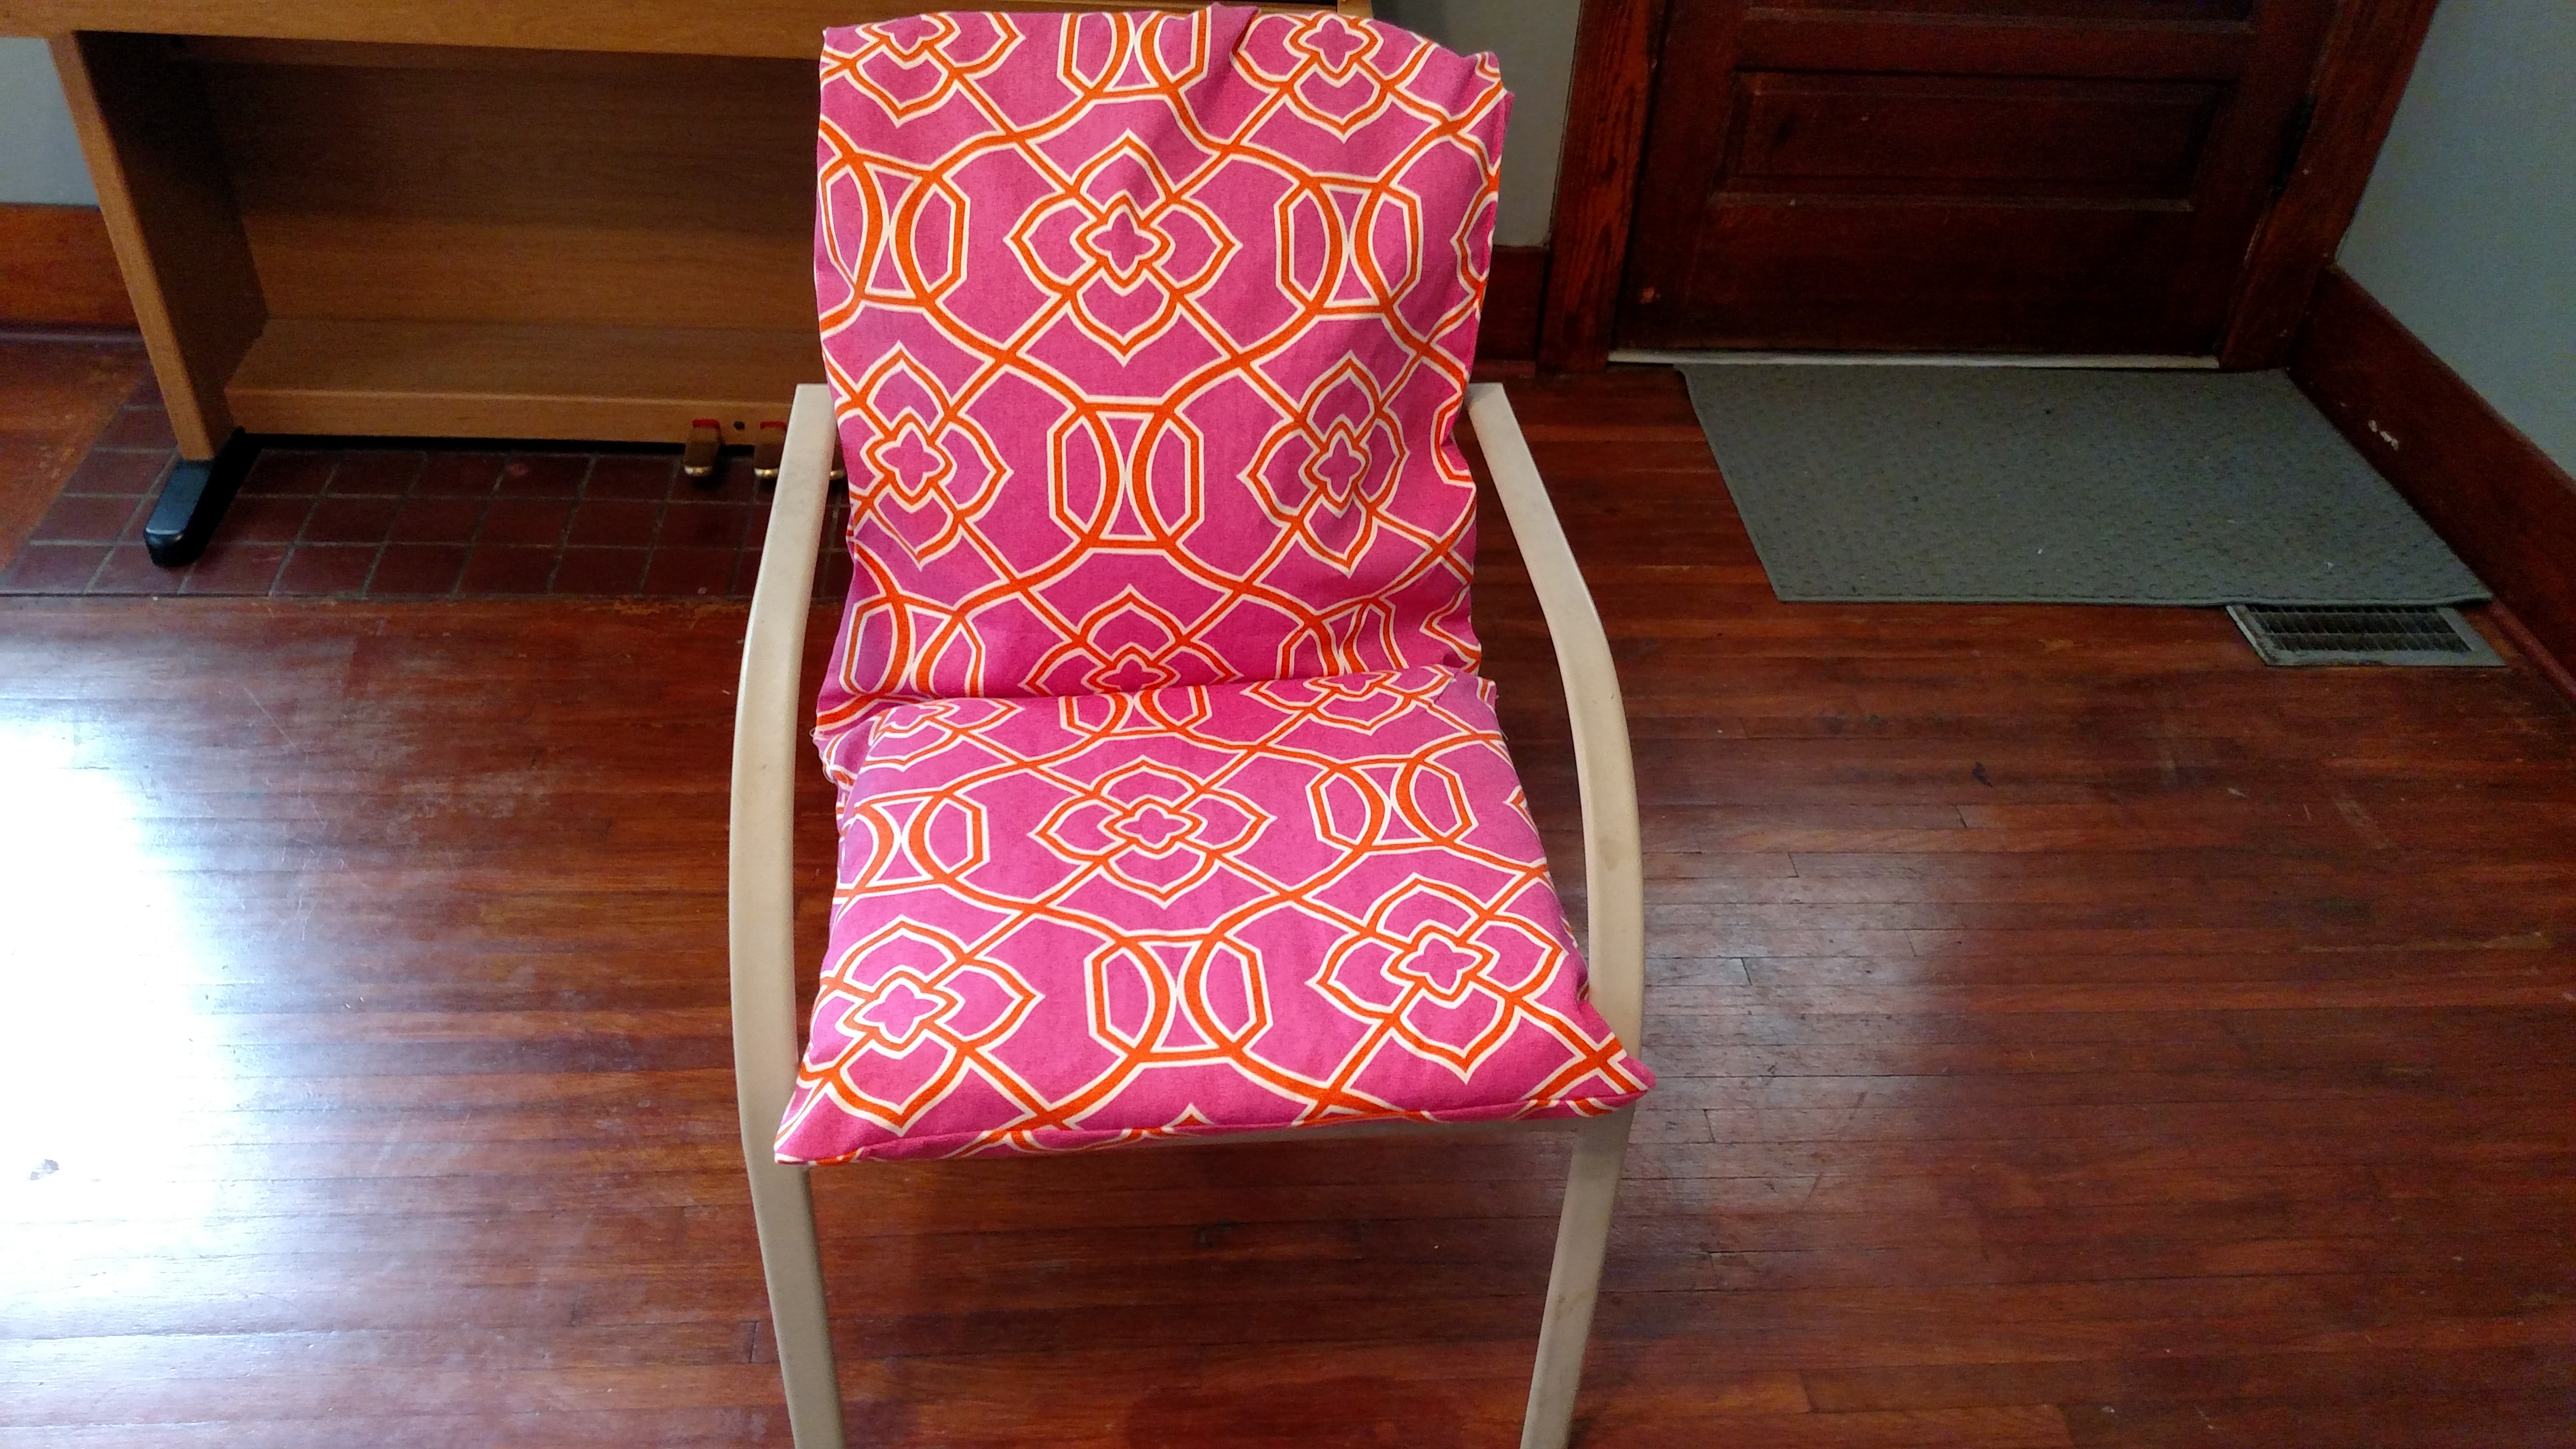
Place the cushion on the chair and make sure you have it positioned exactly how you want it to look.
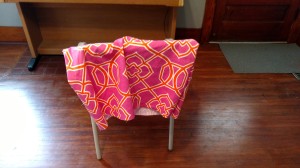 Step 2

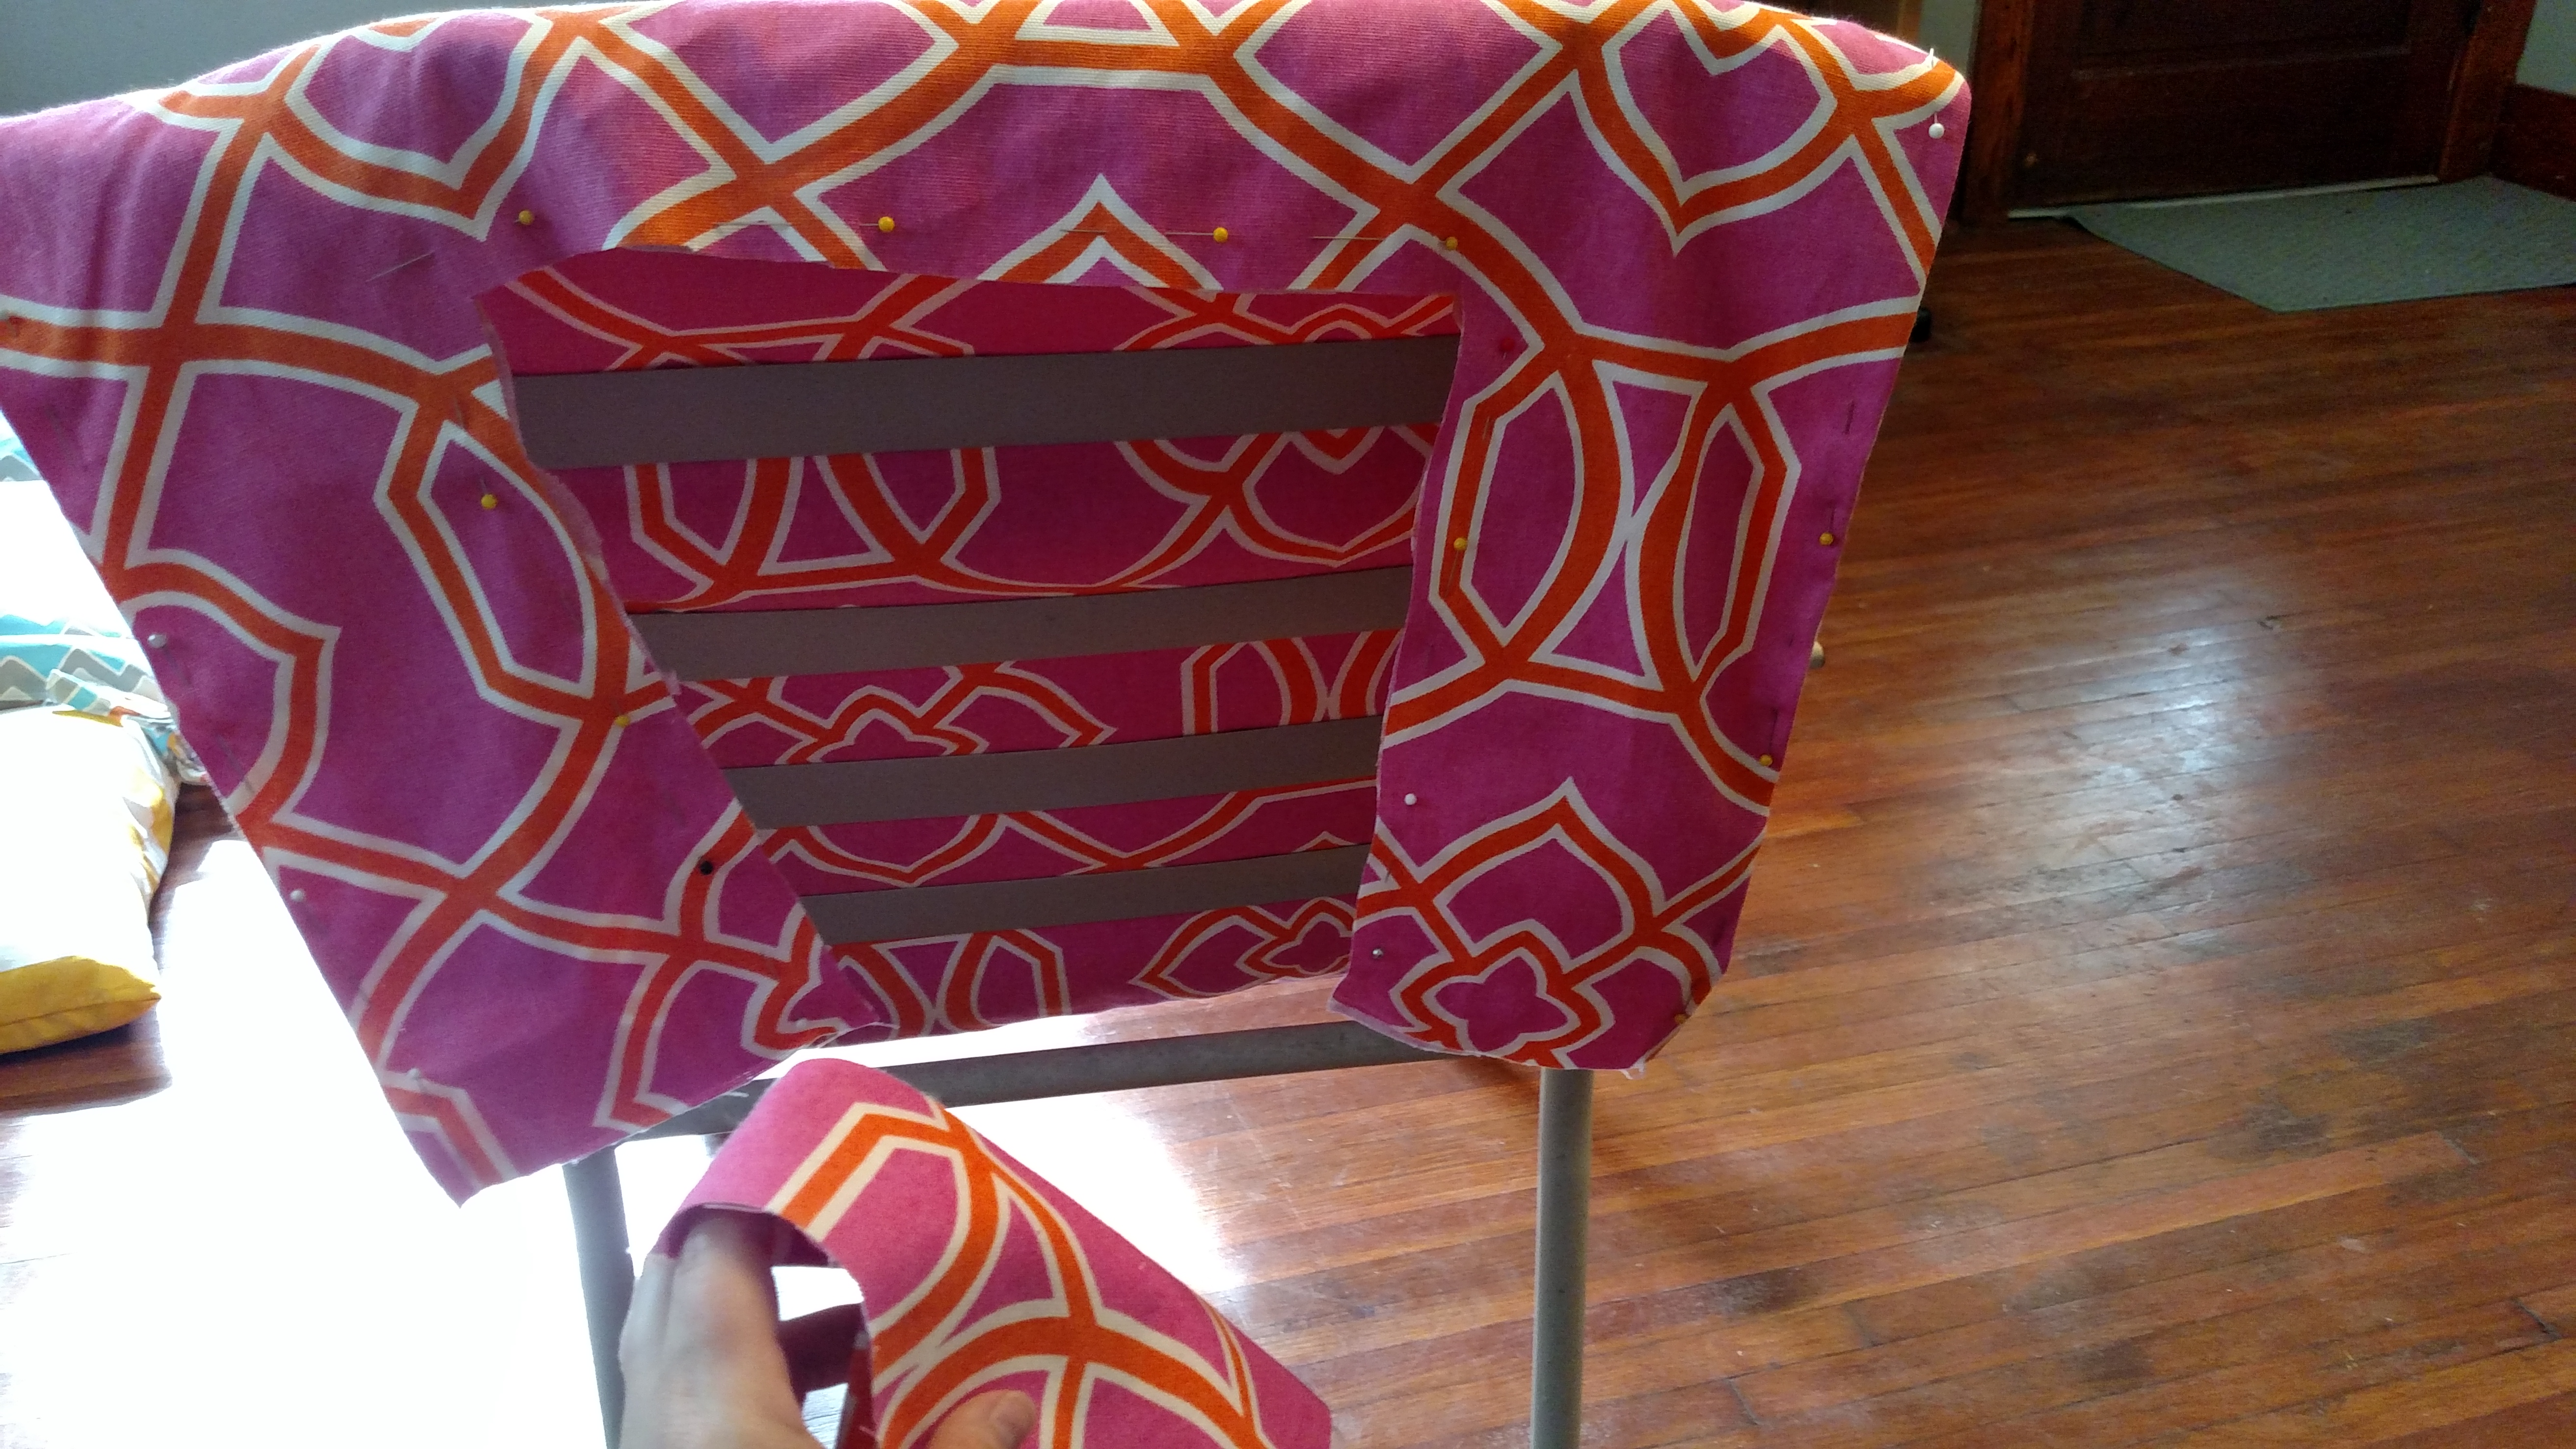
Turn the chair around so that you’re looking at the back of the chair. Make the fabric on the back lie as flat as possible. Don’t pull it too tight or the cushion will look weird in the front.
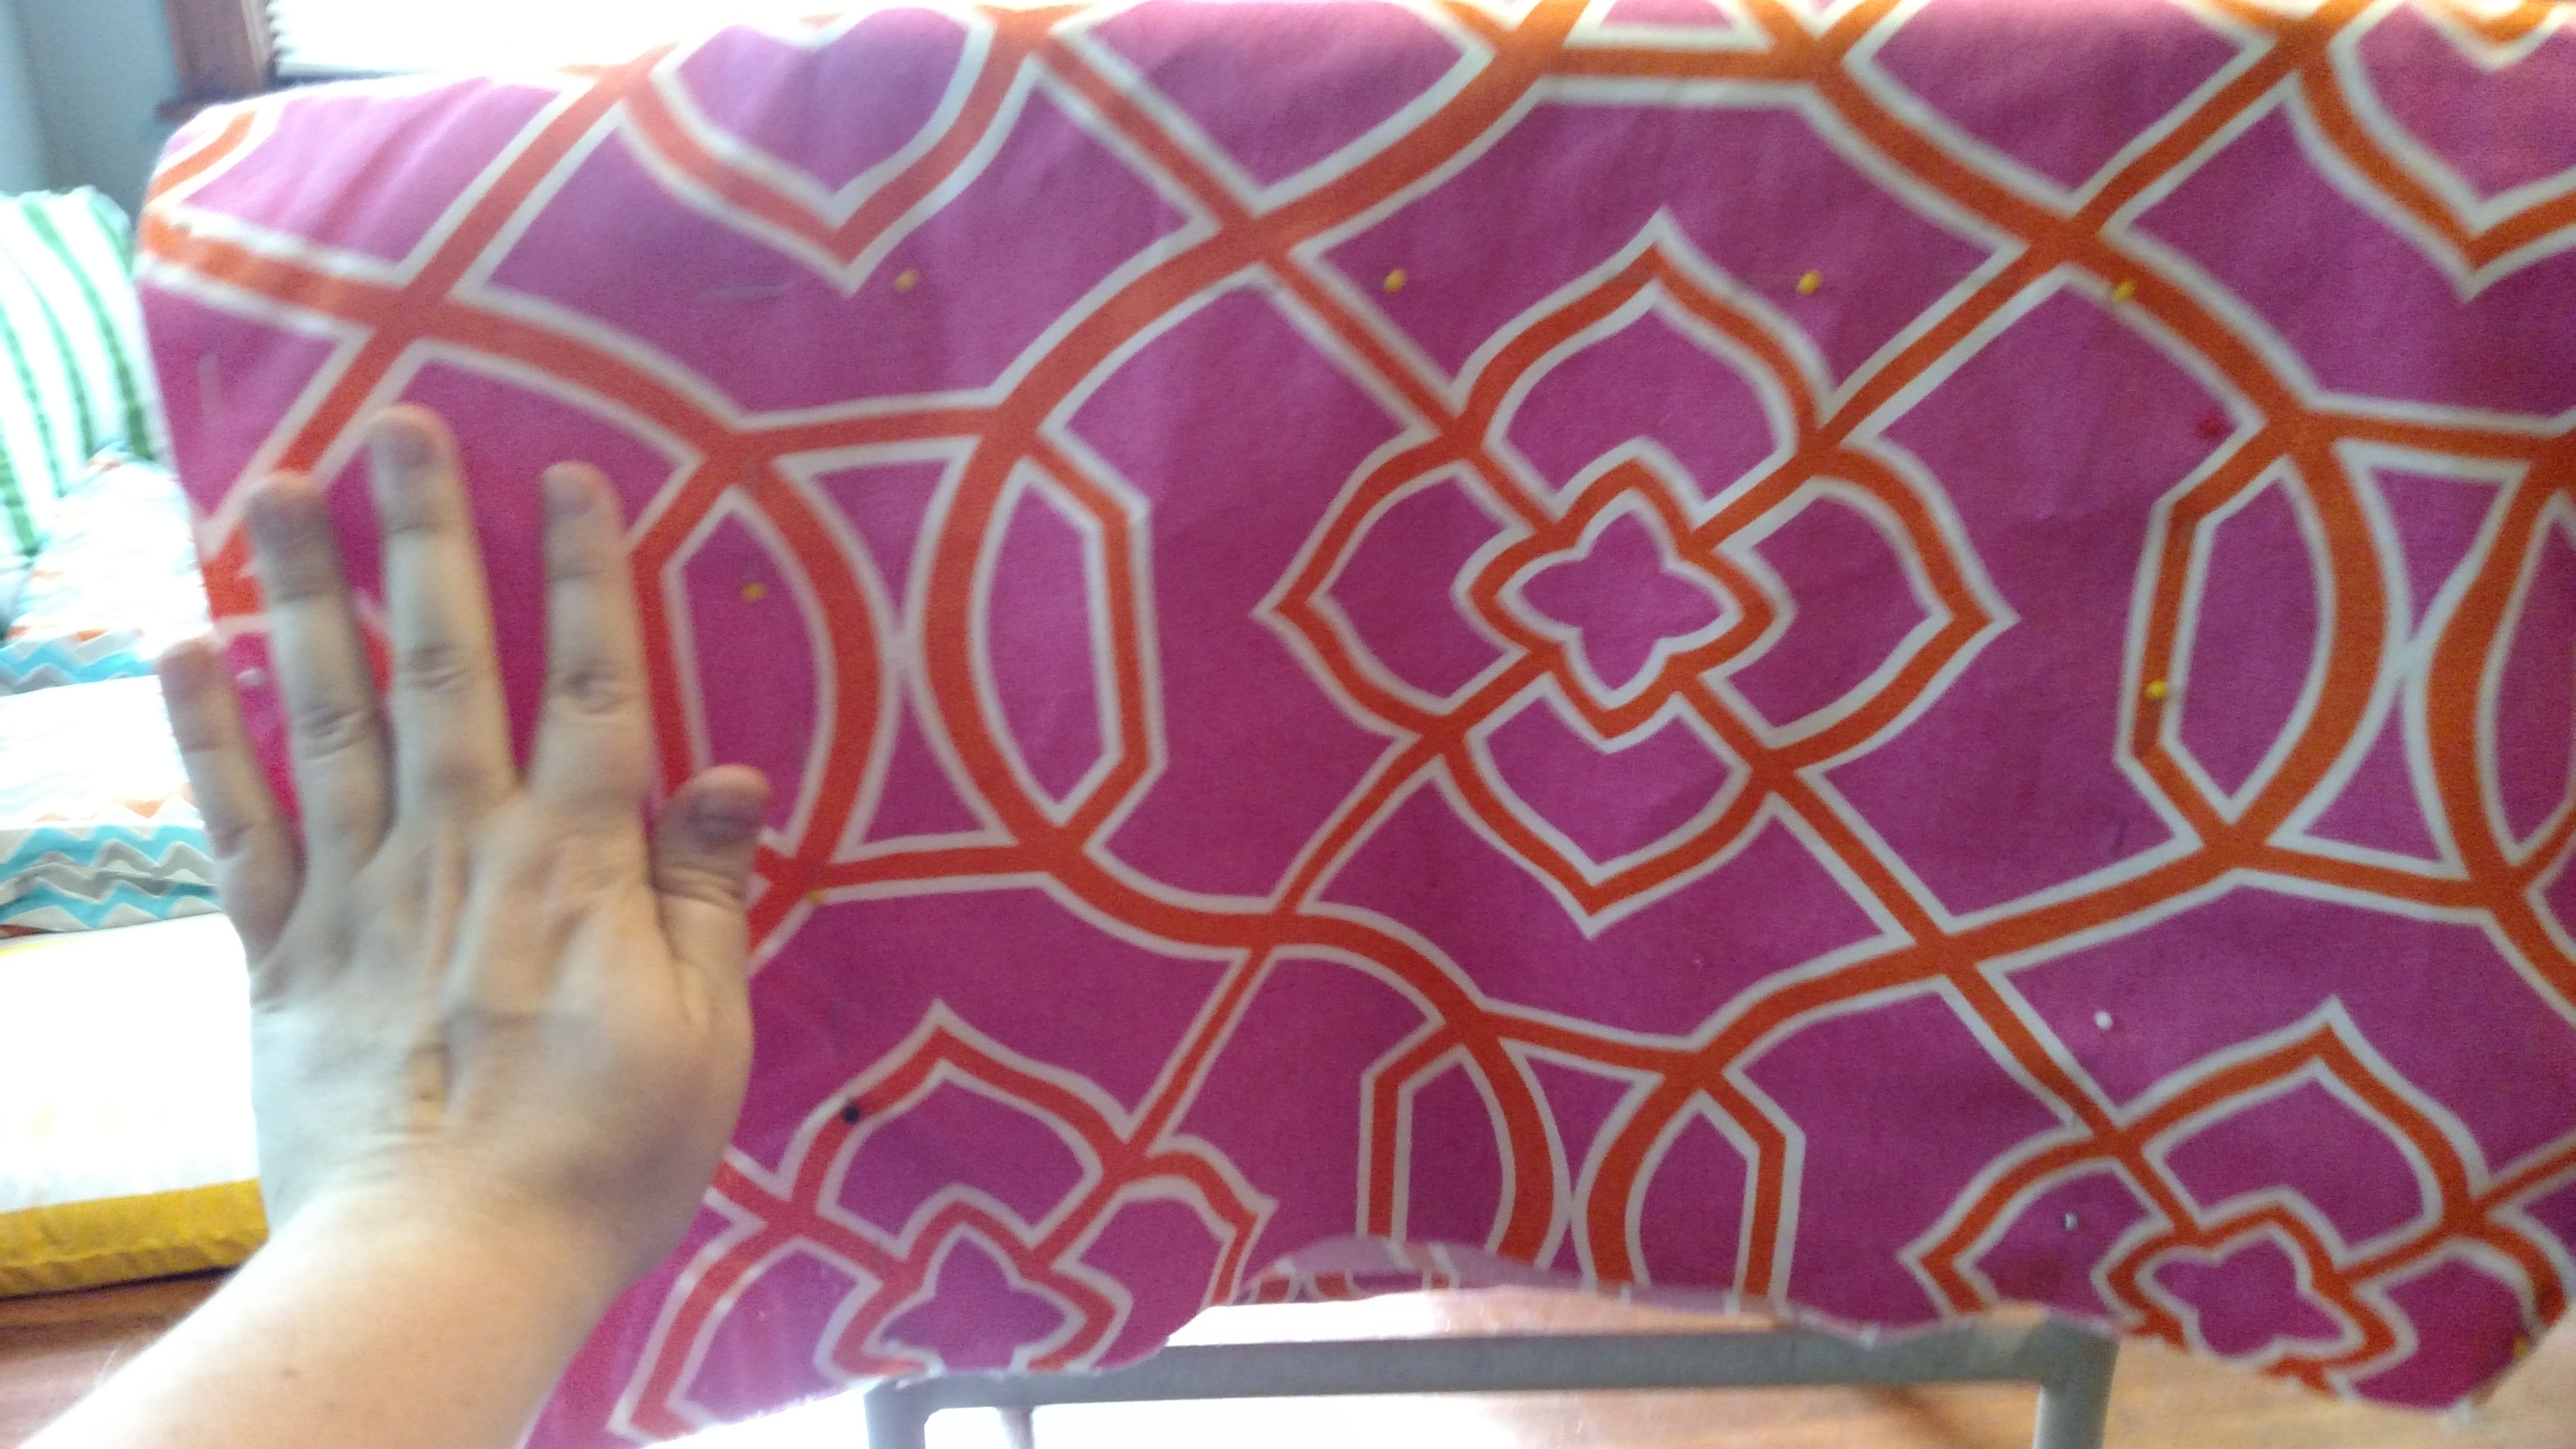
Pinning before you cut will help you to have straighter lines.
Step 3
I don’t have any exact measurements for you because I eyeballed everything. Make sure that you don’t cut too much. You can always go back and cut more later. I used about a hands width all the way around
This fabric scrap should be just big enough to make a cloth napkin.
Here’s what it looks like once you’ve cut out the rectangle.
Now you should have 4 even strips.
Step 4
Now you’re going to cut down the middle of each side. Make sure not to cut up past the point where you see the horizontal line from cutting out the rectangle.

This isn’t an exact science, just go by looks.
Step 5
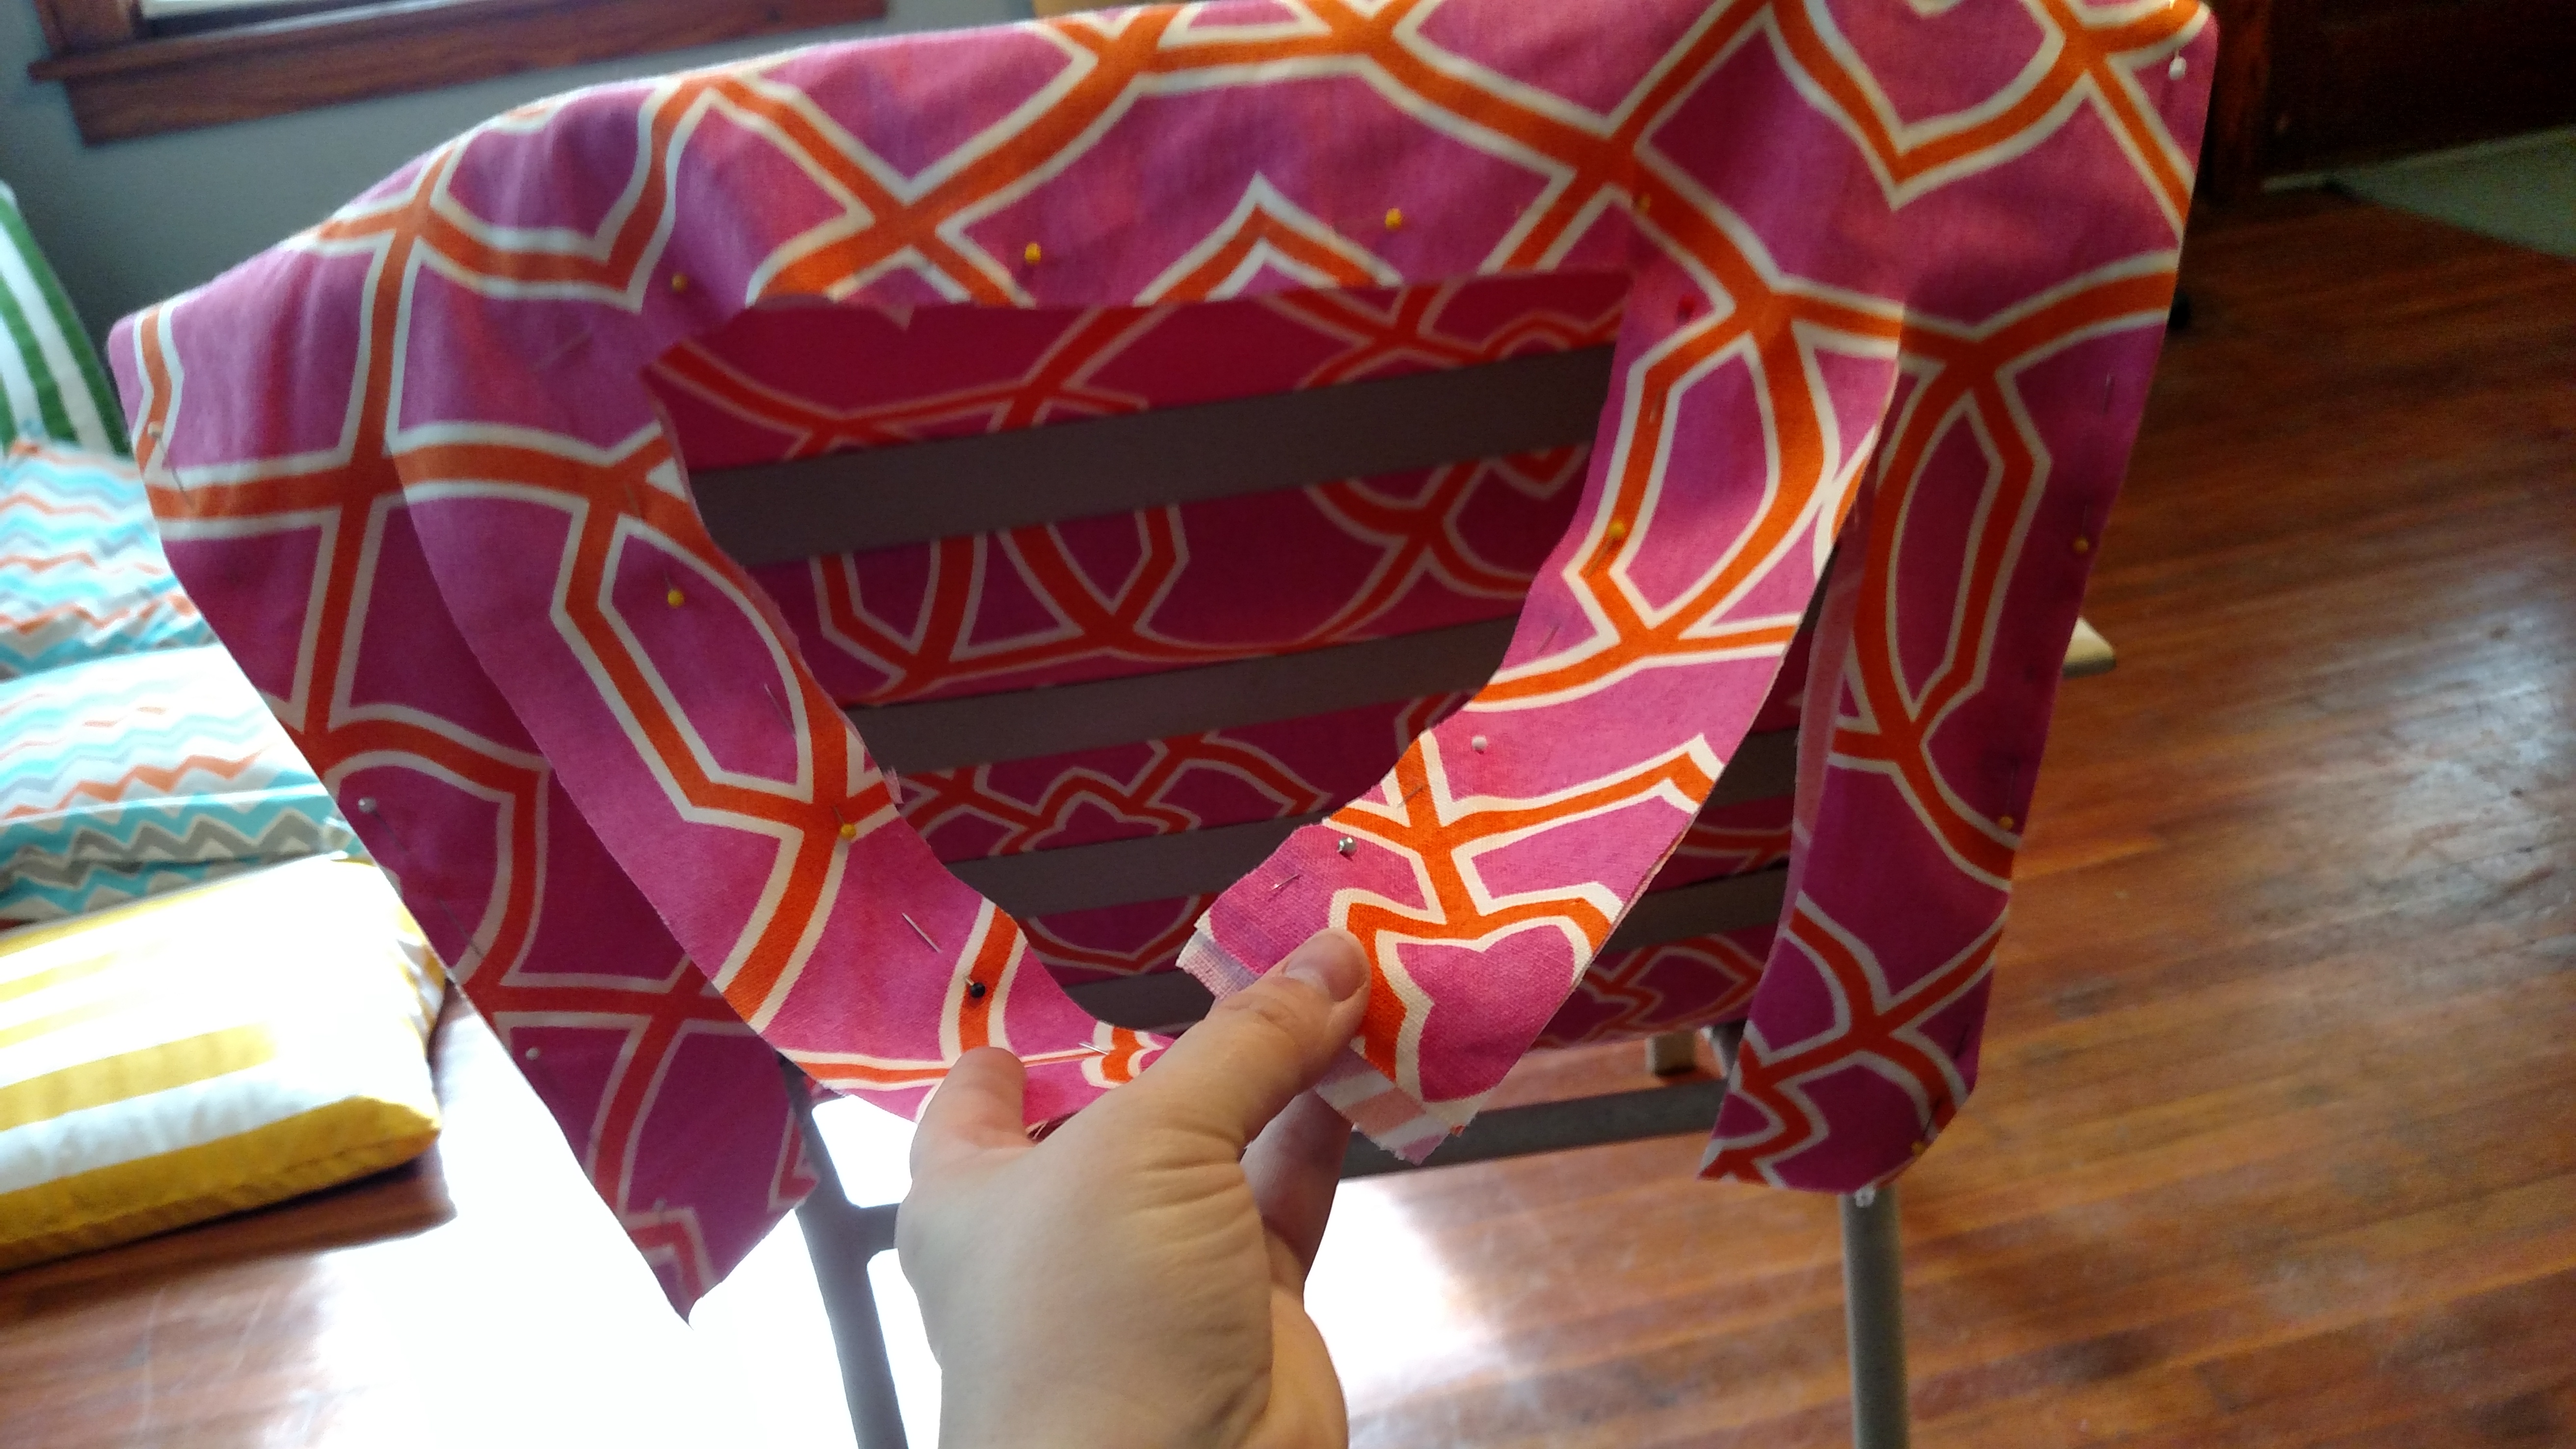
Now cut a rounded on top rectangle out of the middle between each set of strips. This will leave a gap where the strips aren’t really touching anymore.
Cutting notches in the curve.
Pin all sides in.
Step 6
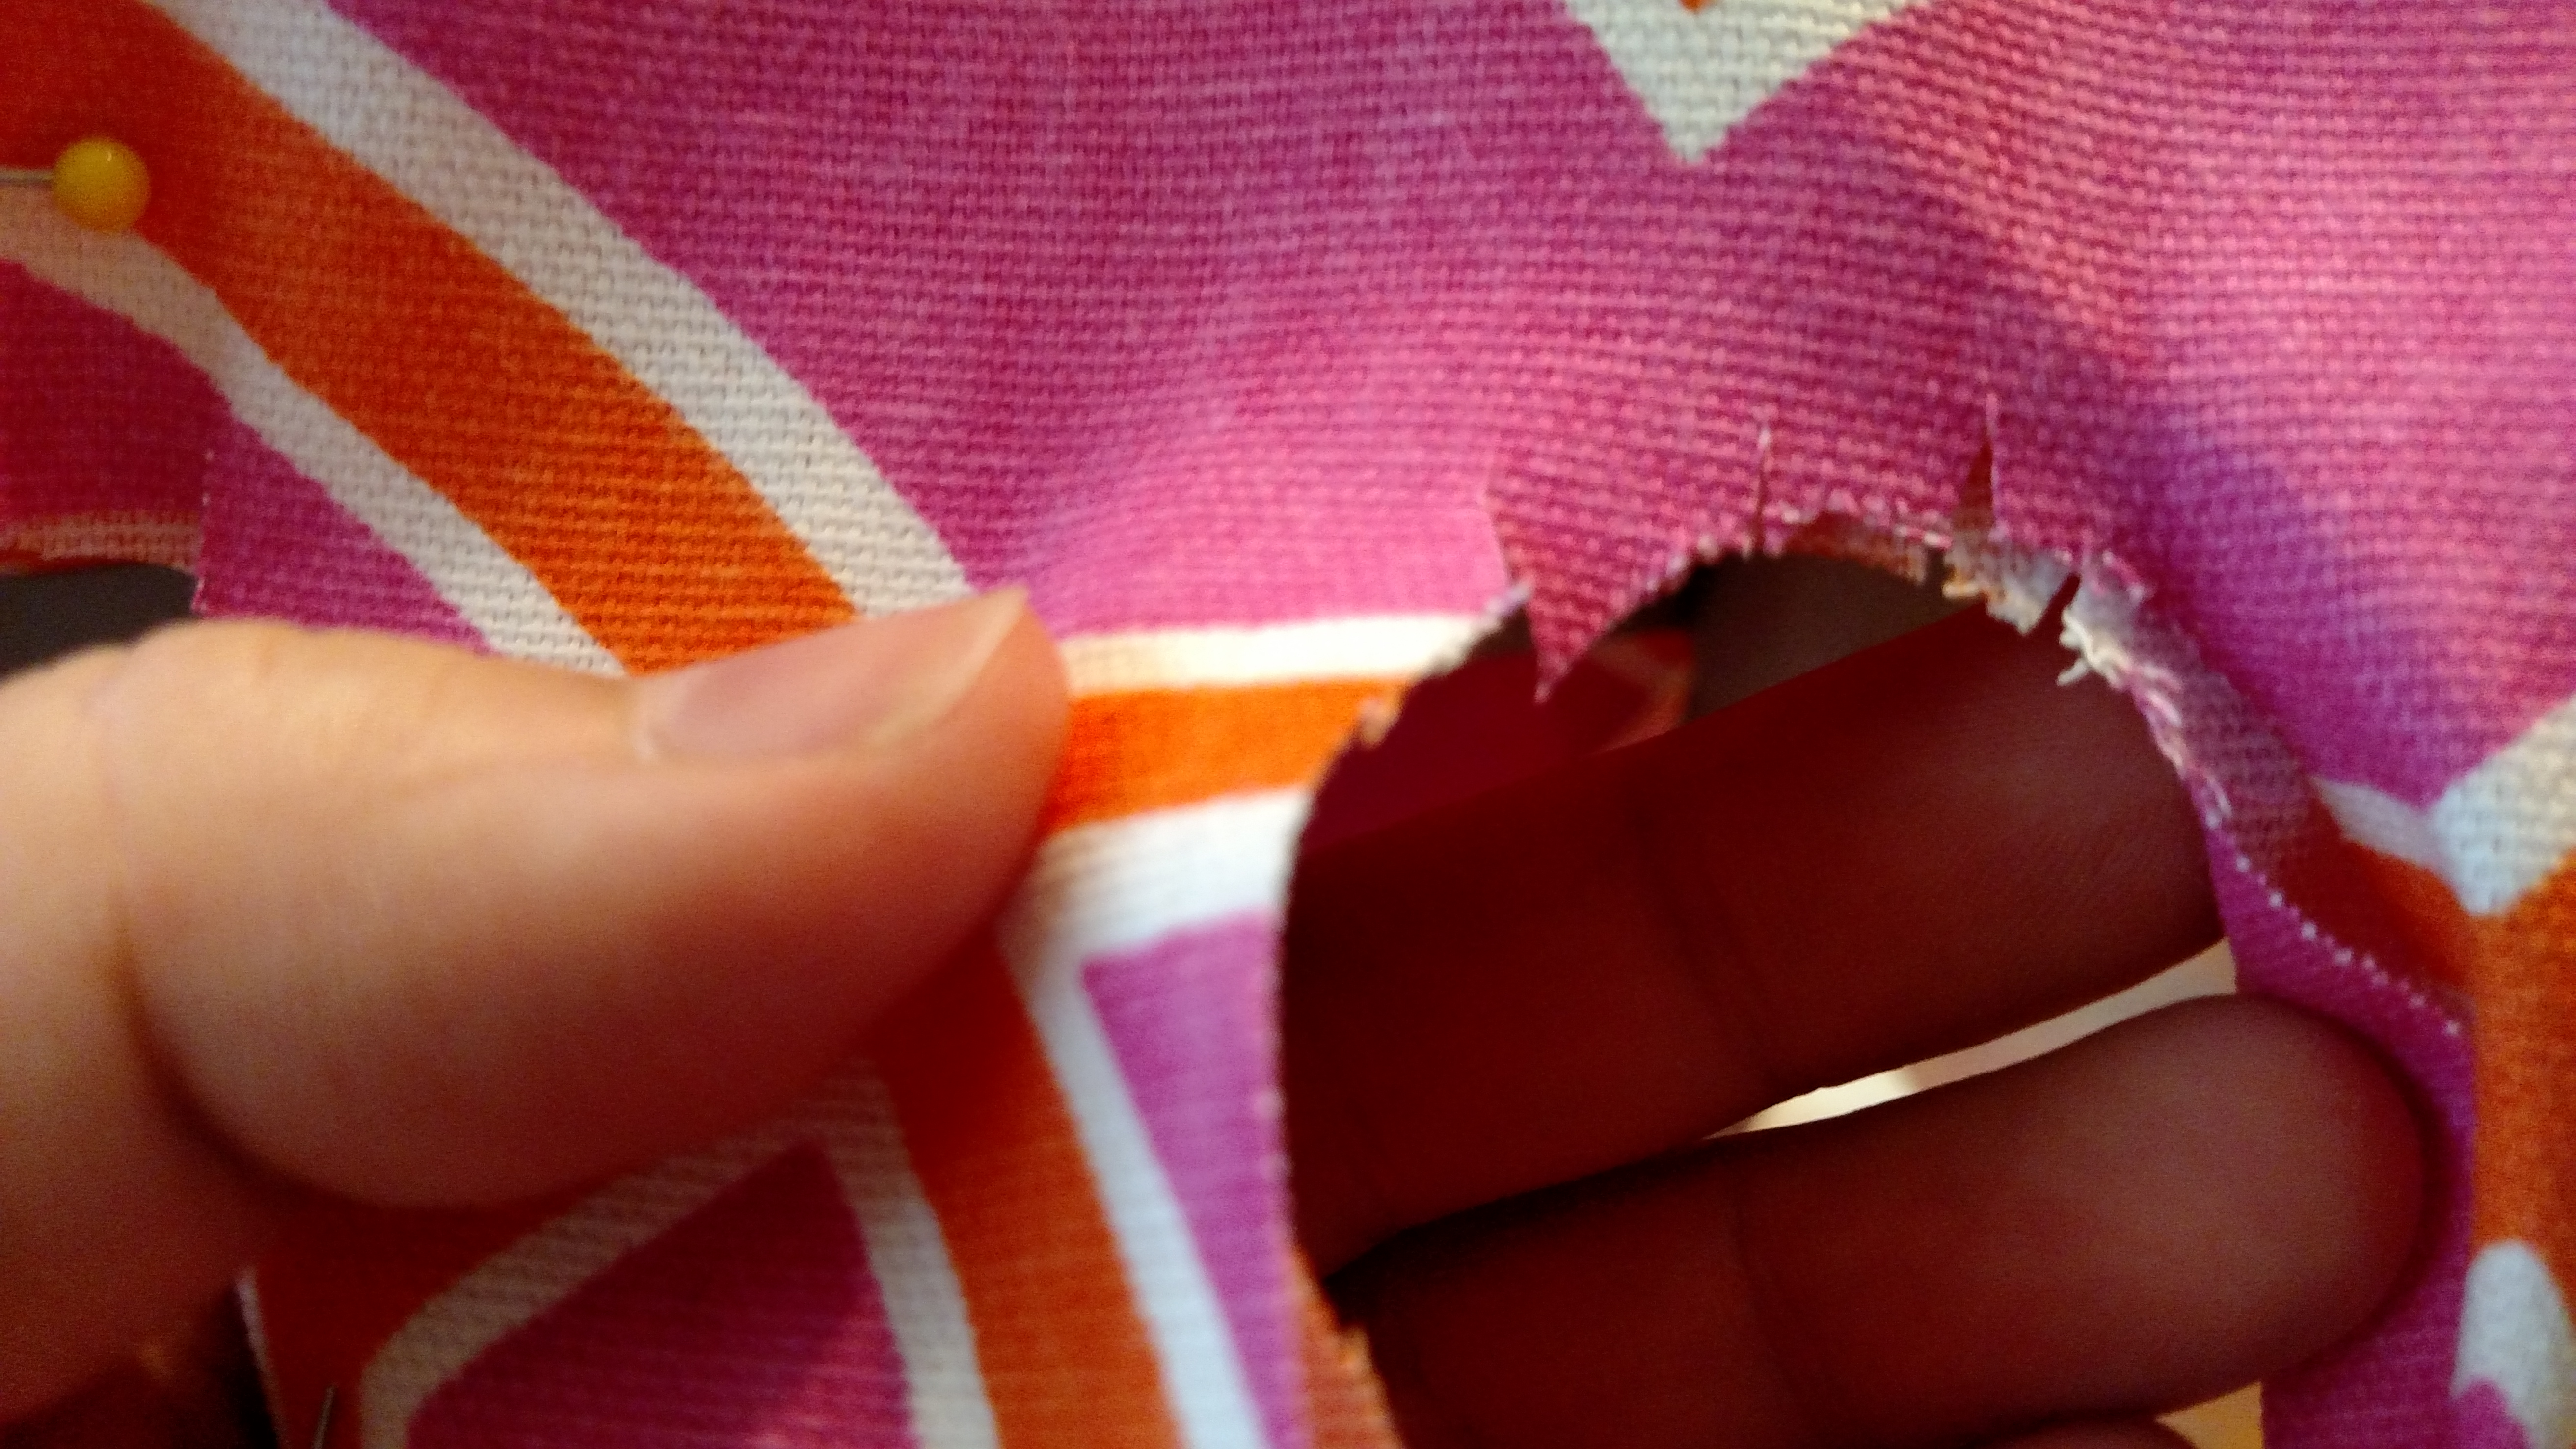
Now you’re going to fold the sides in and start pinning away. You might need to make some small notches in the curved section to get it to turn under properly.
Try to make sure all your straps are aproximately the same length.

Folding under can be a little tricky with the side seem but just keep wiggling it until it looks good and then pin it.
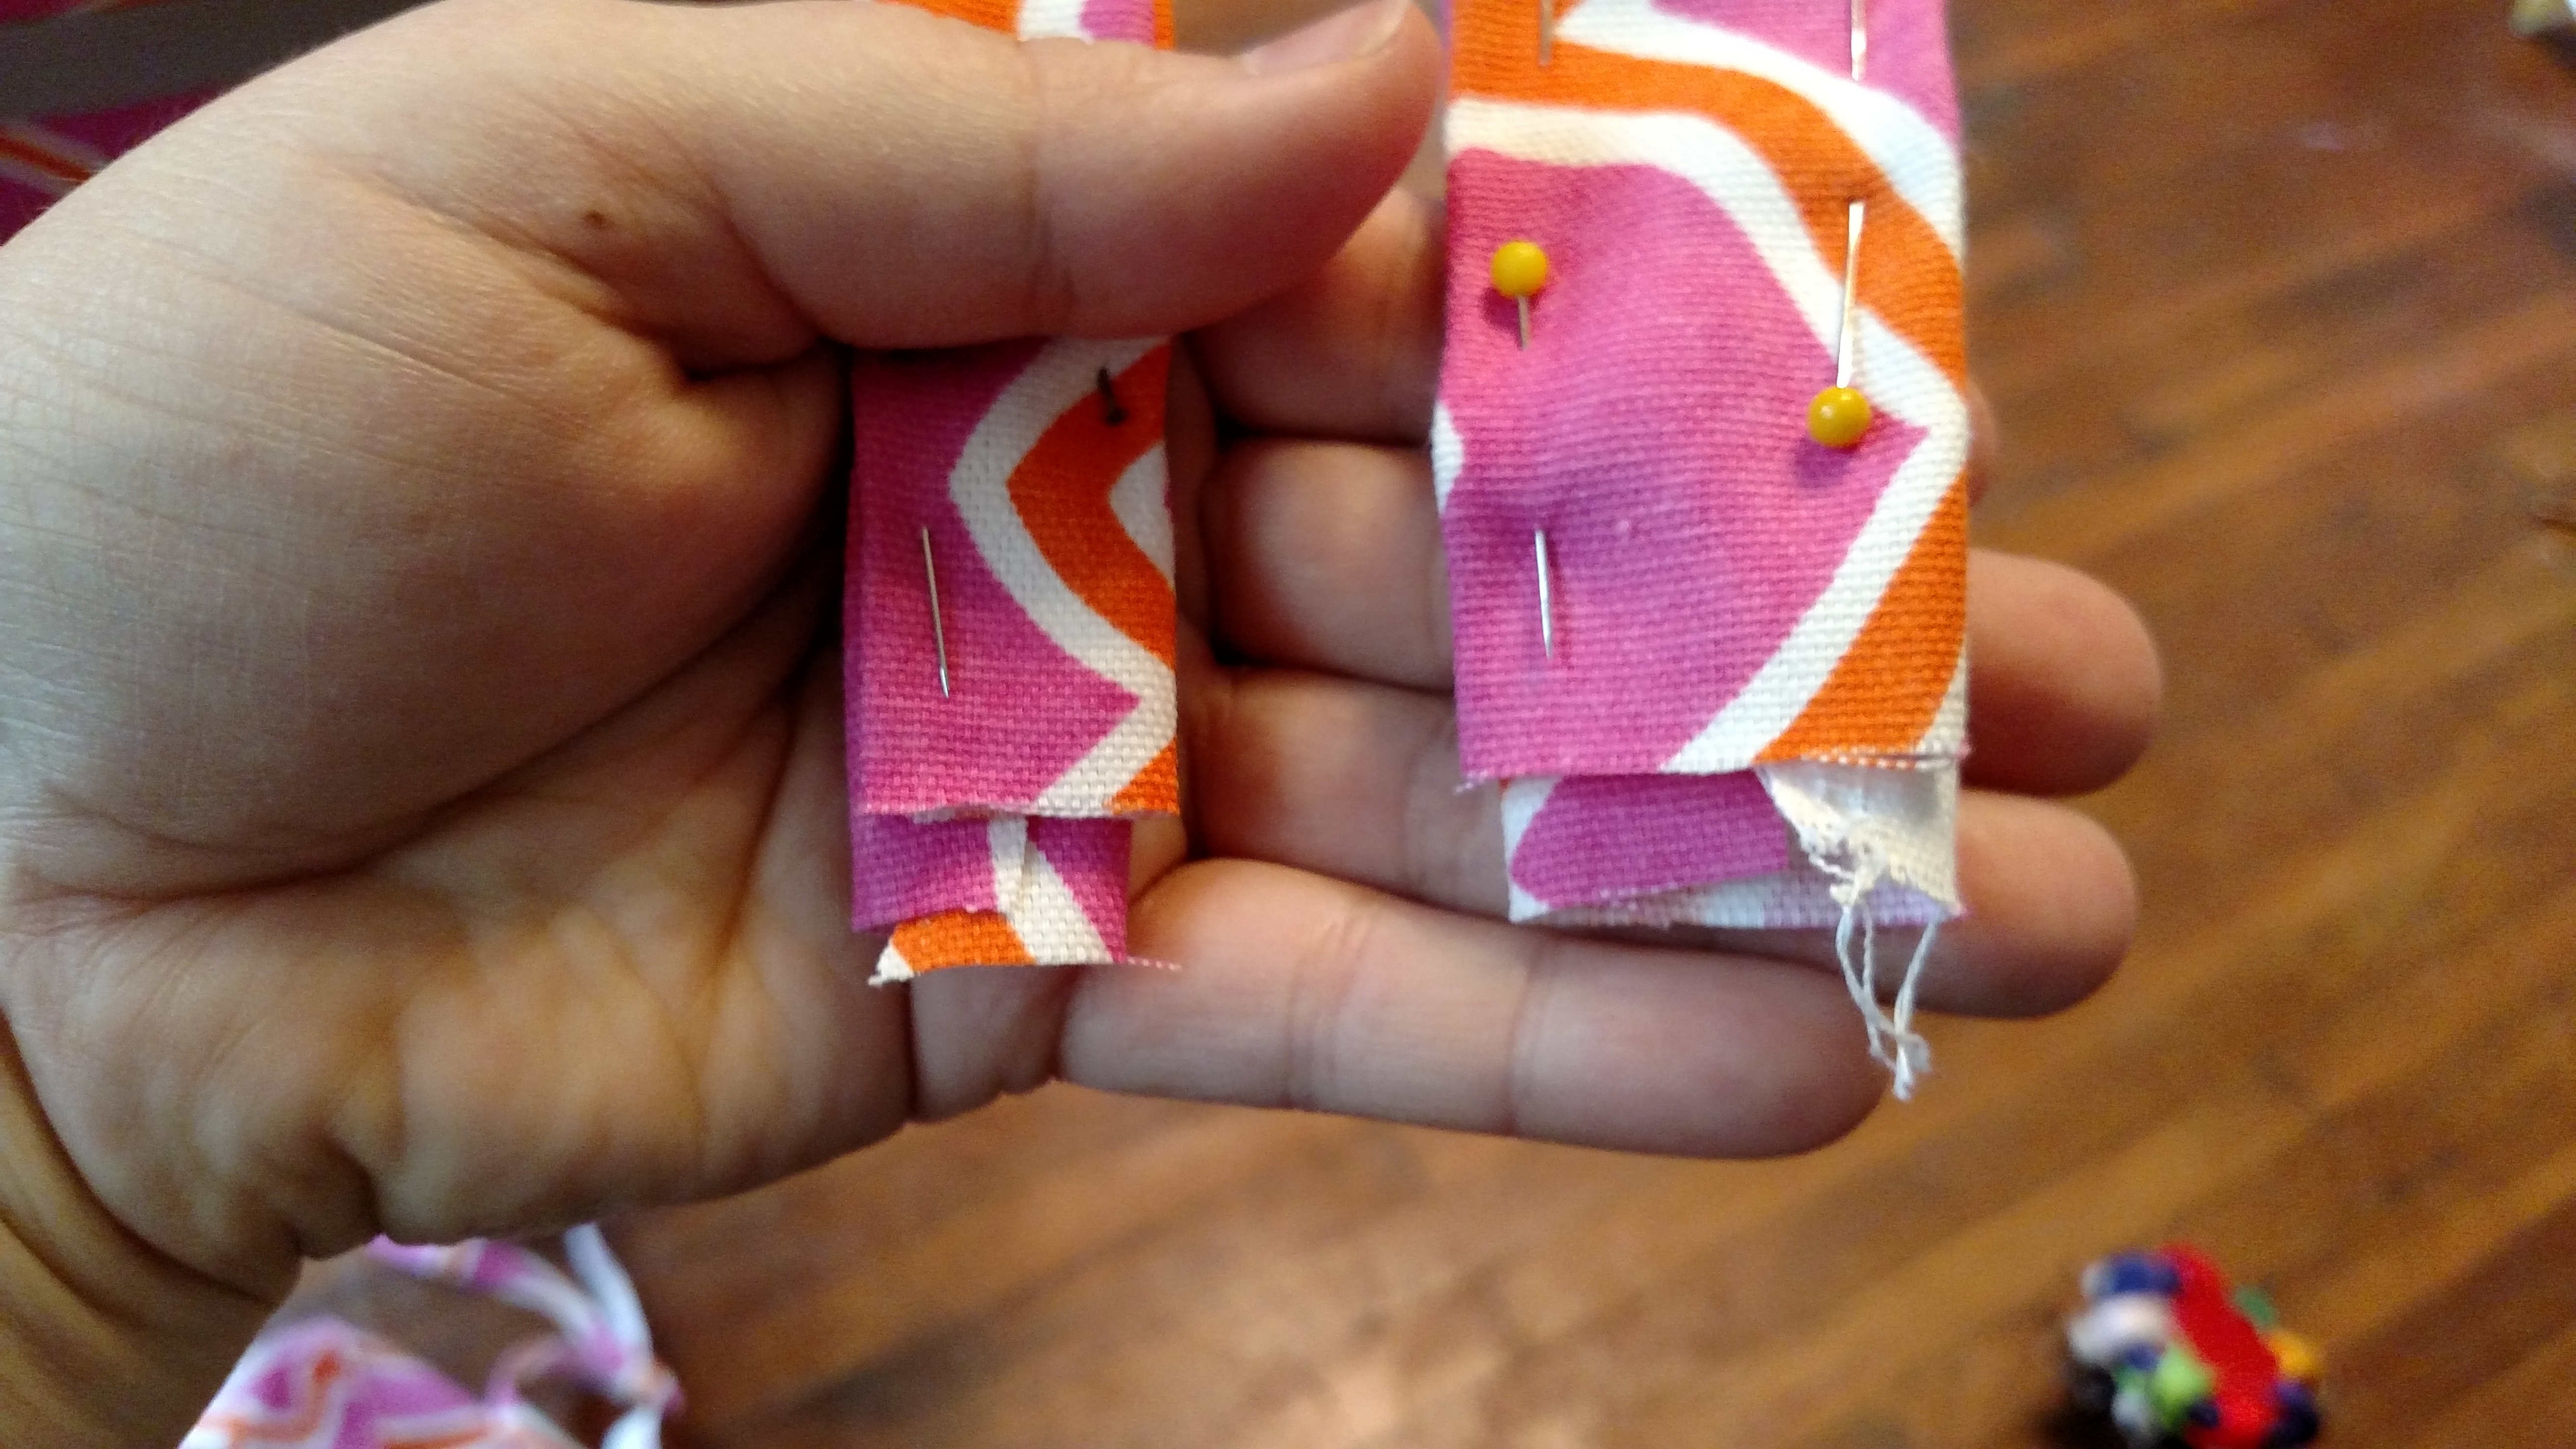
Step 7
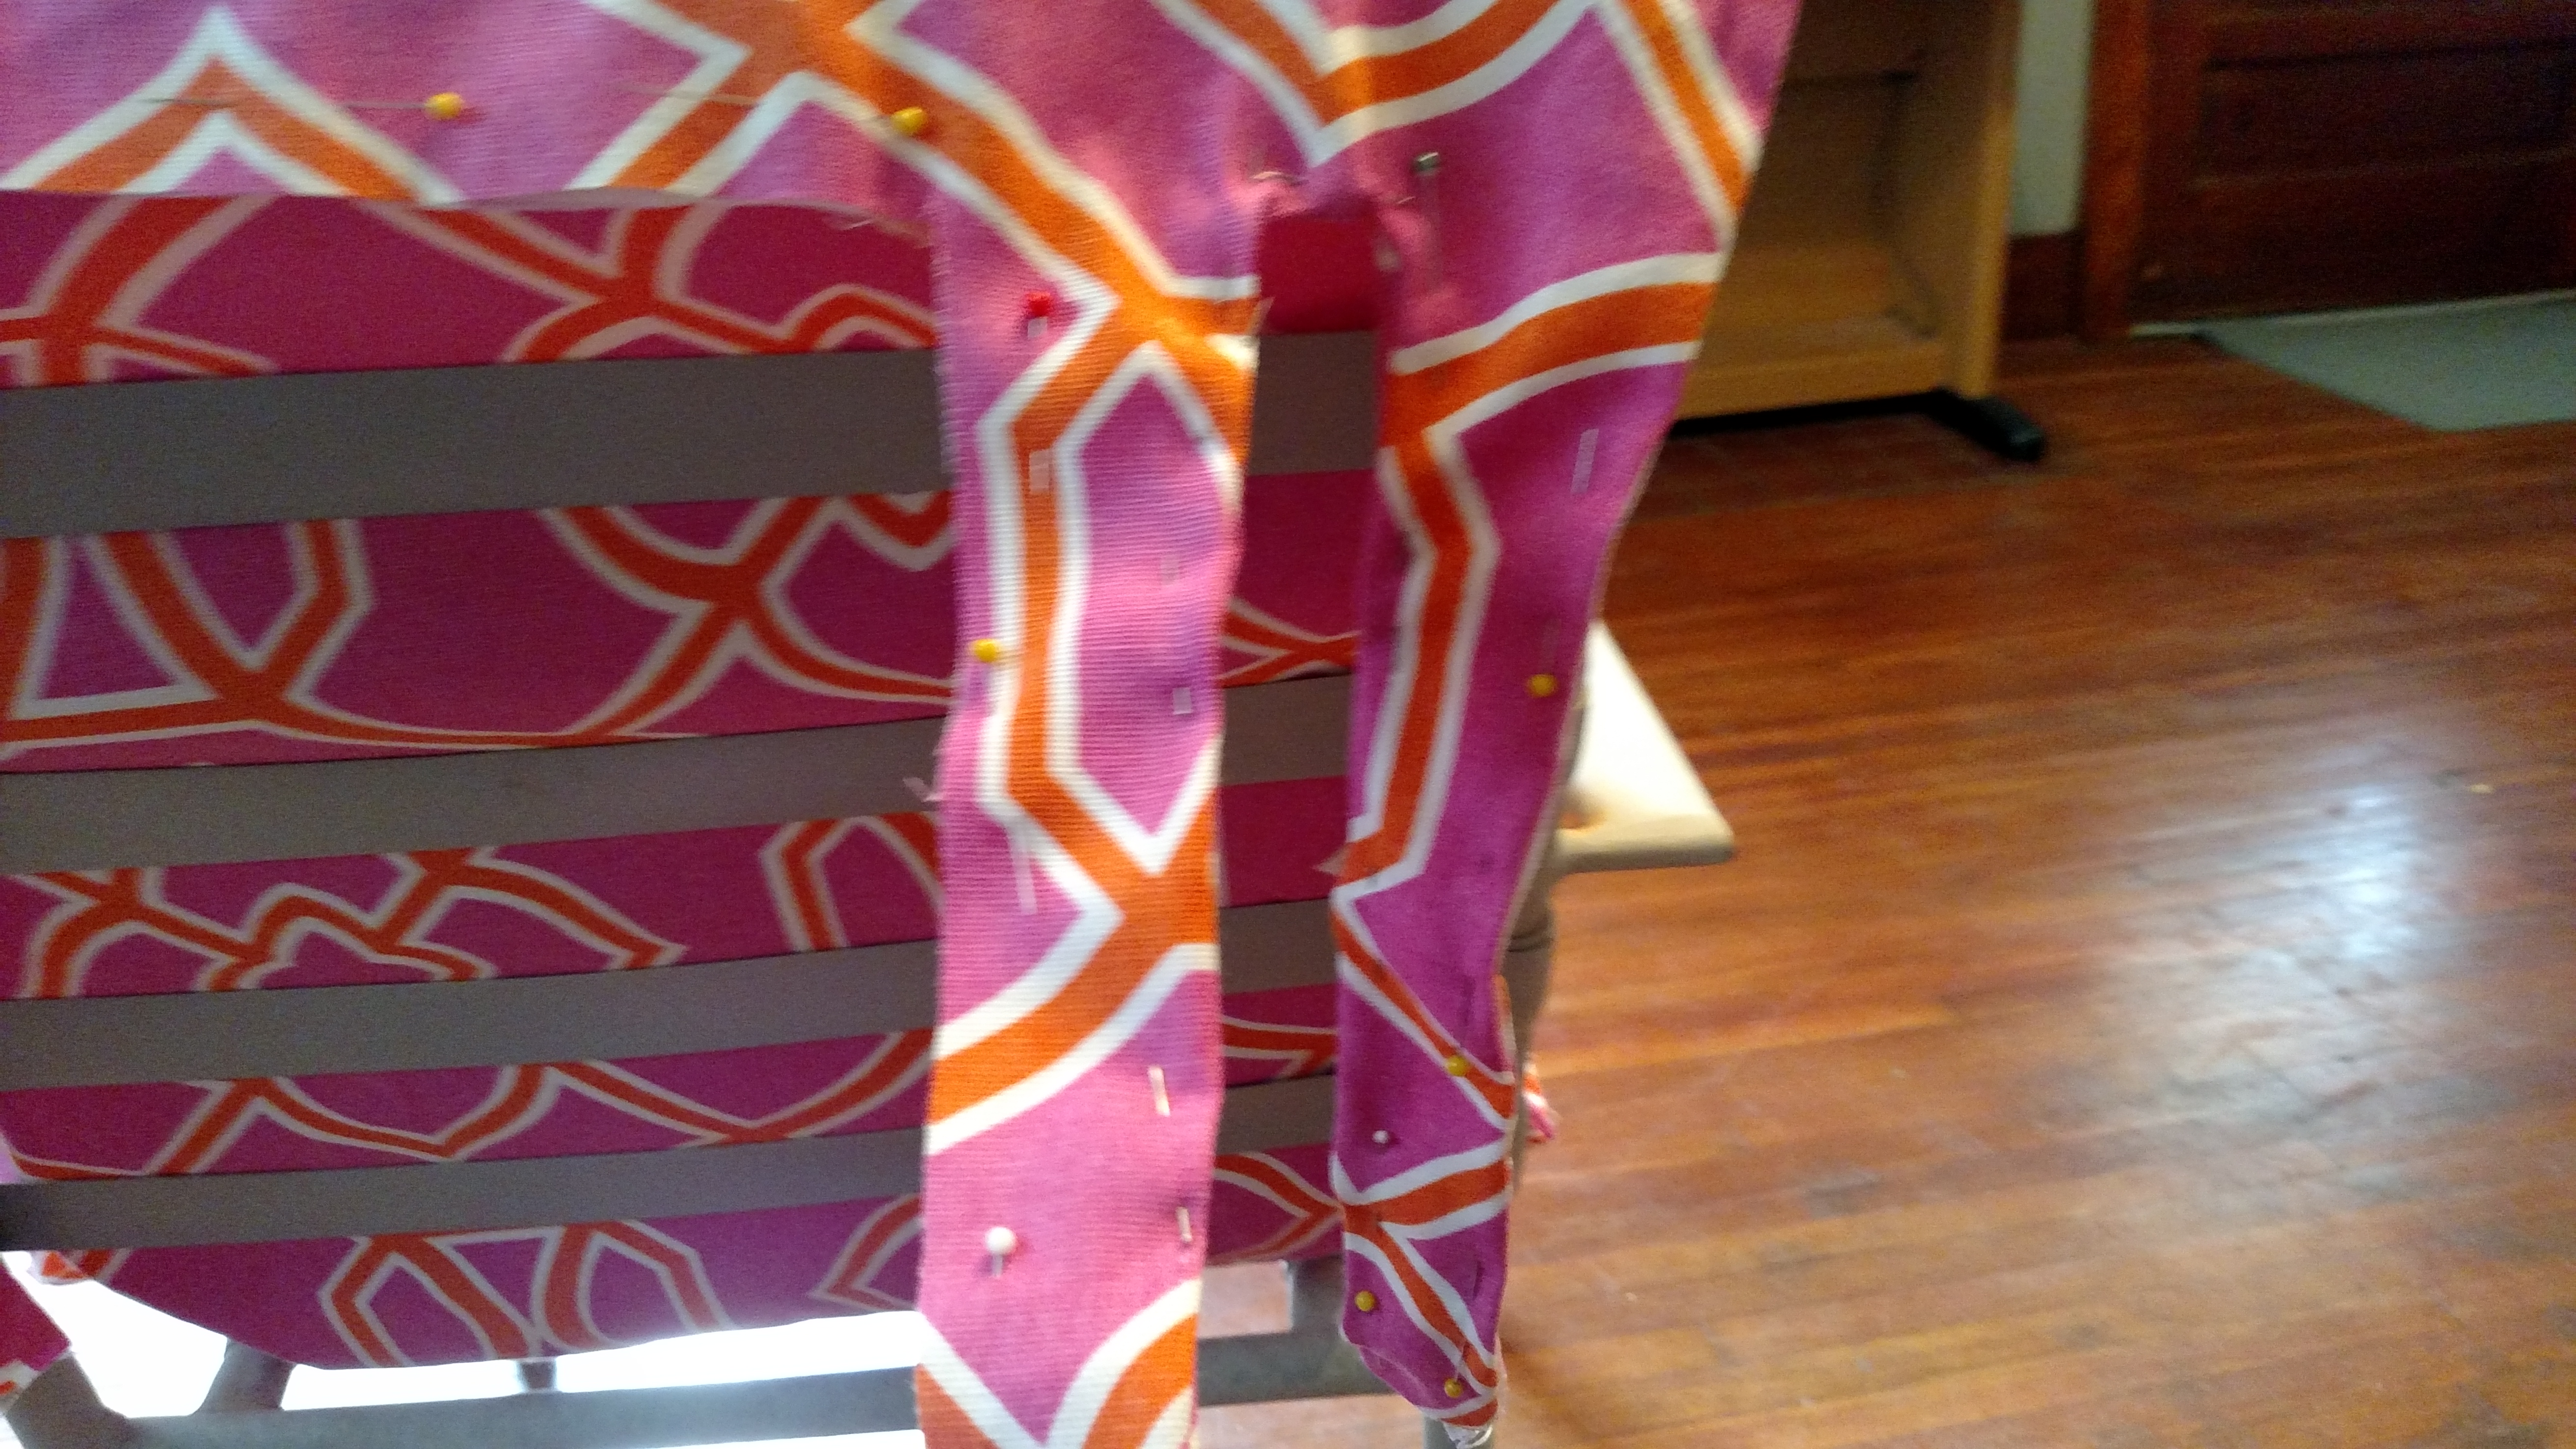
Trim the ends so that they are even and then turn them under and pin them too.
It doesn’t really matter which side you start sewing on, you’re going around all the straps. Make sure you turned under the top of the rectangular section you cut too.
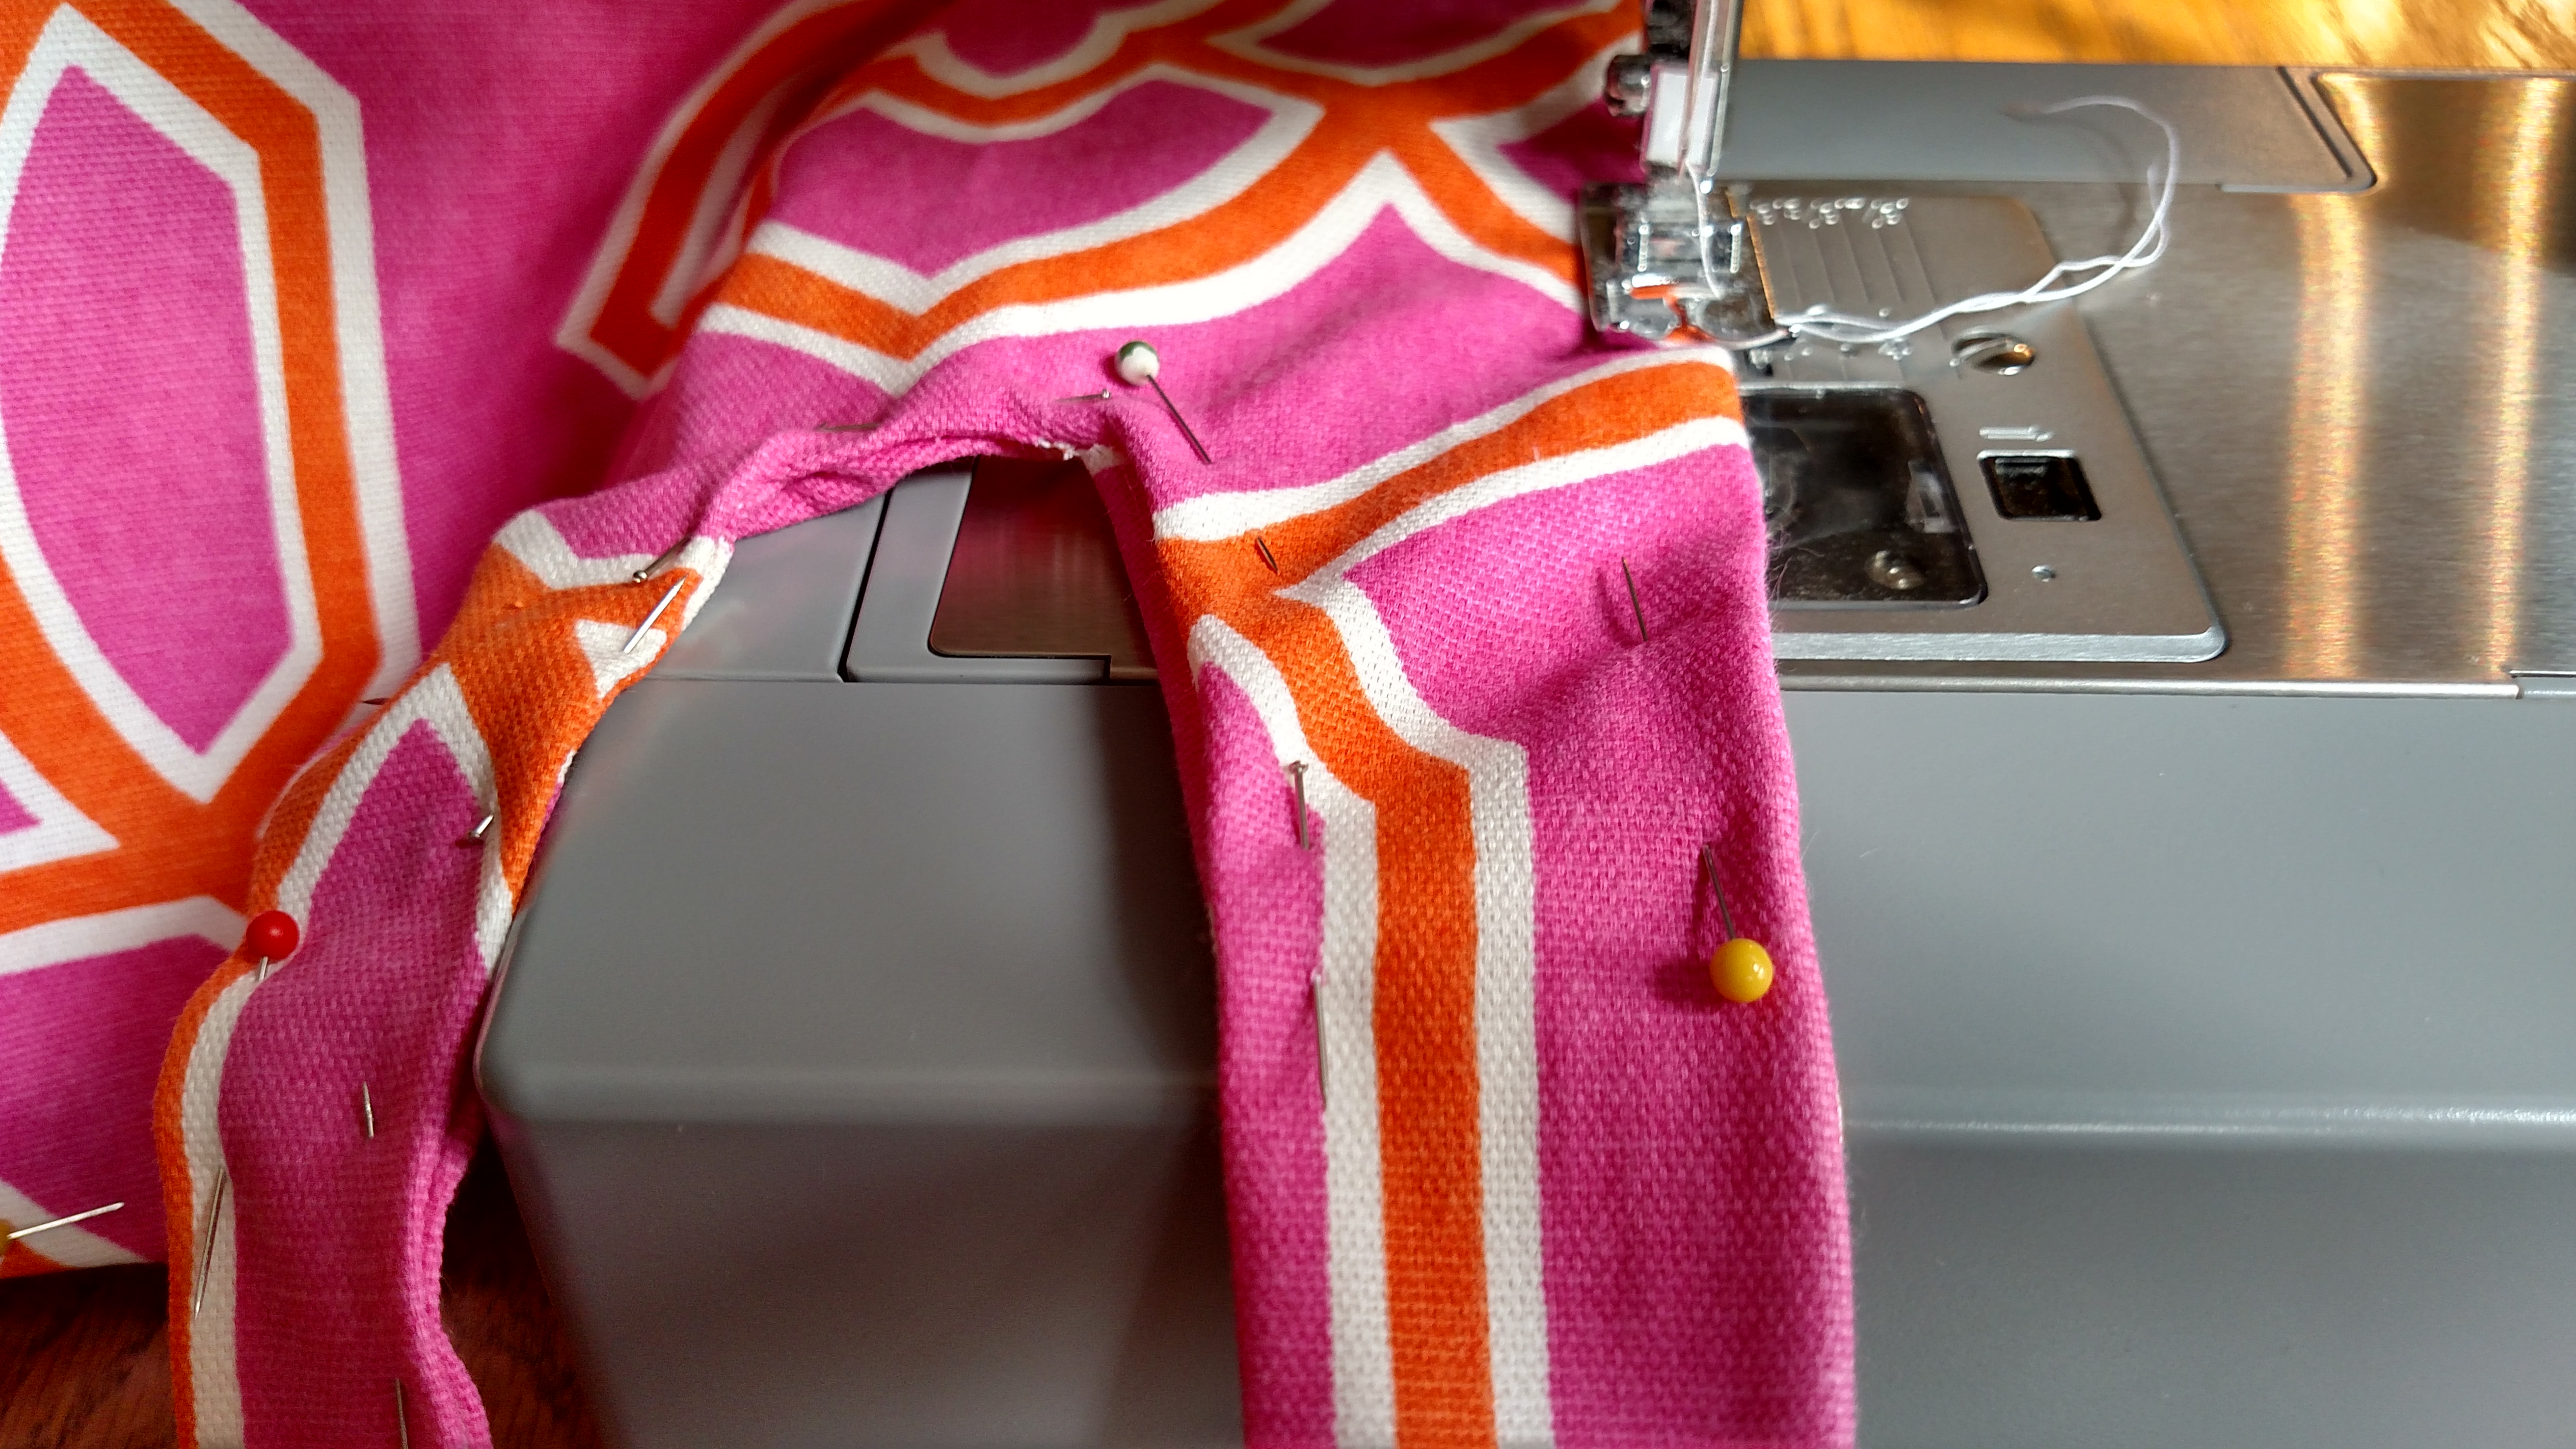
Step 8
Now that you have everything pinned it’s time to sew with a straight stitch around all the sides.
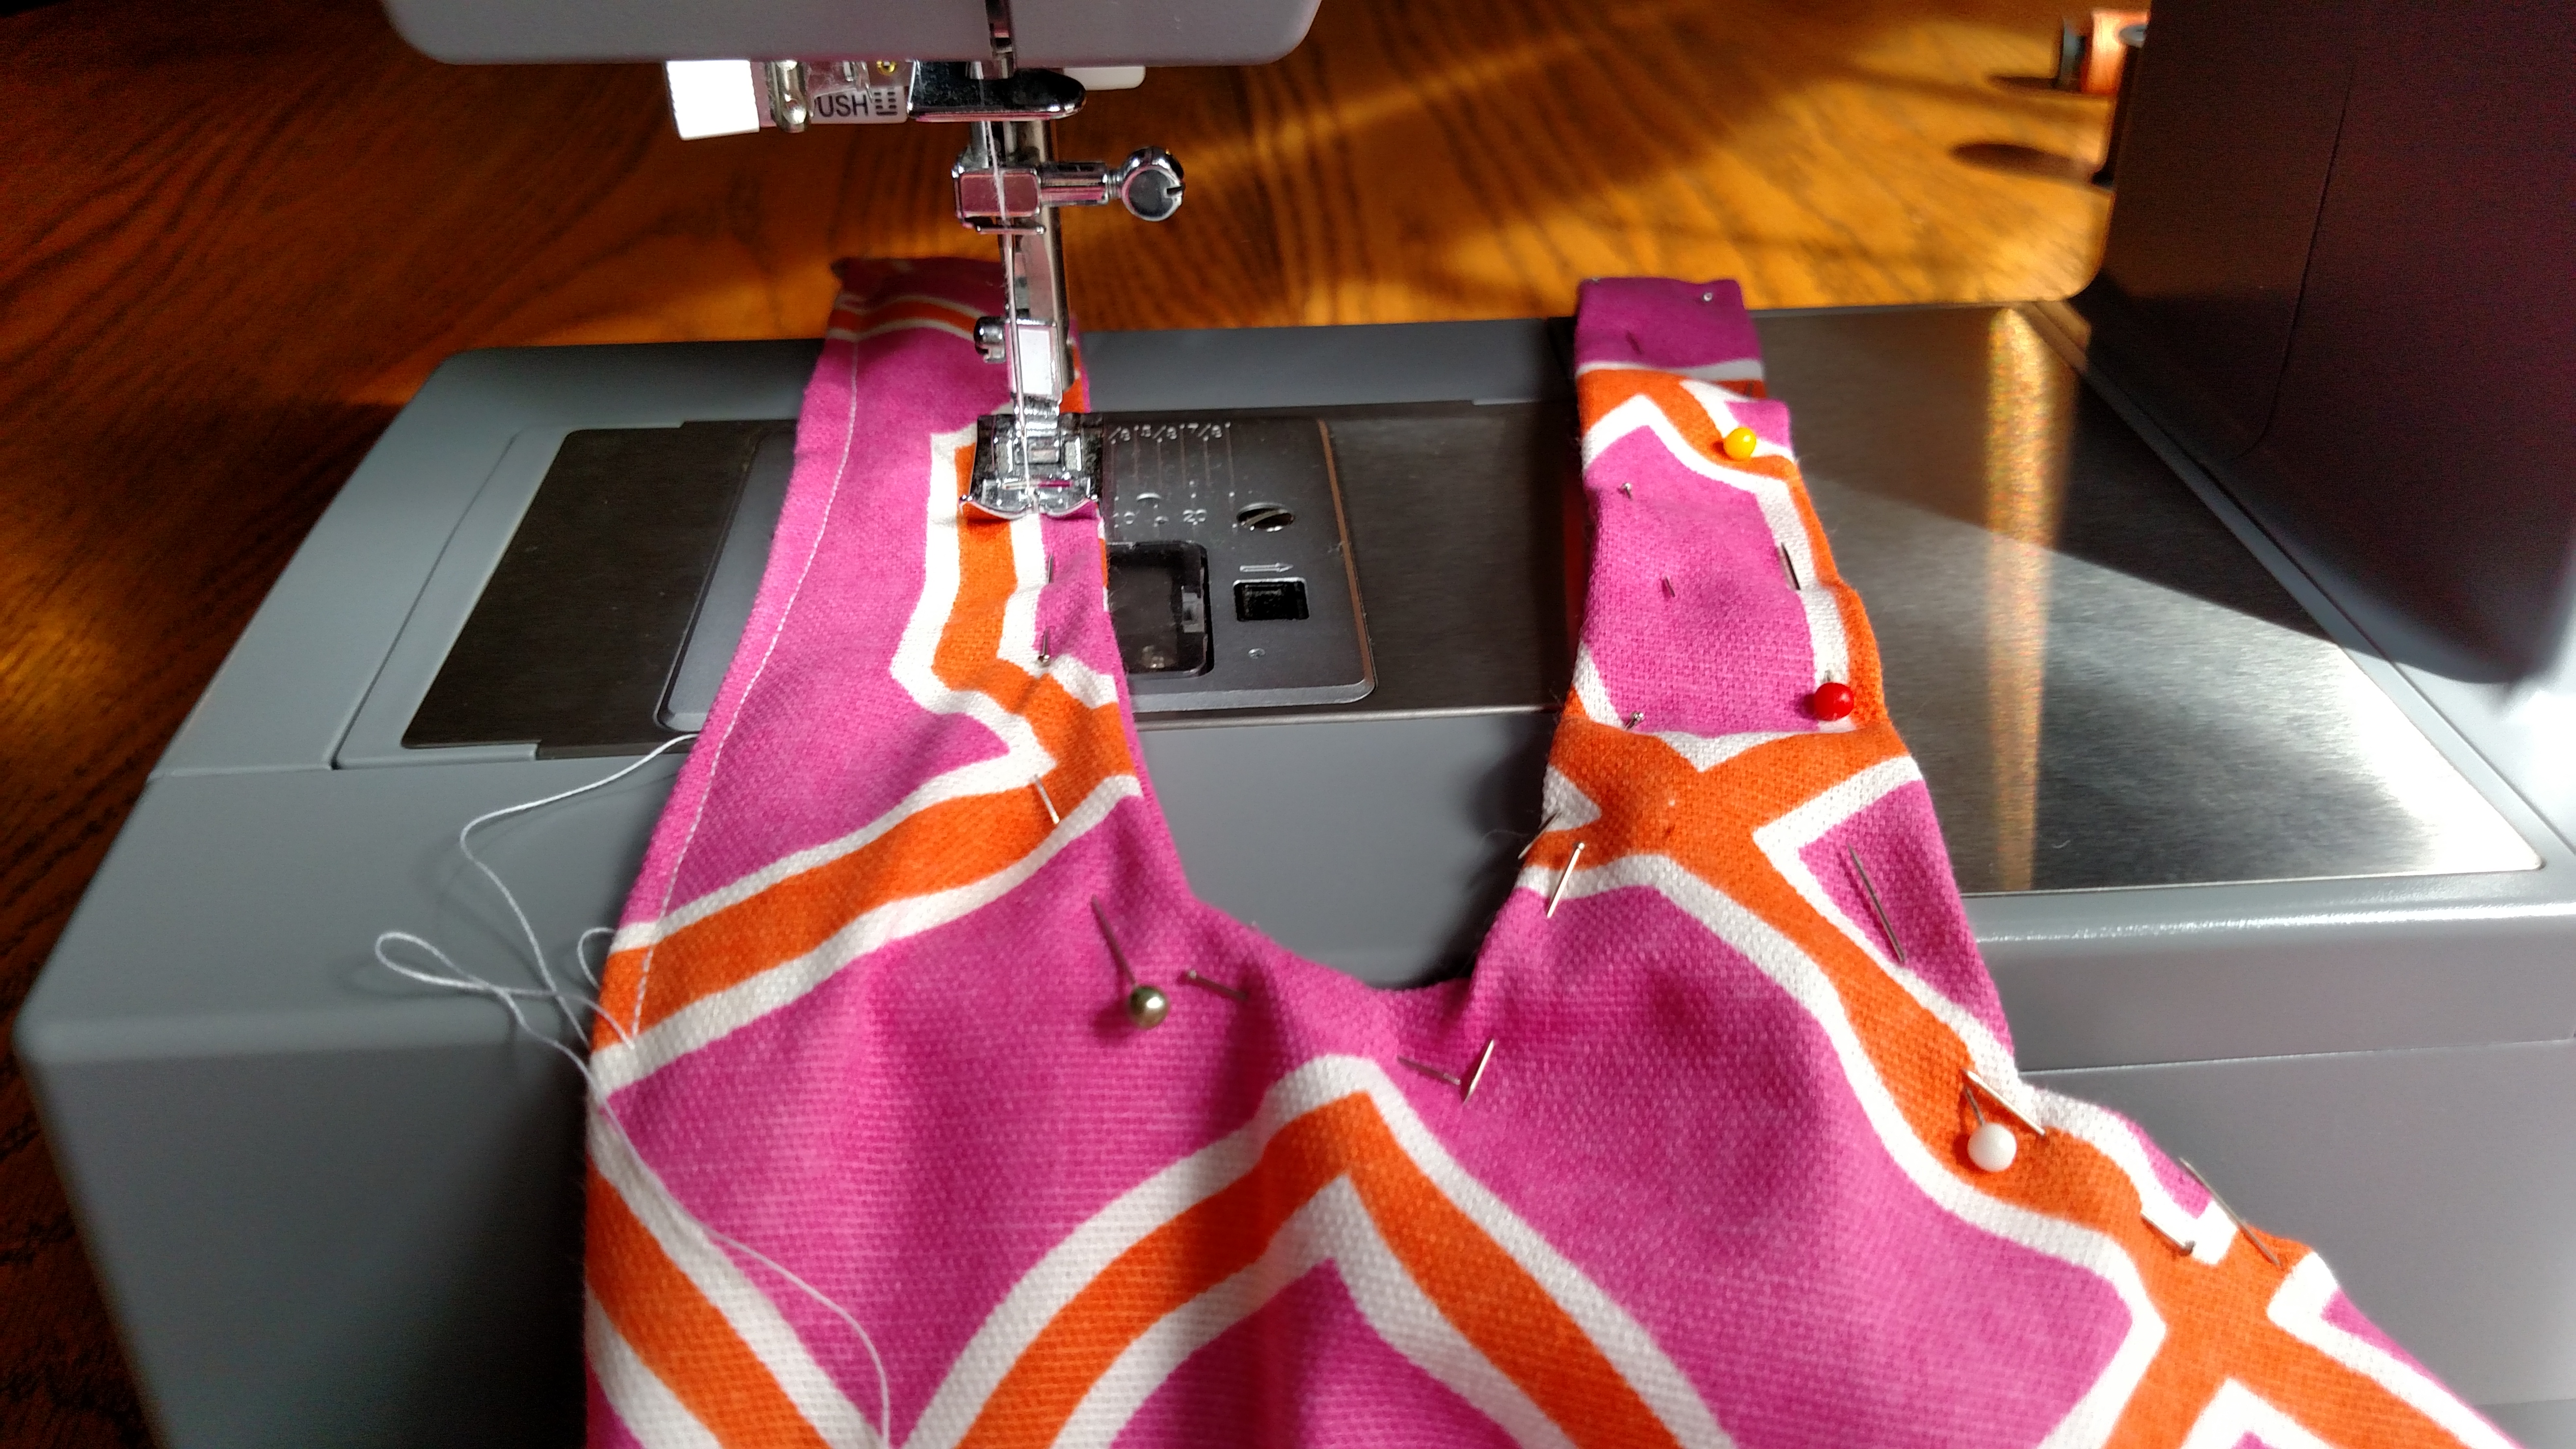
Be careful around those curves!
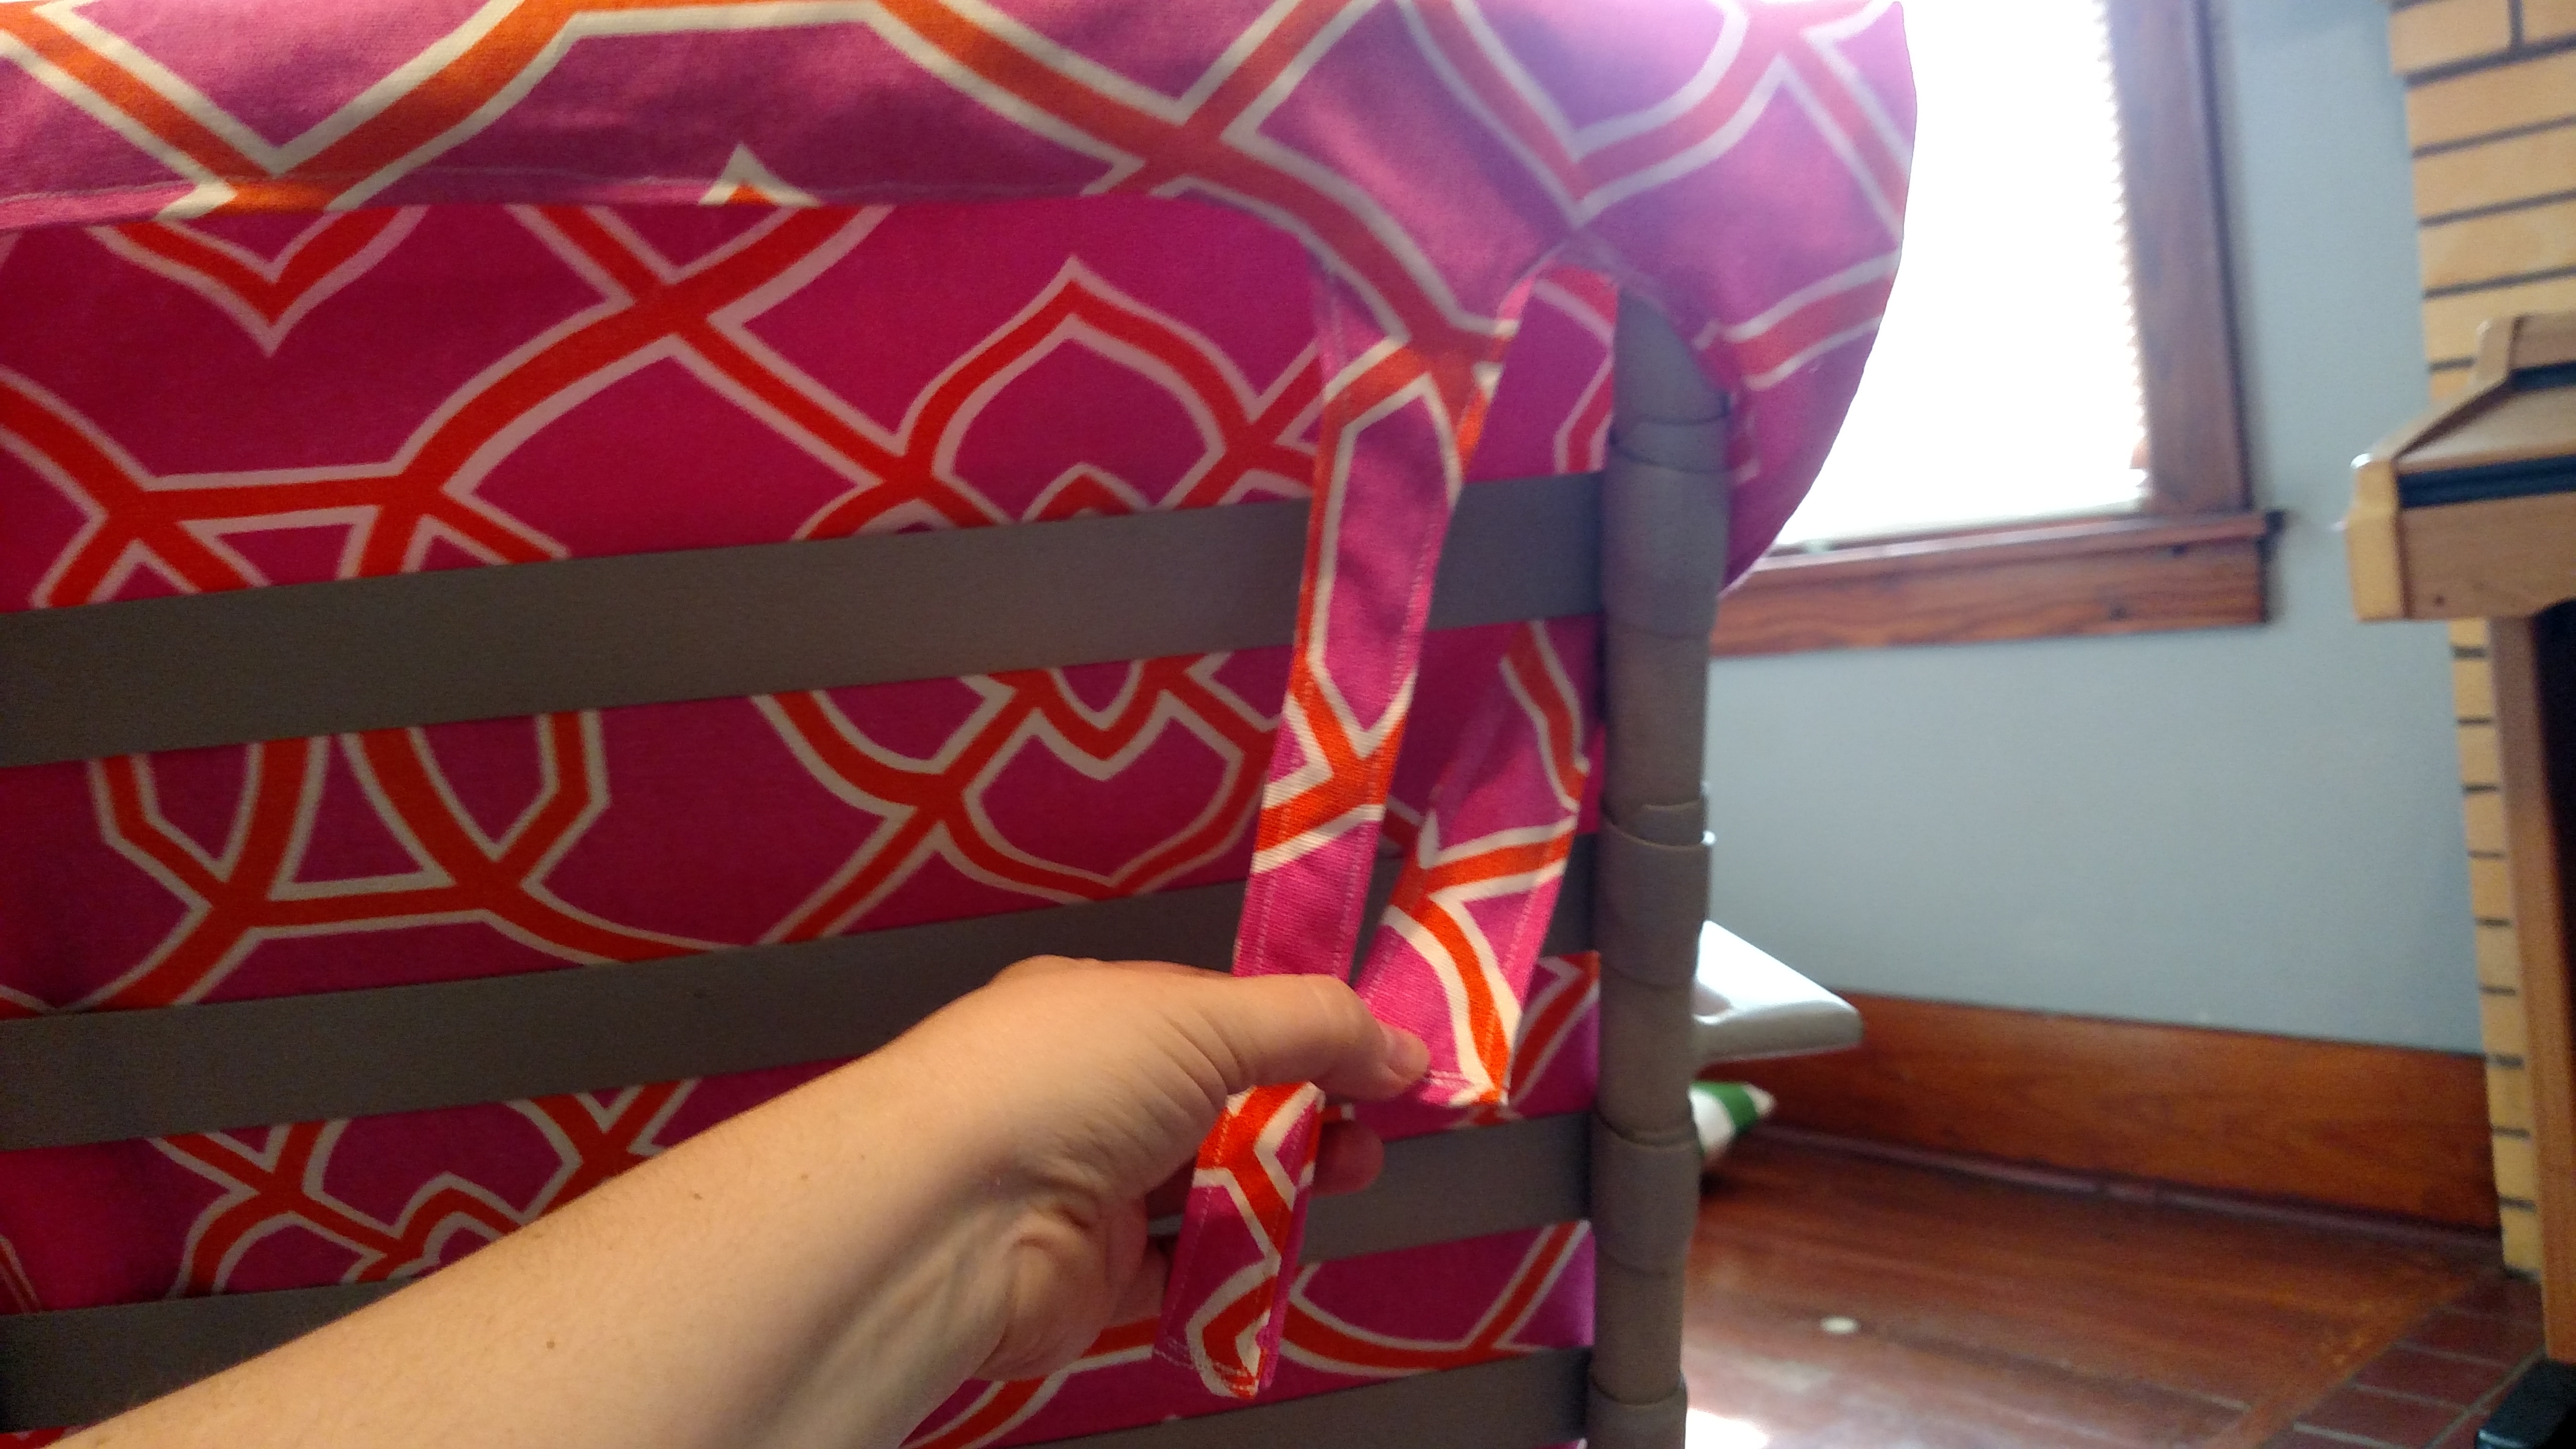
How you tie this will totally depend on the style of your chair.
Now that you’re done sewing it’s time to tie your brand new outdoor cushion onto your chair.
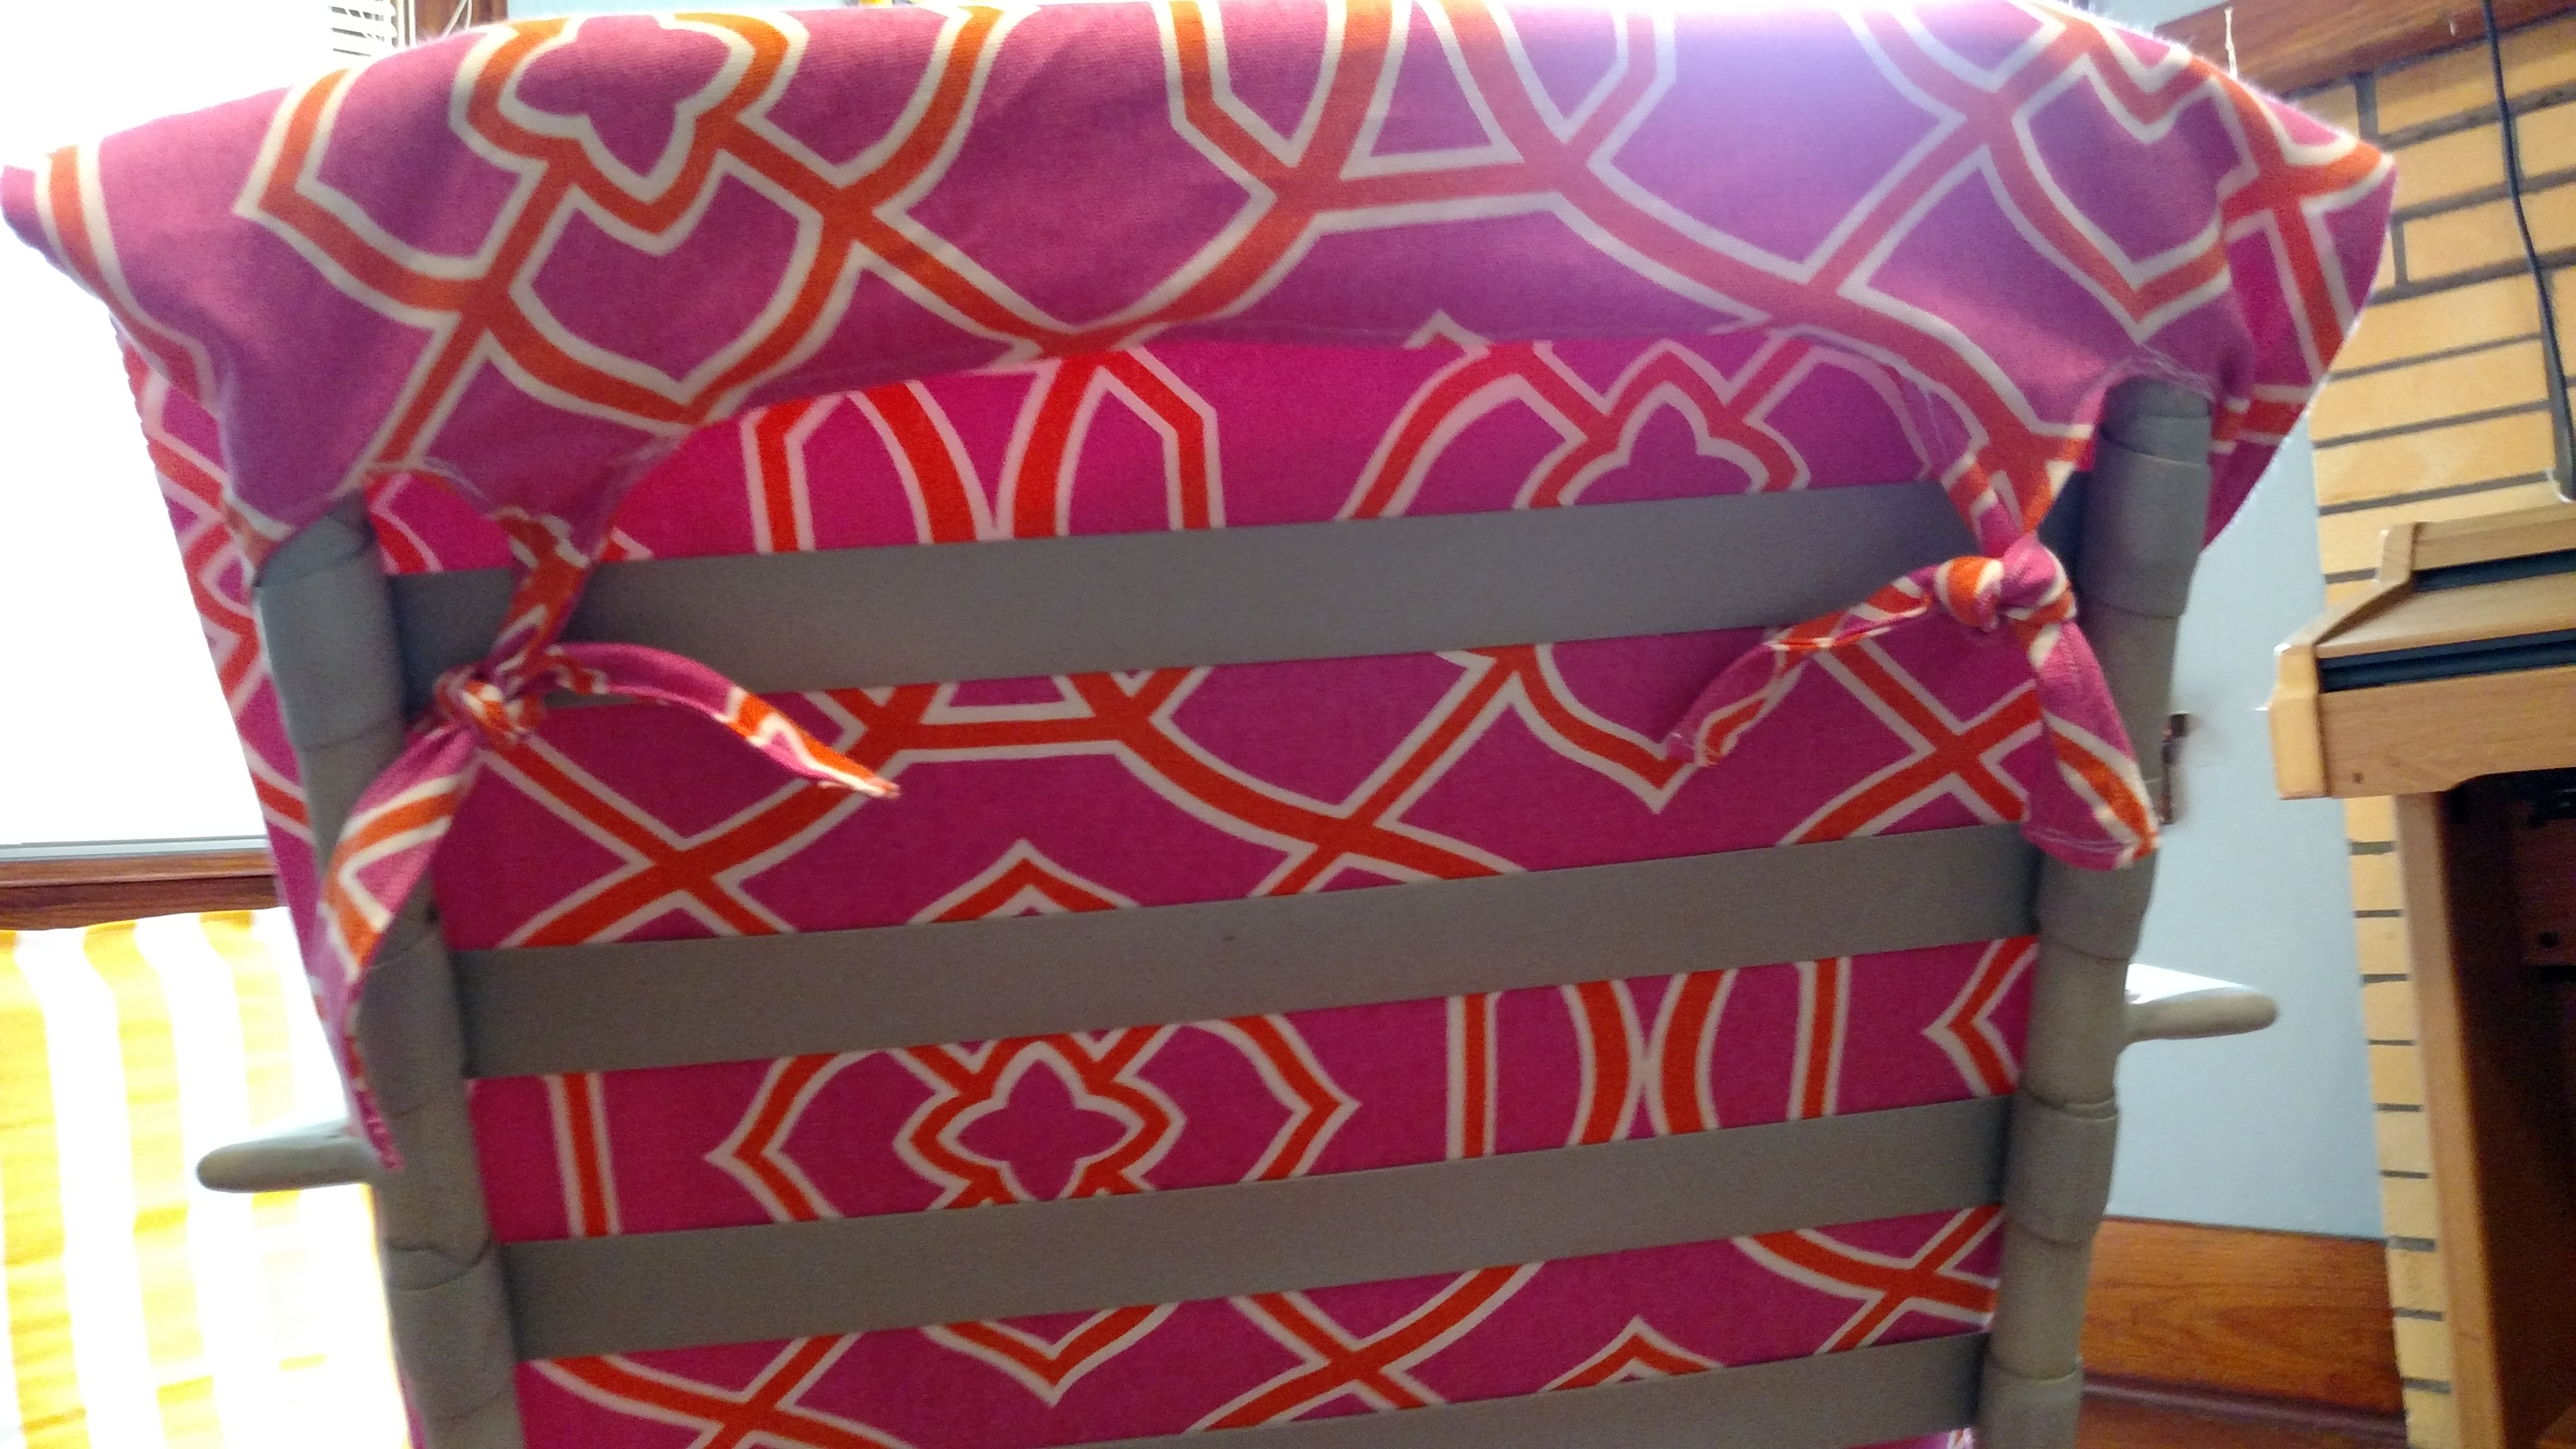
DIY chair cushion final product.
TADA! And here’s what it looks like when you’re all done. Now it’s time to go cook up a nice outdoor meal and invite some guests over to sit on your new chairs. So which style of cushion do you like best? Or have you decided to throw in the towel and just buy one? haha!
Follow Us!
Search
