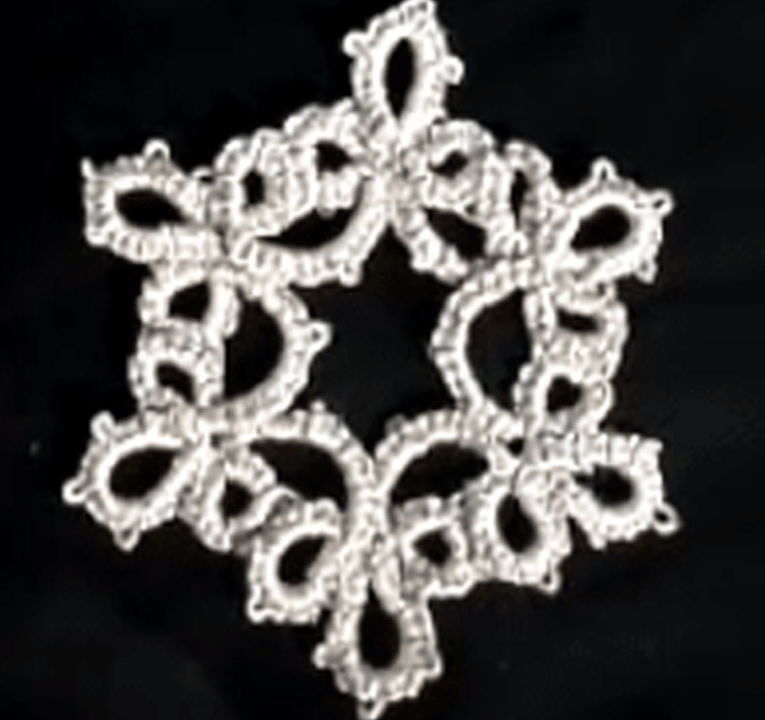
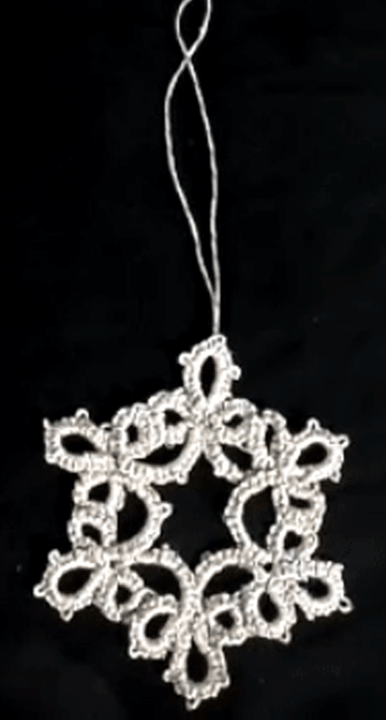
Tatted Snowflake

This tatted snowflake can be turned into an ornament or you can make a bunch to form a lace tablecloth snowflake runner.
Here’s a step by step video tutorial on how to make a tatted snowflake ornament just in time for Christmas.
style=”display:inline-block;width:300px;height:250px” data-ad-client=”ca-pub-9871087489985001″ data-ad-slot=”6848208613″>//
Tatted Snowflake Part 1
Tatted Snowflake Part 2
Tatted Snowflake Part 3
Tatted Snowflake Part 4
Tatted Snowflake – Free Pattern
(Tatted Clover Leaf Snowflake With Star Interior)
Find the needle that works with crochet thread size 10 (med needle)
Ring 1 of first clover leaf:
(3 stitches, make a joining loop) x3 close
Ring 2 of first clover leaf:
3 stitches, make a joining loop to the last loop of the first ring, (make 3 stitches, make a loop, 3 stitches) x4
Ring 3 of first clover leaf:
Make 3 stitches, join it to the last loop of the previous ring, (make 3 stitches, make a loop, make 3 stitches) x2, close
Center Chain Section:
(Chain 3, make a loop) x2, chain final 3, close
*Ring 1 of second clover leaf:
3 stitches, joining with first loop on the previous clover leaf ring, 3 stitches, joining loop to the middle loop of the last ring, 3 stitches close
Ring 2 of second clover leaf:
3 stitches, make a joining loop to the last loop of the last ring of the previous ring, (make 3 stitches, make a loop, 3 stitches) x4
Ring 3 of second clover leaf:
Make 3 stitches, join it to the last loop of the previous ring, (make 3 stitches, make a loop, make 3 stitches) x2, close
Center Chain Section:
(Chain 3, make a loop) x2, chain final 3, close
*Repeat the steps of the second clover leaf until you have 6 clover leafs.
Join the last 2 loops of the last ring with the first 2 loops of the very first ring of the first clover leaf
Normal
0
false
false
false
EN-US
X-NONE
X-NONE
Tatted Clover Leaf Snowflake
Find the needle that works with crochet thread size 10 (med needle)
Ring 1 of first clover leaf:
(3 stitches, make a joining loop) x3 close
Ring 2 of first clover leaf:
3 stitches, make a joining loop to the last loop of the first ring, (make 3 stitches, make a loop, 3 stitches) x4
Ring 3 of first clover leaf:
Make 3 stitches, join it to the last loop of the previous ring, (make 3 stitches, make a loop, make 3 stitches) x2, close
Center Chain Section:
(Chain 3, make a loop) x2, chain final 3, close
*Ring 1 of second clover leaf:
3 stitches, joining with first loop on the previous clover leaf ring, 3 stitches, joining loop to the middle loop of the last ring, 3 stitches close
Ring 2 of second clover leaf:
3 stitches, make a joining loop to the last loop of the last ring of the previous ring, (make 3 stitches, make a loop, 3 stitches) x4
Ring 3 of second clover leaf:
Make 3 stitches, join it to the last loop of the previous ring, (make 3 stitches, make a loop, make 3 stitches) x2, close
Center Chain Section:
(Chain 3, make a loop) x2, chain final 3, close
*Repeat the steps of the second clover leaf until you have 6 clover leafs.
Join the last 2 loops of the last ring with the first 2 loops of the very first ring of the first clover leaf
/* Style Definitions */
table.MsoNormalTable
{mso-style-name:”Table Normal”;
mso-tstyle-rowband-size:0;
mso-tstyle-colband-size:0;
mso-style-noshow:yes;
mso-style-priority:99;
mso-style-parent:””;
mso-padding-alt:0in 5.4pt 0in 5.4pt;
mso-para-margin-top:0in;
mso-para-margin-right:0in;
mso-para-margin-bottom:10.0pt;
mso-para-margin-left:0in;
line-height:115%;
mso-pagination:widow-orphan;
font-size:11.0pt;
font-family:”Calibri”,”sans-serif”;
mso-ascii-font-family:Calibri;
mso-ascii-theme-font:minor-latin;
mso-hansi-font-family:Calibri;
mso-hansi-theme-font:minor-latin;}
 Modern Homemakers


Thank you ever so much for your beautiful tatting and for creating a first rate tutorial ! I and my small fiber group are just learning how to tat, your videos and teaching are 5 star, A+!!
Blessings and peace,
Gratefully,
Grace
Thanks so much for taking the time to comment Grace. I’ll be sure to pass that on to Sarah she worked really hard to keep it basic 🙂
hi, I was browsing the net for a simple snowflake pattern and found yours
but I can’t make heads or tails of your pattern. it’s entirely my fault, I’m used to patterns from books for experienced tatters, or diagrams. if you could maybe write it down like that too, for example R6-4-4-6, Ch4-4 etc, that’d be greatly appreciated
Sorry Tallis! I have a hard time even reading official patterns. I’m pretty much self taught. If you watch the video I show step by step how to work the pattern. I hope that helps! Keep your eyes peeled I just filmed a video on how to turn this snowflake into a beautiful table runner 🙂
Pingback: Tatted Snowflake Table Runner | Modern Homemakers